In this article, we will learn about installing OBS Studio on Linux. You can find system requirements here.
How to install OBS Studio on Ubuntu?
We can install OBS Studio with both Software Center and the package manager at Ubuntu.
Installing OBS Studio on Ubuntu with Software Center
It is easy to install OBS Studio on Ubuntu graphically as it’s available in Ubuntu’s Software Center. Follow the steps to install OBS Studio on your Ubuntu desktop.
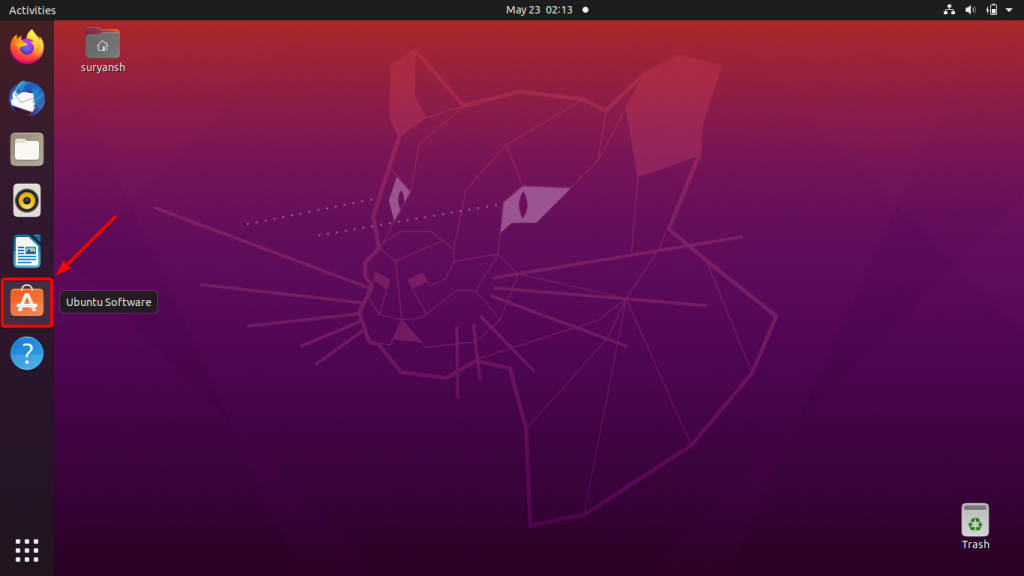
Step 1: Launch Ubuntu’s Software Center. Click on its icon from the launcher on the left side of your screen.
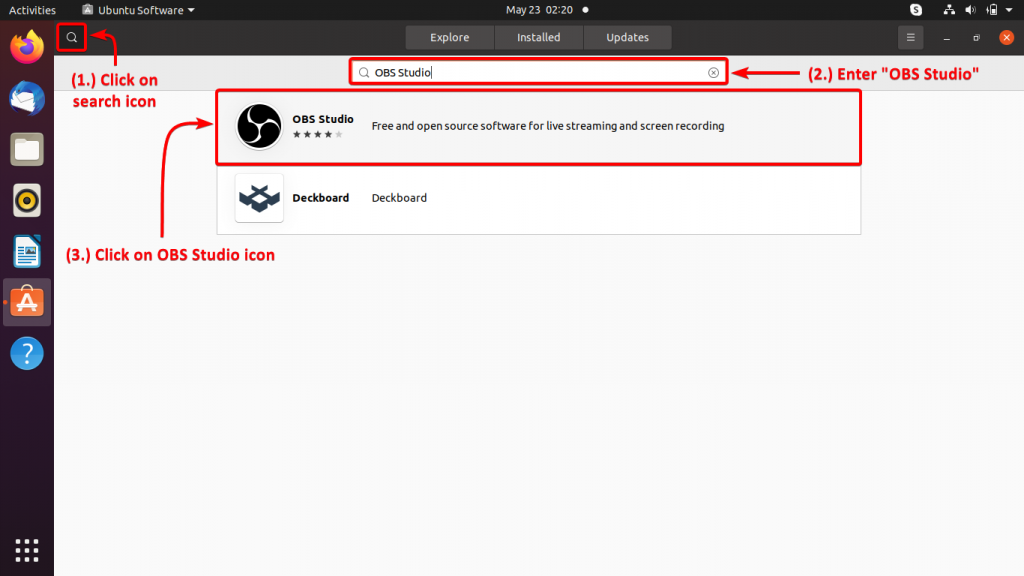
Step 2: Search for OBS Studio in Ubuntu’s Software Center. Click on the search icon on the top left of the window to open the search box. Then, enter “OBS Studio” in the search box to search for it.
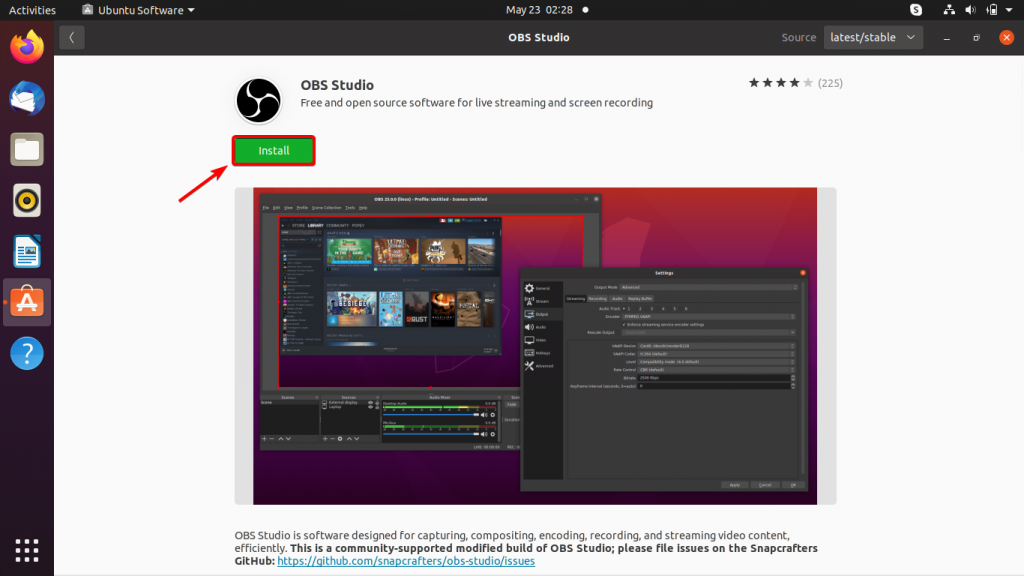
Step 3: Click Install. To install OBS Studio click, “Install” to proceed further with the installation.
It will require you to authenticate your user. Enter your user password and click Authenticate to proceed further.
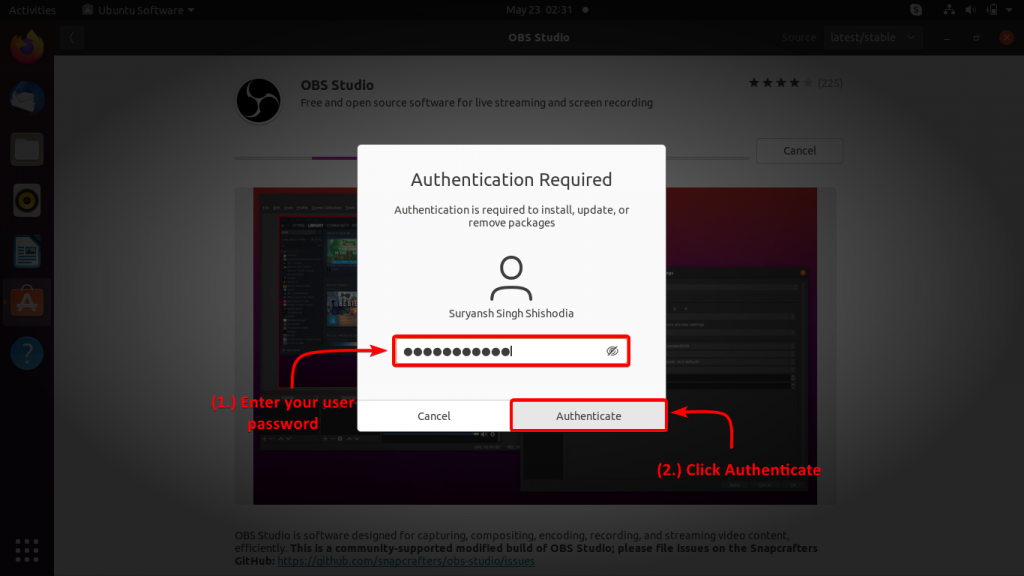
It may take some time for installation, depending upon your internet and hardware.
Step 4: Launch OBS Studio.
To launch OBS Studio, click on “Activities” at the top-left of your screen and search for “OBS Studio” click on its icon to launch.
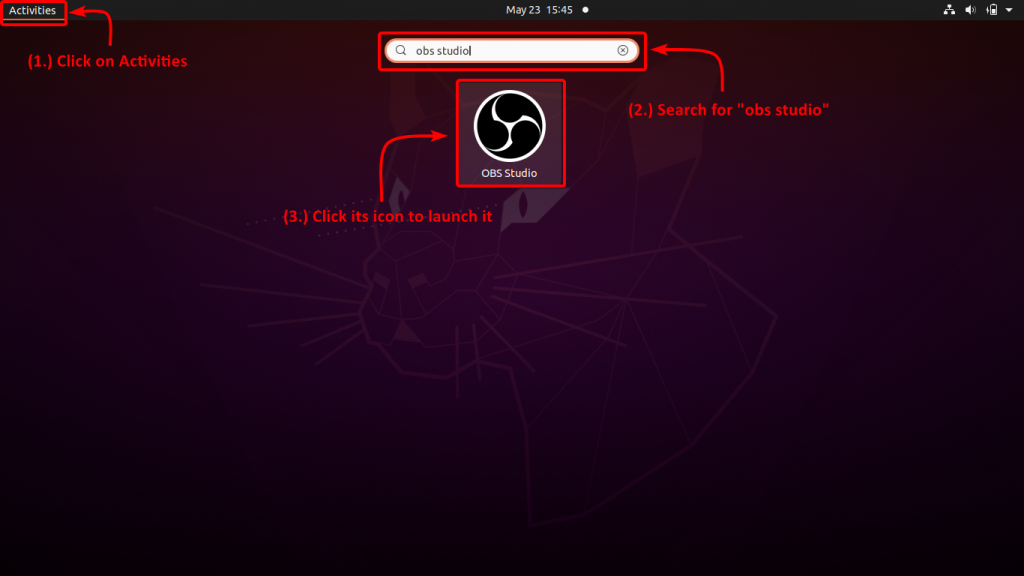
Congratulations! We have successfully installed OBS Studio.
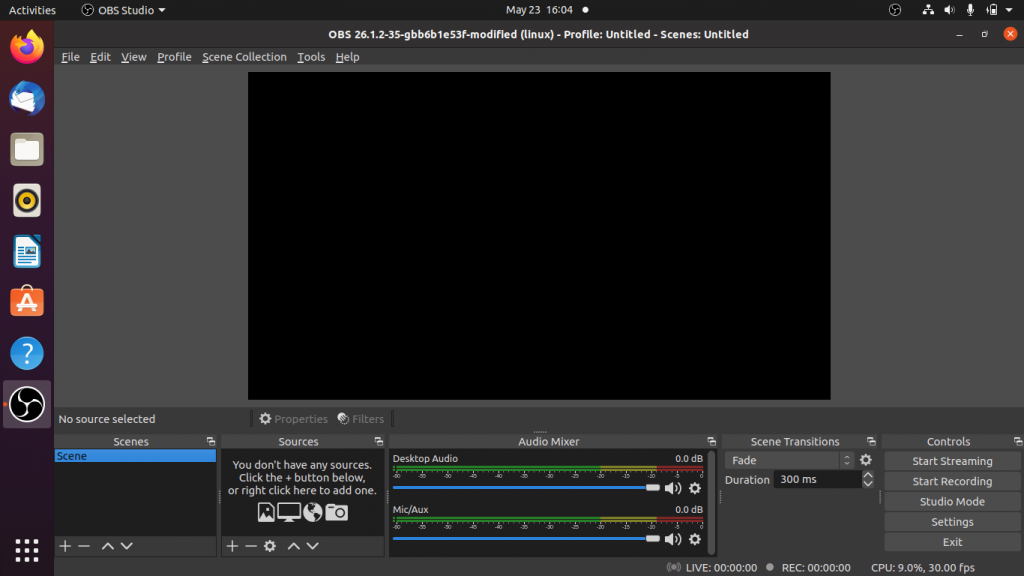
Install OBS Studio on Ubuntu from Terminal
OBS Studio requires OpenGL 3.3 or later to work. Execute glxinfo | grep "OpenGL" to find out the version supported on your system.
OBS studio requires FFmpeg. To install it, execute the apt command with sudo:
sudo apt install ffmpeg
If you wish to have virtual camera support, you are required to install v4l2loopback-dkms by executing:
sudo apt install v4l2loopback-dkms
Then to install OBS Studio, execute the following commands:
sudo add-apt-repository ppa:obsproject/obs-studio
sudo apt update
sudo apt install obs-studio
To launch OBS Studio, click Activities on the top-left of your screen and search for OBS Studio. Click its icon to launch it.
Install OBS Studio on Fedora
There isn’t a graphical method to install OBS Studio on Fedora, but you can too install it using the terminal just follow the steps exactly as given below.
Step 1: Open Terminal – To open a terminal, click Activities on the top-left of your screen.
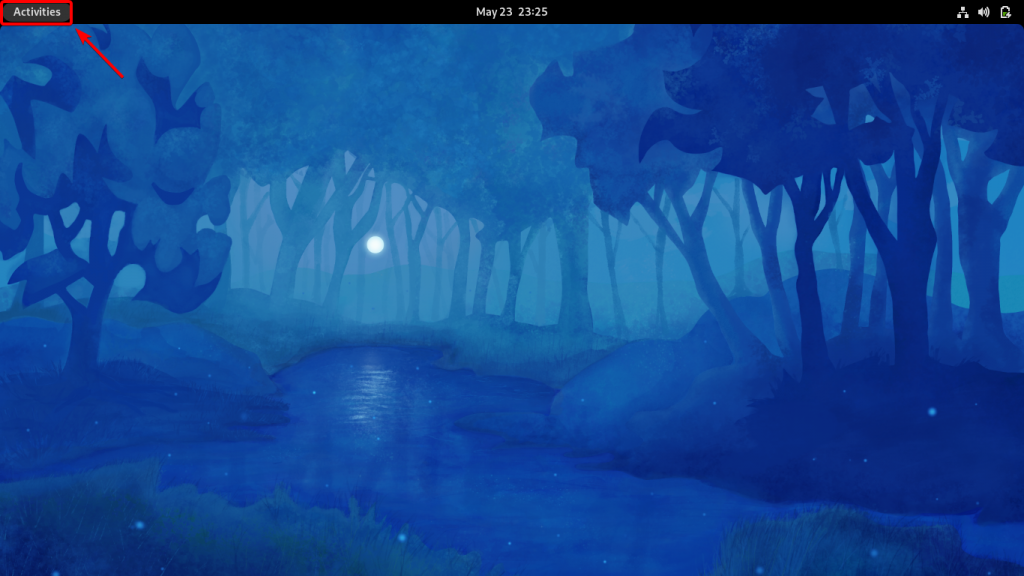
Then type Terminal in the search box.
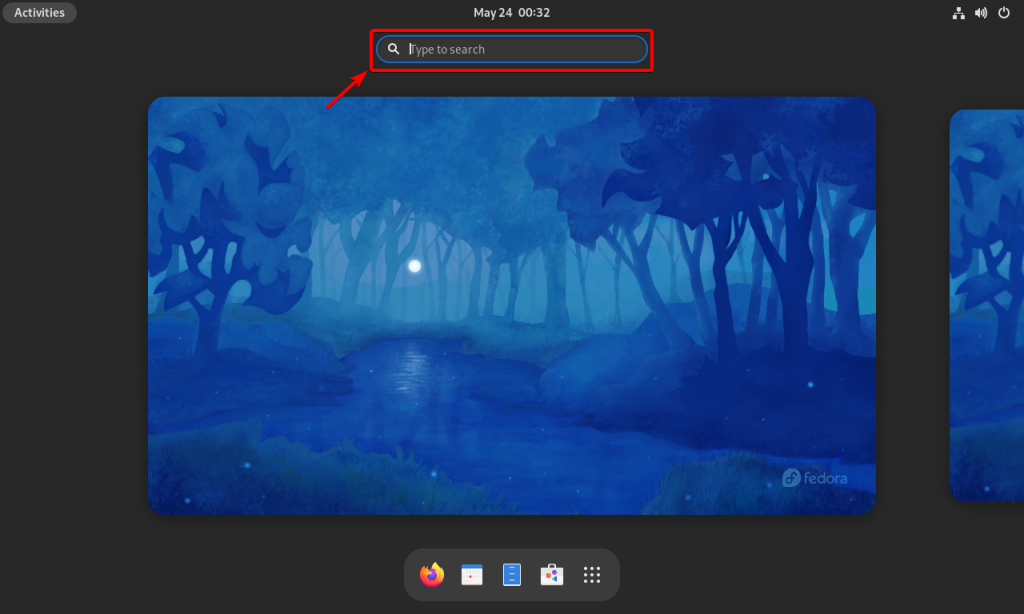
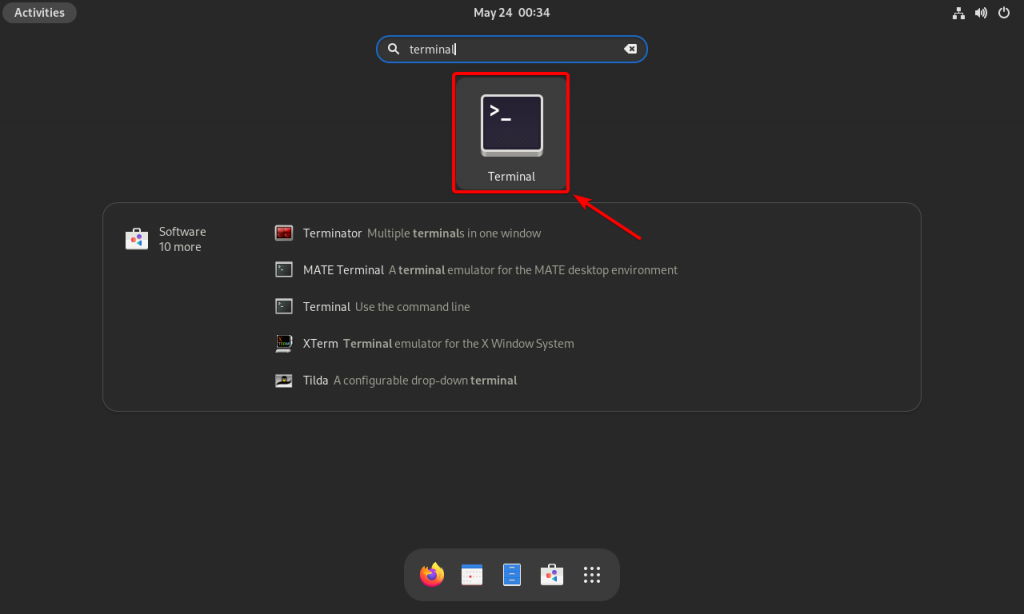
Launch the terminal by clicking on it
The terminal window will launch.
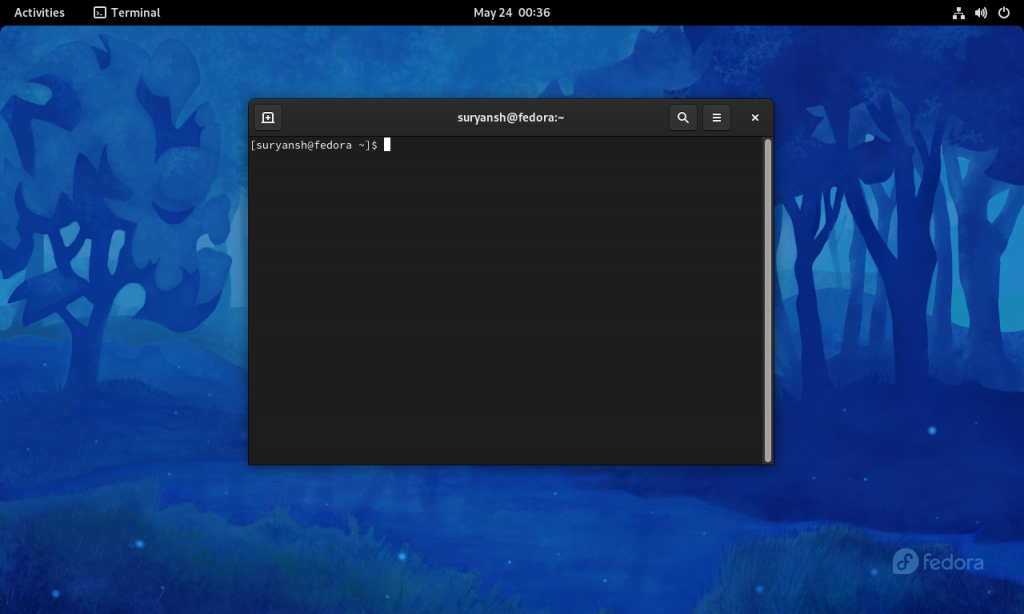
Step 2: Enter the following commands to install OBS Studio
First, enter this command:
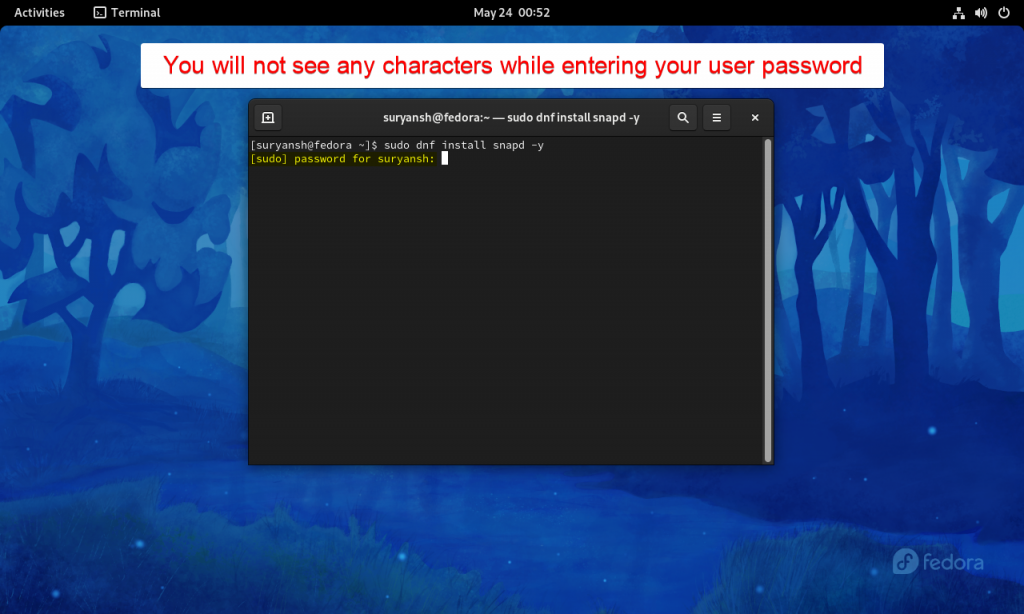
sudo dnf install snapd -y
When it asks to enter your user password like in the image below, enter your user password, but remember you won’t see any characters while typing your user password. Once you have entered your password, press Enter key.
Once the above command reaches the end. It would be similar to the image below.
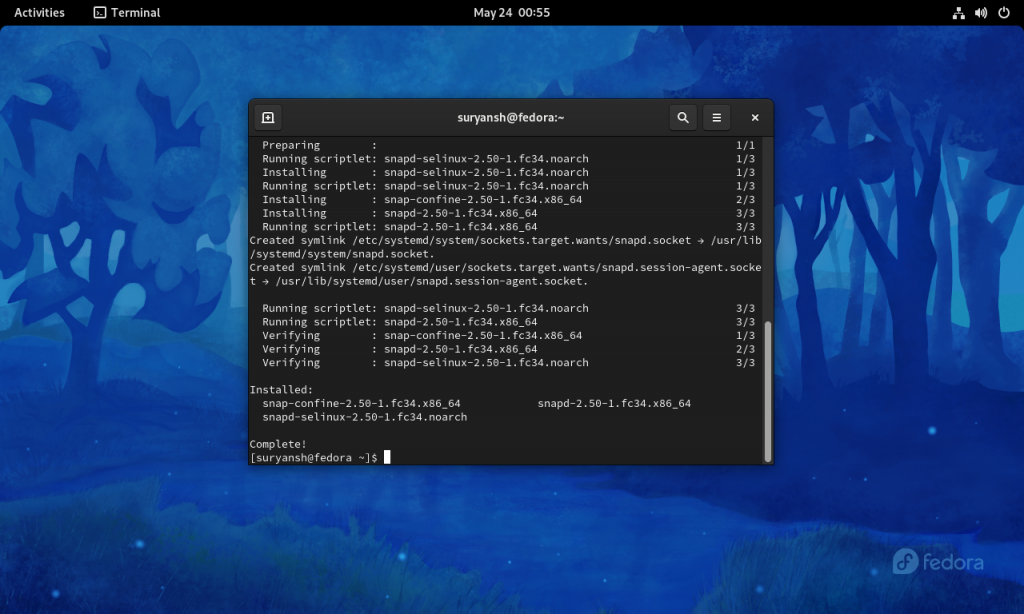
Now execute the following command:
sudo snap install core
Wait for it to complete, once it completes you will get output something similar like in the image below.
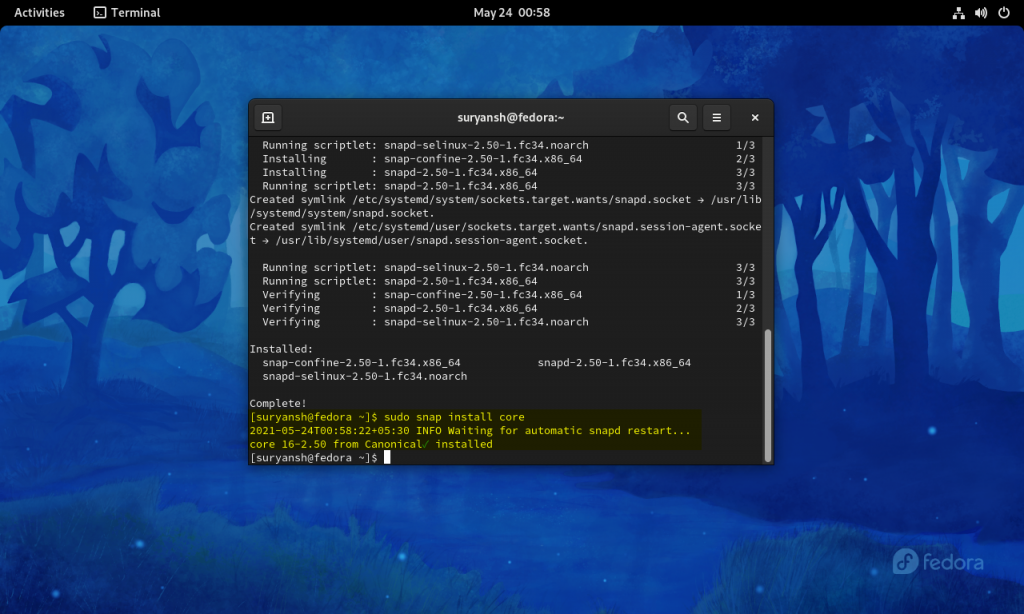
Now finally execute the final command to install OBS studio give below:
sudo snap install obs-studio
It may take some time, you’ll see something similar to the output in the image below when it is done.
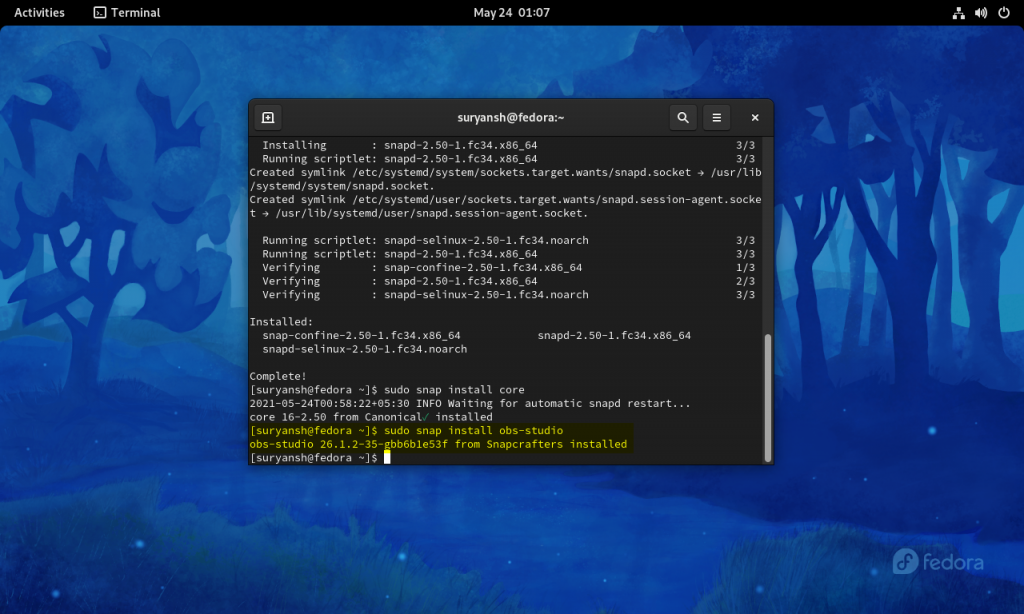
Now we have successfully installed OBS Studio.
Step 4: Launch OBS Studio
Click Activities on the top-left of your screen and search for OBS Studio. Then, click its icon to launch it.
(If you cannot see the OBS Studio icon, try rebooting)
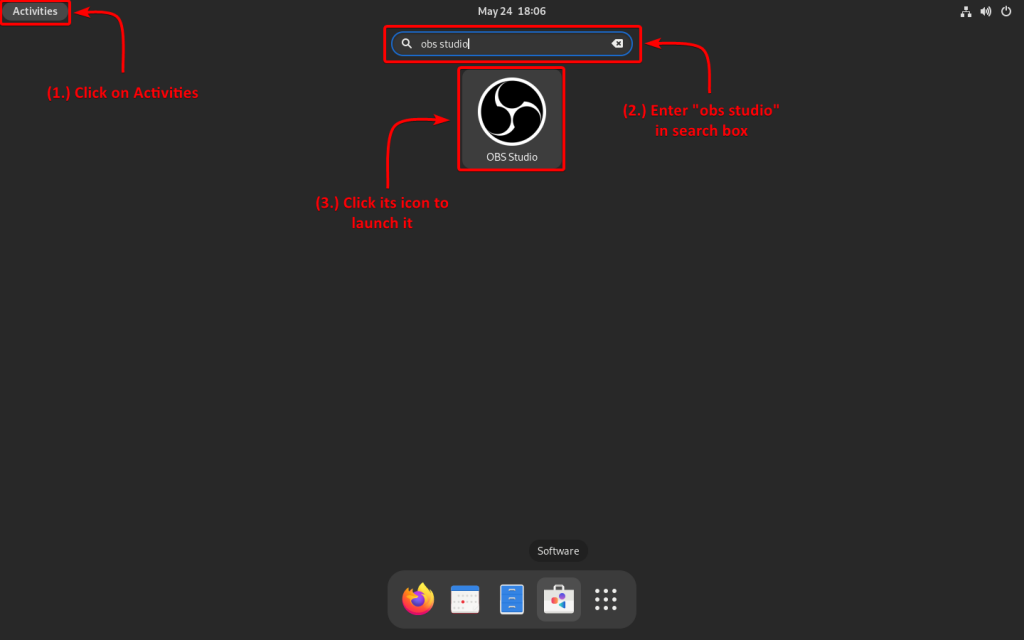
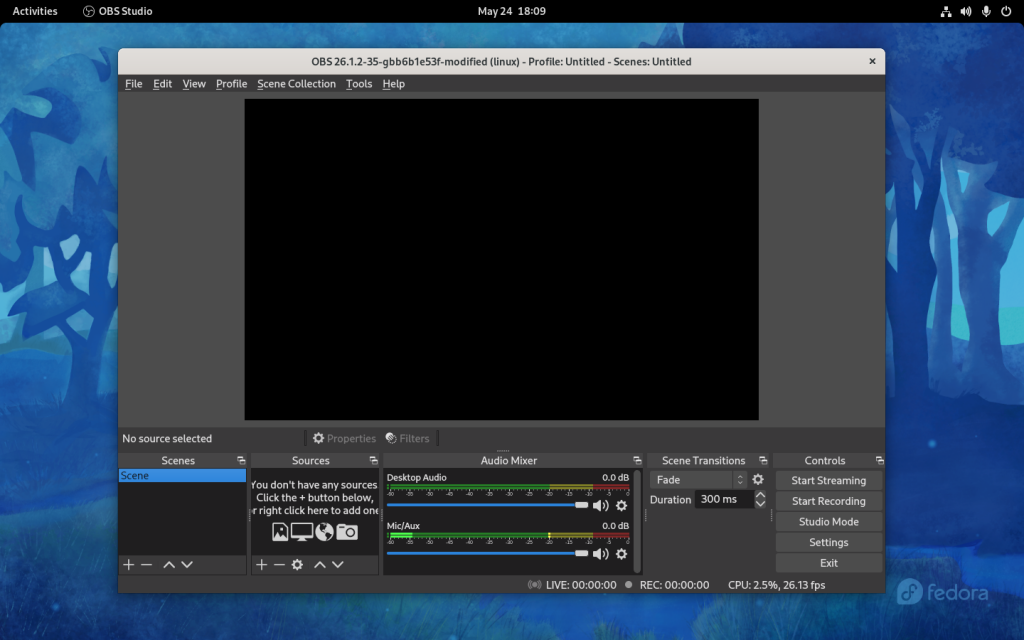
Congratulations! We have successfully installed OBS Studio on Fedora.
Conclusion
Installing OBS Studio on Ubuntu/Debian is easy and straightforward but it can be a little bit tricky on other platforms. Snap daemon is available on most platforms can be used to install OBS Studio from the Snap Store. You might further need to check with your distribution local community to get help on how to install on your distribution.

