In this article, we’ll learn how to install the NFS server on Ubuntu Linux.
What is NFS?
Network File System (NFS) is a popular choice for sharing files over LAN in Linux and UNIX platforms developed at Sun Microsystems in 1984. It allows you to mount a network file system on your system as if it were locally attached to it. You can access the files remotely on it.
It is not the only file-sharing protocol for Linux and UNIX platforms. The Server Message Block or SMB (also known as CIFS) can also be supported on Linux by setting up a Samba server which is a more robust protocol. SMB also has the capabilities to share files with macOS and Windows.
The NFSv4 client and server also have been ported into the Linux kernel. Newer versions of NFS have better security and features. It can communicate to Linux-to-Linux, Linux-to-UNIX (and vice-versa), and even Windows has added support for NFS.
How to install the NFS server on Ubuntu?
Follow the steps given below to set up an NFS server on your machine.
Step 1: Get required packages to set up the NFS server
Before we proceed, update your apt package manager index by executing:
sudo apt update
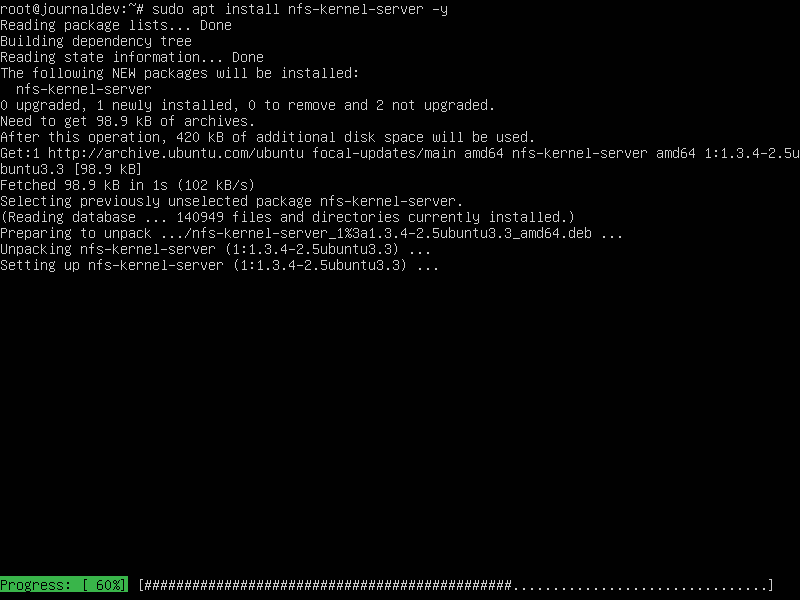
To install required packages for setting up NFS server in Ubuntu, execute the following apt command with sudo:
sudo apt install nfs-kernel-server -y

The NFS configuration file is at /etc/exports
Step 2: Create NFS exports directory
We’ll create a shared directory /export/share by executing:
mkdir /nfs/share -p
And move files into it that you want to share.

The directory we have created is where we put all the files accessible to users over the network.
To allow everyone can access it, execute:
sudo chown nobody:nogroup /nfs/share
Step 3: Edit configuration file
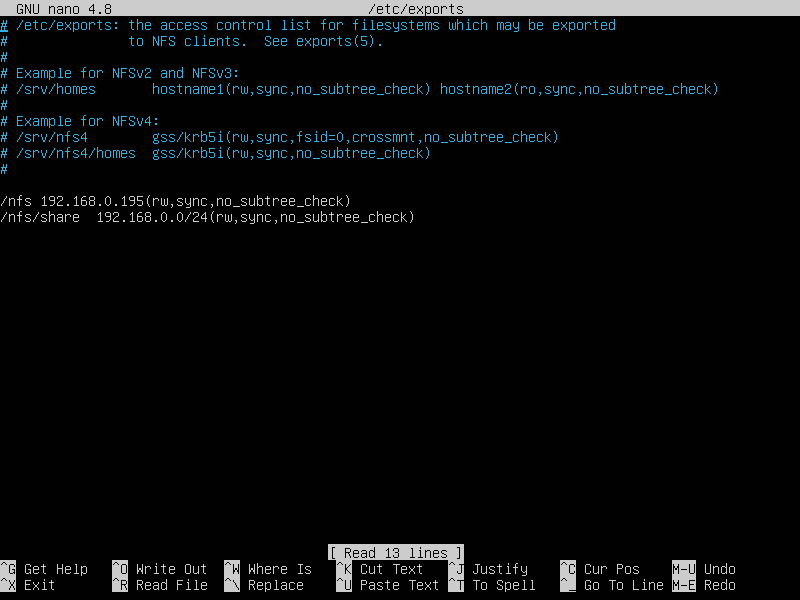
Now allow the file-sharing over 192.168.0.0/24 local network, edit /etc/exports using your favorite text editor.
sudo nano /etc/exports
Now add the following lines in it, replace 192.168.0.0/24 to your client IP. We have allowed an entire subnet to access our NFS share.
/nfs 192.168.0.195(rw,sync,no_subtree_check)
/nfs/share 192.168.0.0/24(rw,sync,no_subtree_check)
or, if you want to share for a particular client IP
/nfs/share 192.168.0.149(rw,sync,no_subtree_check)

After setting up configuration file /etc/exports, export the shares by executing:
sudo exportfs -ra
Execute the above command every time you make changes to the configuration.
Then restart the service to apply the configuration.
service nfs-kernel-server restart
Step 4: Allow firewall to access NFS server
To allow access to your NFS server, execute the follow ufw firewall command.
sudo ufw allow from 192.168.0.0/24 to any port nfs
Don’t forget to replace 192.168.0.0/24 with your client IP.
How to install NFS client and mount NFS share on Linux?
Follow the steps below to install the NFS client and mount the NFS share.
Step 1: Install NFS client using package manager
First update your apt package manager index by executing:
sudo apt update
To install the NFS client, install a package called nfs-common by executing:
sudo apt install nfs-common
If the default package manager on your system is the yum package manager. Follow the commands given below instead.
To update the yum package manager index, execute:
sudo yum update
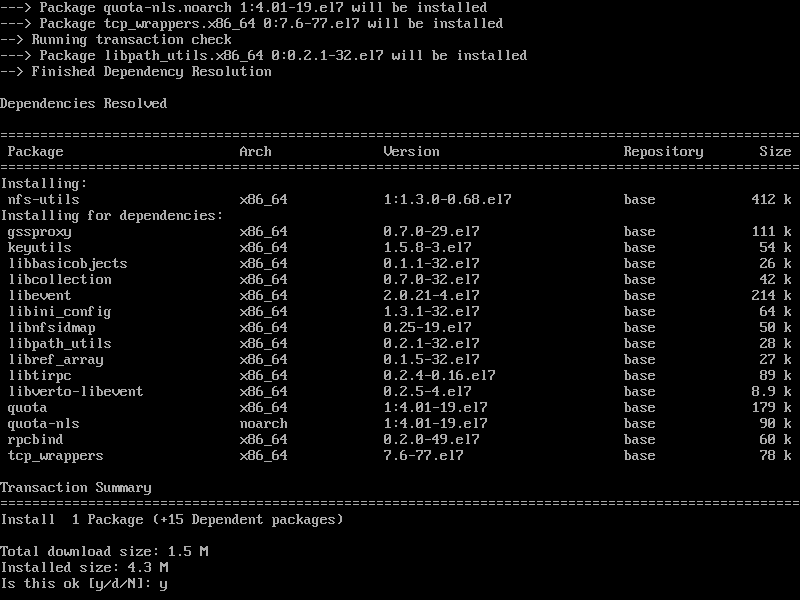
Then to install the NFS client, execute:
sudo yum install nfs-utils

Step 2: Mount NFS share
Now on the client machine, create an empty folder where we’ll mount our NFS share.
mkdir /home/user/nfs-share

Now to mount, execute the following command after replacing the details with your details.
sudo mount serverIP:/server/folder/to/be/shared /client/folder/

To access files locally now.
cd /client/folder

Conclusion
NFS is the most popular method to share files in Linux-to-Linux or Linux-to-UNIX (and vice-versa). It is easy to use and set up NFS in Linux.
Thank you for reading! 😀


