Plex Media Server is a software that manages/organizes all of your media (videos, audios, & photos) from a local device (usually a computer or a local hard drive) or over the network and streams it to the player.
In this tutorial, we will learn how to install and set up a Plex Media Server on Ubuntu.
Steps to install Plex Media Server and Set it up on Ubuntu
In this section, we’ll install Plex Media Server and set it up. Follow the steps to install and set up Plex Media Server on Ubuntu.
Add the Plex Media Server Repository
Installing Plex Media Server requires an active internet connection during the entire process.
To add the Plex Media Server Repository on Ubuntu, execute the following two commands:
echo deb https://downloads.plex.tv/repo/deb public main | sudo tee /etc/apt/sources.list.d/plexmediaserver.list
curl https://downloads.plex.tv/plex-keys/PlexSign.key | sudo apt-key add -
After executing the above commands, now we can simply execute the following apt update command with sudo to enable the Plex Media Server repository.
sudo apt update
Once we have the Plex Media Server Repository on Ubuntu, we can now proceed to install Plex Media Server by executing the following apt command with sudo:
sudo apt install -y plexmediaserver
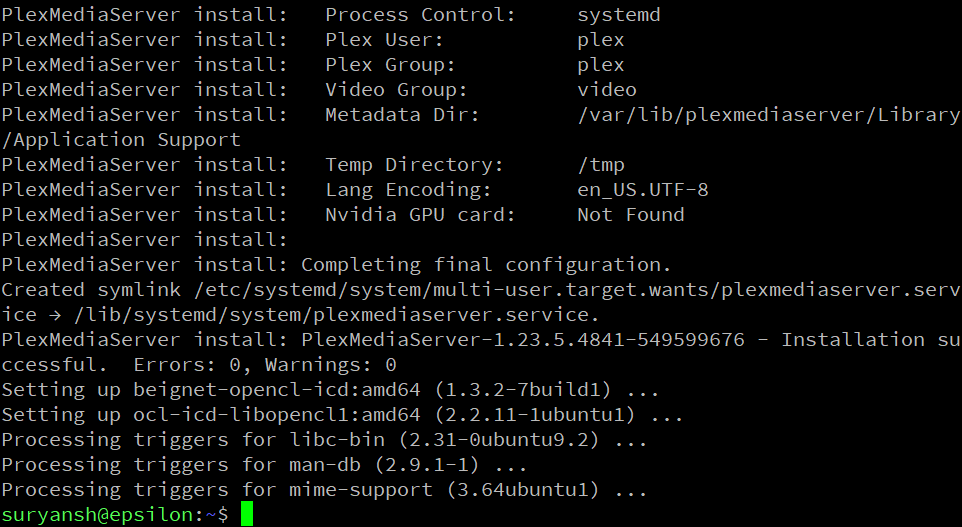
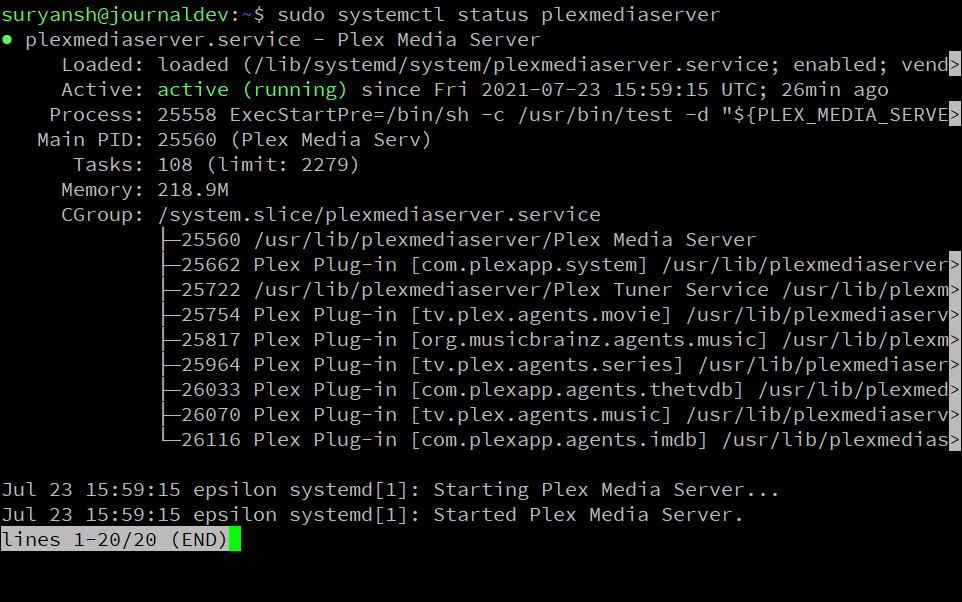
You can verify the status of the Plex Media Server by executing the following command:
sudo systemctl status plexmediaserver
Using Plex for the First Time
To use Plex Media Server, launch your Web Browser and go to http://server.ip.address:32400/web (e.g., http://192.168.0.135:32400/web)
You will see the following page. To use Plex Media Server you are required to create a Plex account or, you can sign in using your existing Plex account details.

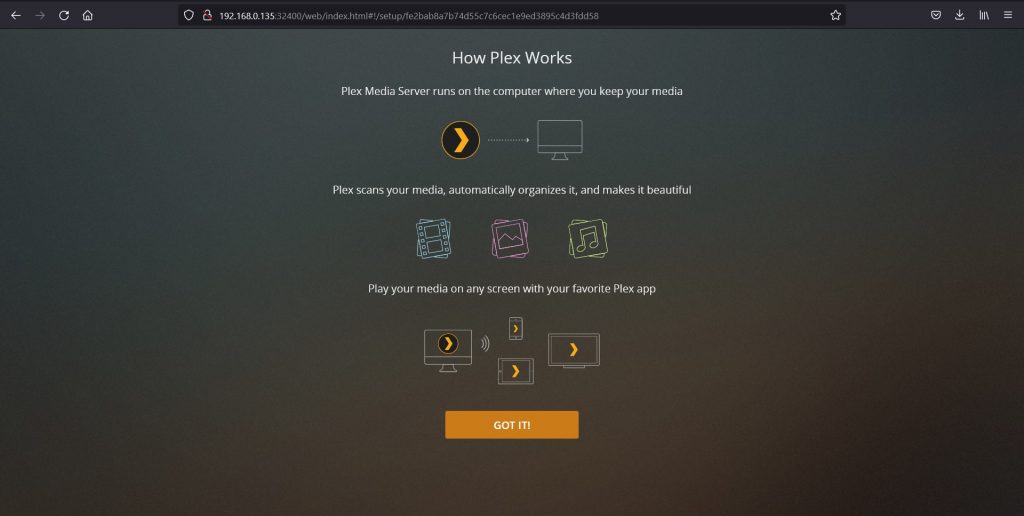
Once you are done, the following page about “How Plex Works” will appear. Click GOT IT! to proceed further.
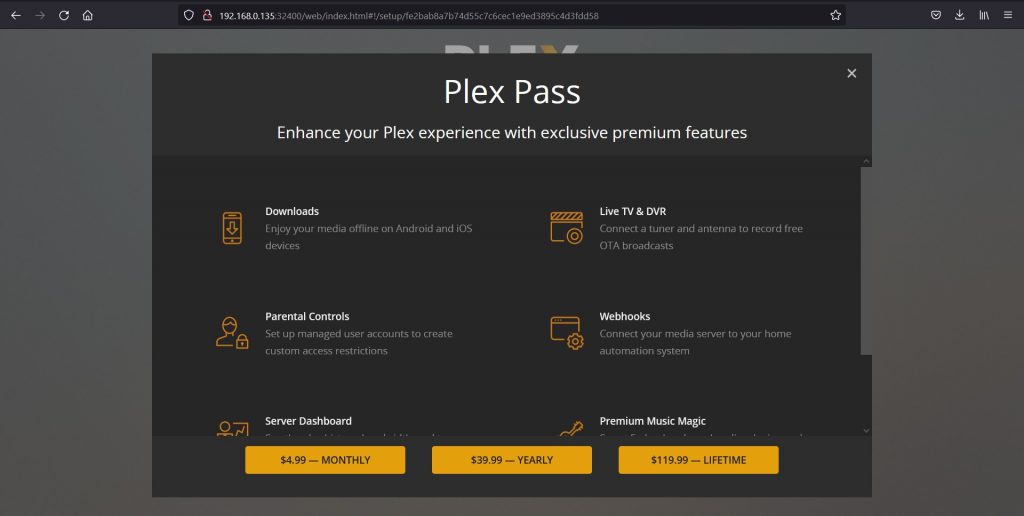
Next, you’ll see the following screen appear. Plex offers a Plex Pass which allows you to access its exclusive premium features.
Then, on the next page, it will ask you for a name for your Plex Media Server. You can leave the box checked for “Allow me to access my media outside my home” and then click Next.
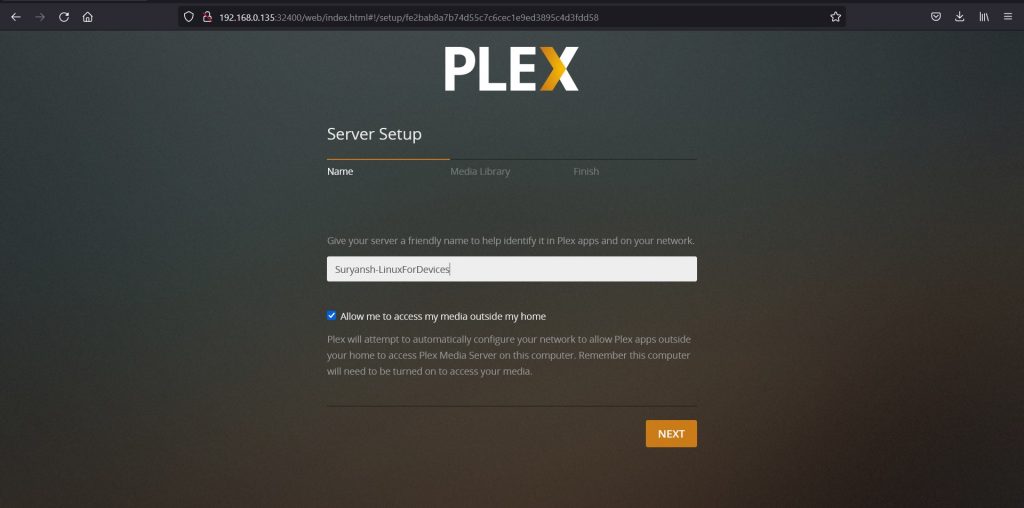
Now, it will ask you to add the Media Library for your Plex Media Server.
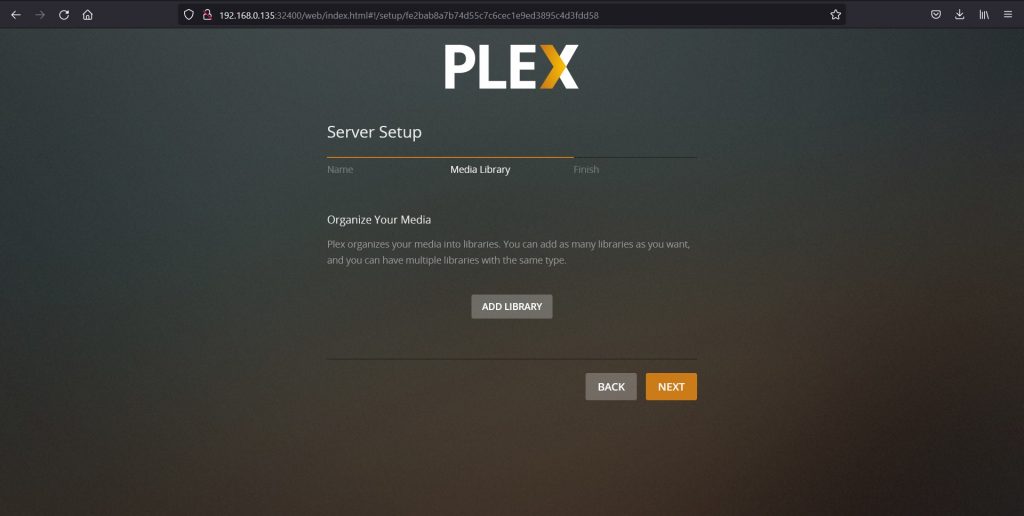
Now, go to your Ubuntu terminal and create a folder to store your media files, execute the following commands to create a /movies folder, and give Plex Media Server permissions to it.
sudo mkdir /movies
sudo chown plex.plex /movies/
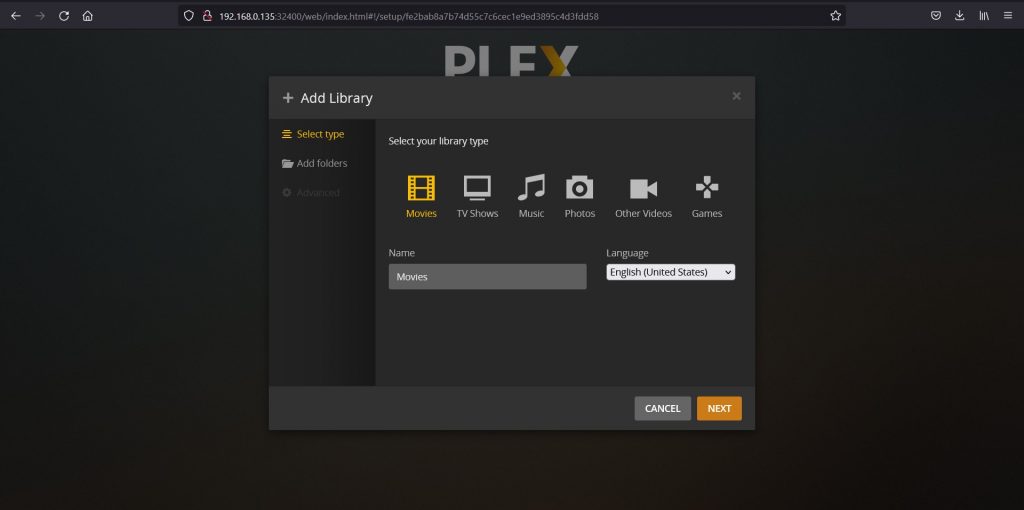
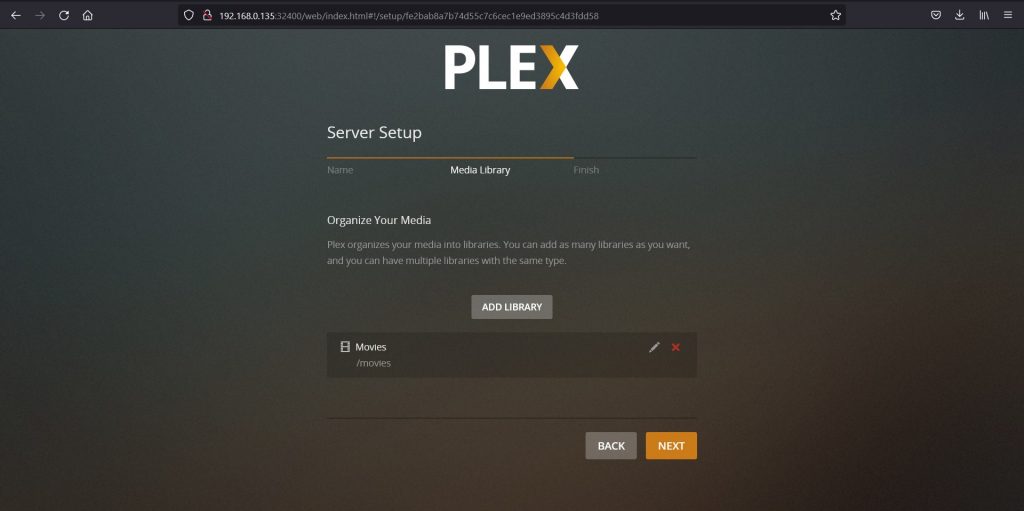
Once we have created a media folder successfully, we can keep all the media files that we want to access through our Plex Media Server in that media folder. To add the folder to the Plex Media Library, click ADD LIBRARY and choose the media library type (in here Movies), and then click NEXT.
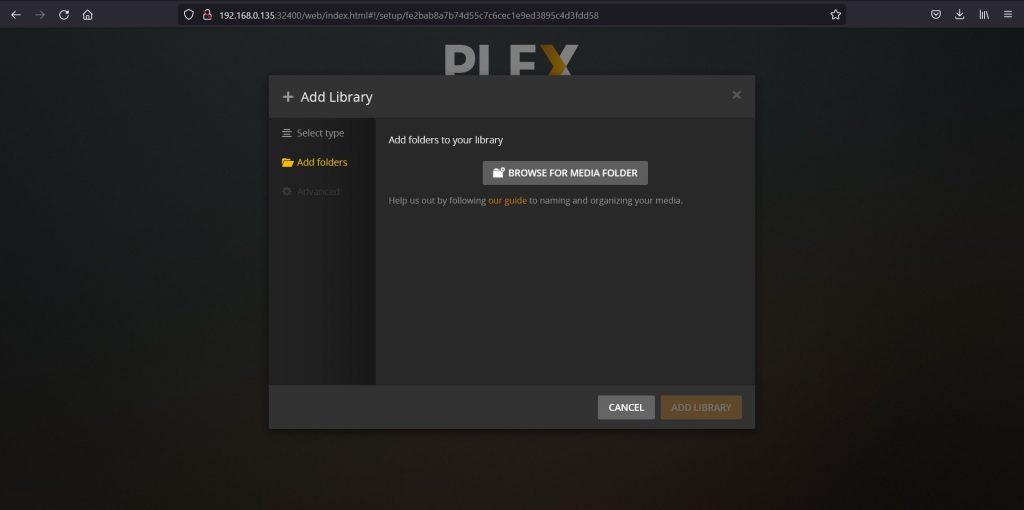
Now, click BROWSE FOR MEDIA FOLDER to add folders to your Plex Media Server library.
Next, locate and click on your media folder, then click ADD.
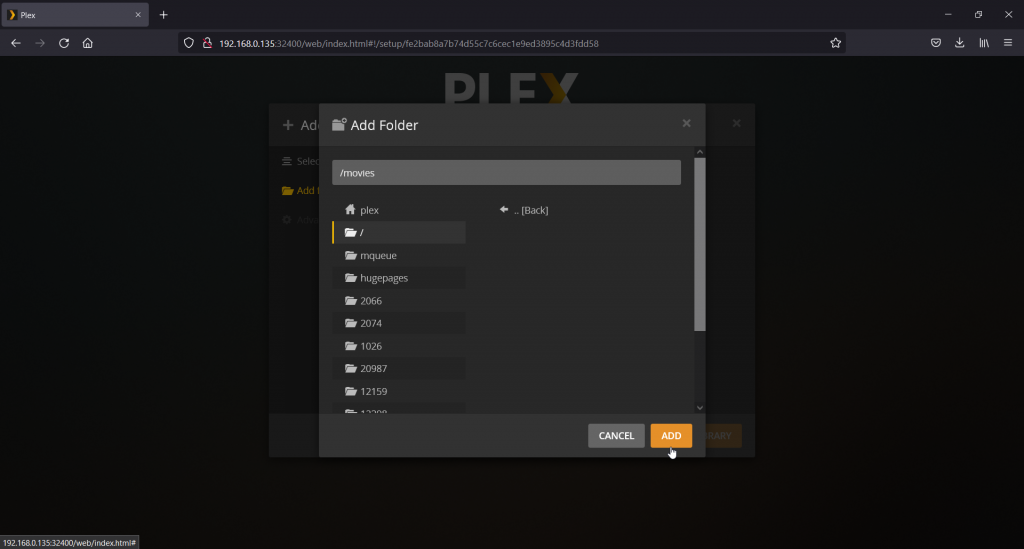
Then click ADD LIBRARY, and then click NEXT to complete to finish the installation wizard.
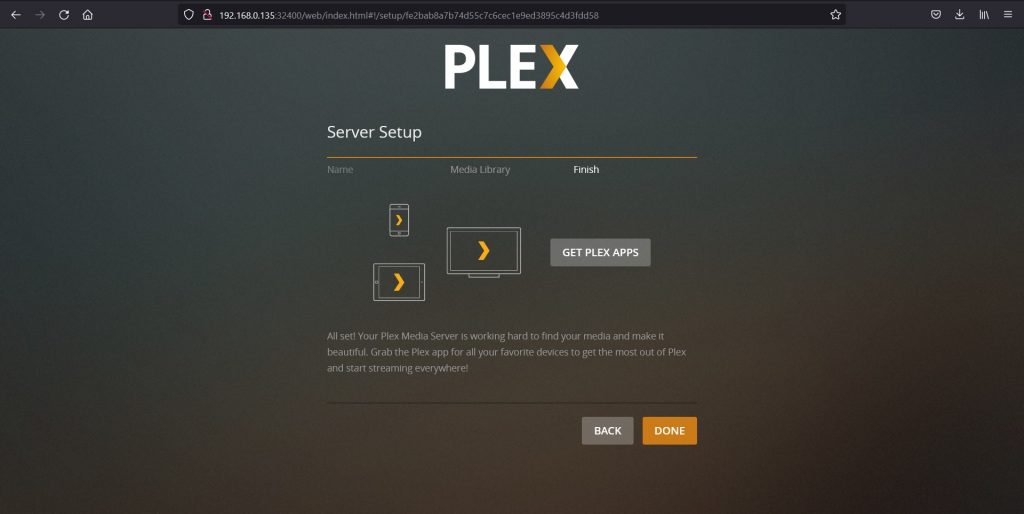
Now, click DONE.
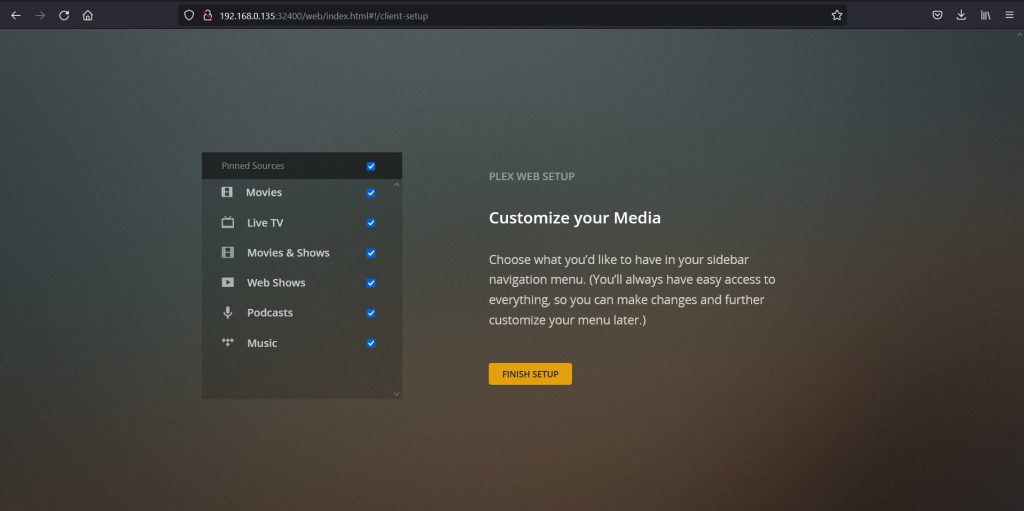
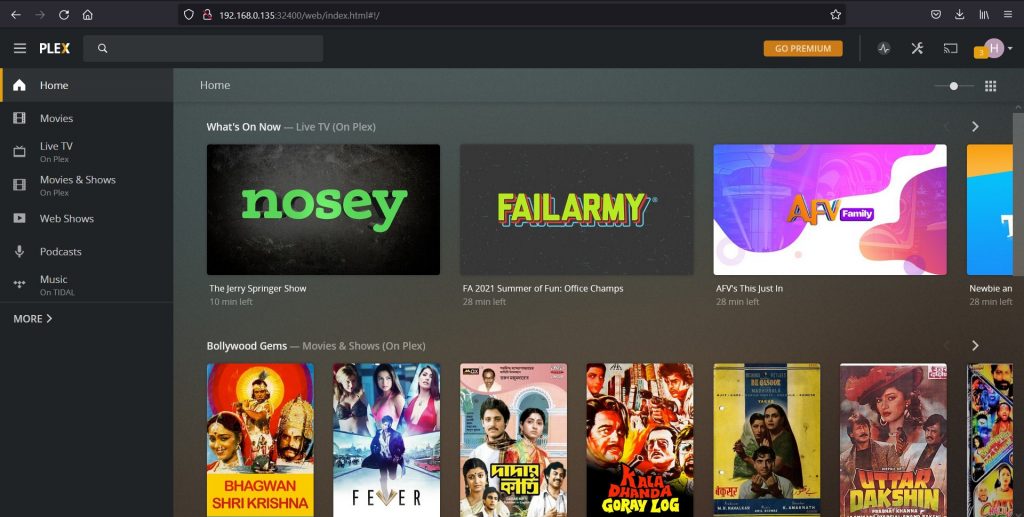
Then click FINISH SETUP to redirect to your Plex Media Server Home.
Congratulations! We have successfully learned how to install and set up a Plex Media Server.
Conclusion
Plex is a popular media software to manage your personal media collection. It is free to use and easy to install.
In the above tutorial, we have learned to install Plex Media Server and, then we have added a Plex Media Library to our Plex Media Server on an Ubuntu machine.
Thank you for reading! 😀
