Audacity is the most widely used open source audio editing software. It is a cross-platform, feature rich program which is available free of cost to everyone. Note that, despite being a FOSS software, Audacity has now started to collect basic user telemetry.
In this article, I will show you how can you turn off the blinding light theme on Audacity and enable Dark Mode.
Apply Dark Mode
On the Menu bar, click on the edit button and open preferences, or simply press Ctrl+P on your keyboard.
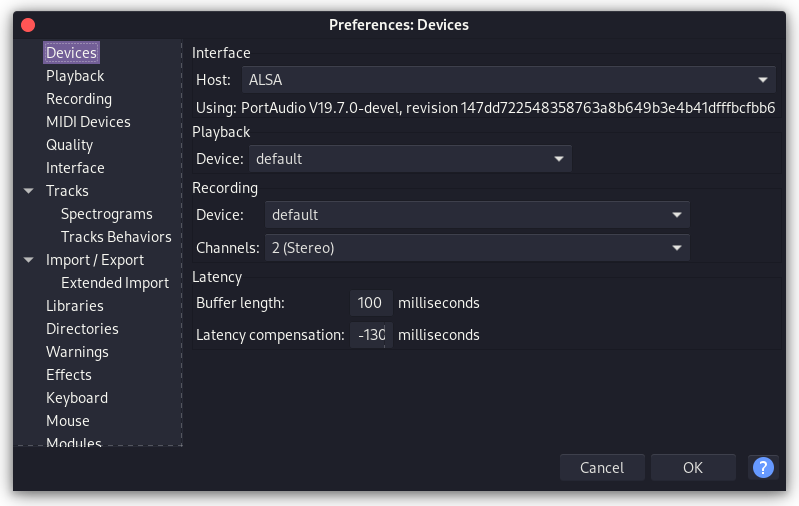
Now, from the Dialog box, navigate to the ‘Interface’ Menu.
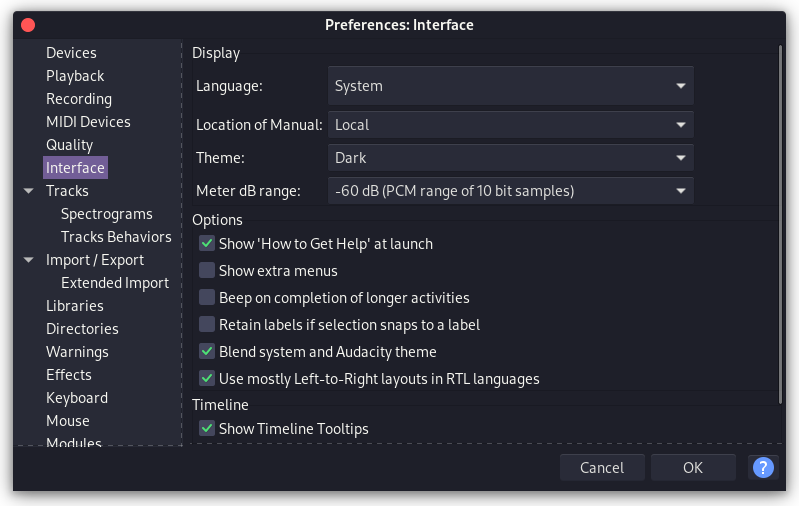
From the dropdown menu in ‘Theme’, select Dark and click OK. Dark mode will be applied throughout the application.
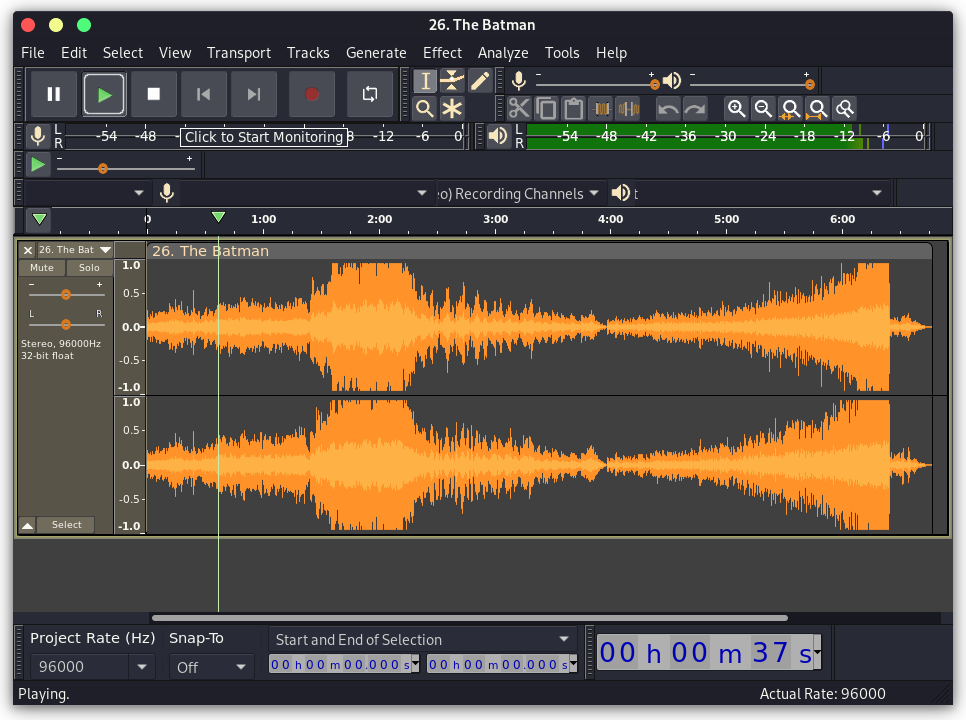
If the dark mode doesn’t show up correctly, simply restart the application.
Apply High Contrast Mode
Again, if you did not like the default options in the dark mode, there is also a ‘High Contrast’ theme available for audacity. You can enable it just like you enabled the Dark mode.
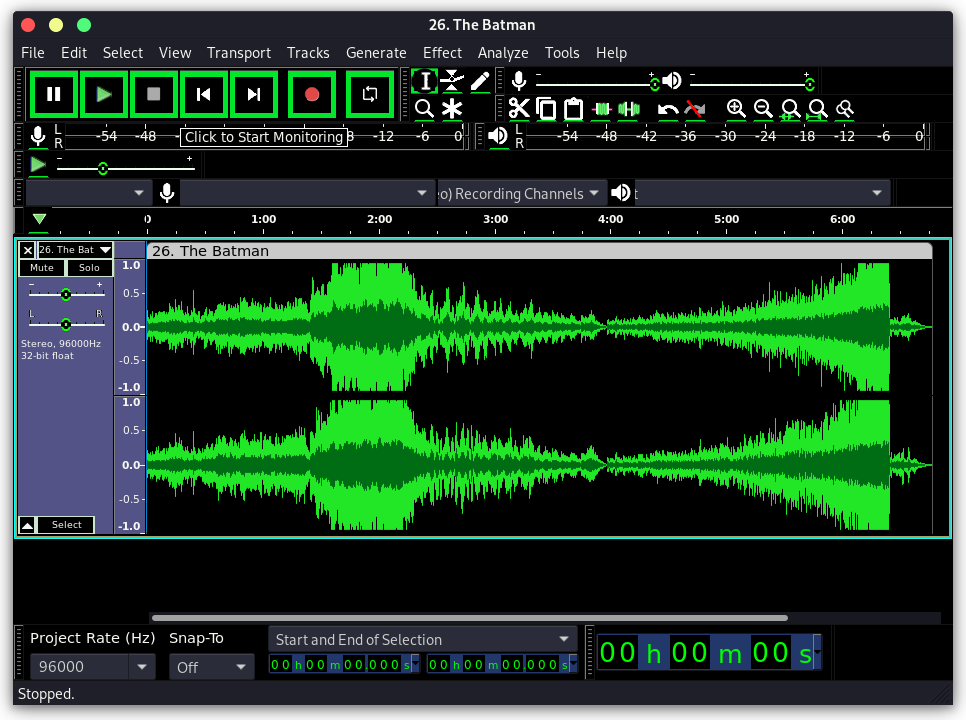
Add a custom theme
You can also create your own theme by using the official wiki of Audacity as your guide. However, I’m also going to show you how to apply one theme made by a DeviantArtist.
First, download the Audacity Clean Dark theme files from here, and extract the zip file.
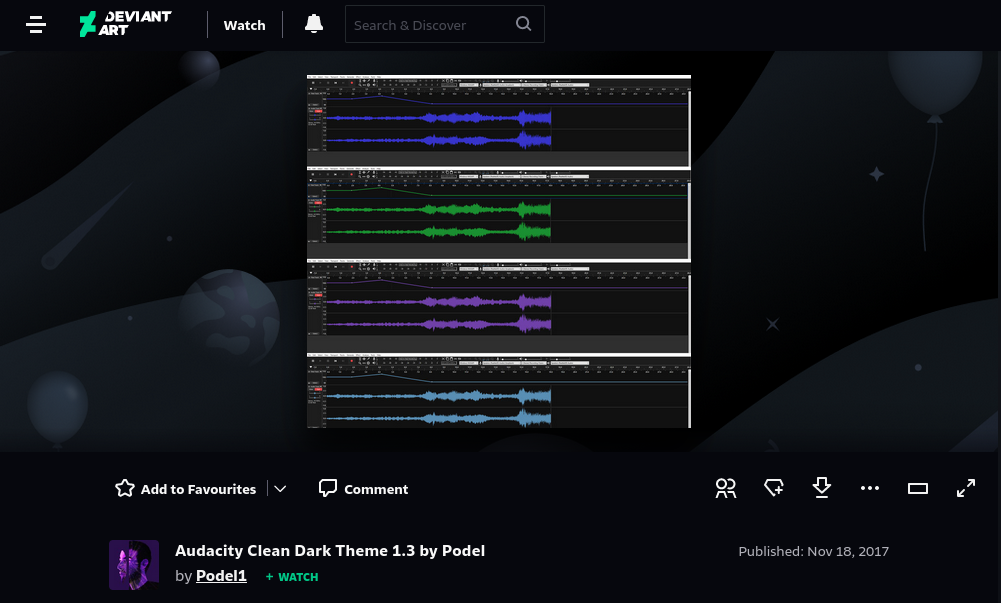
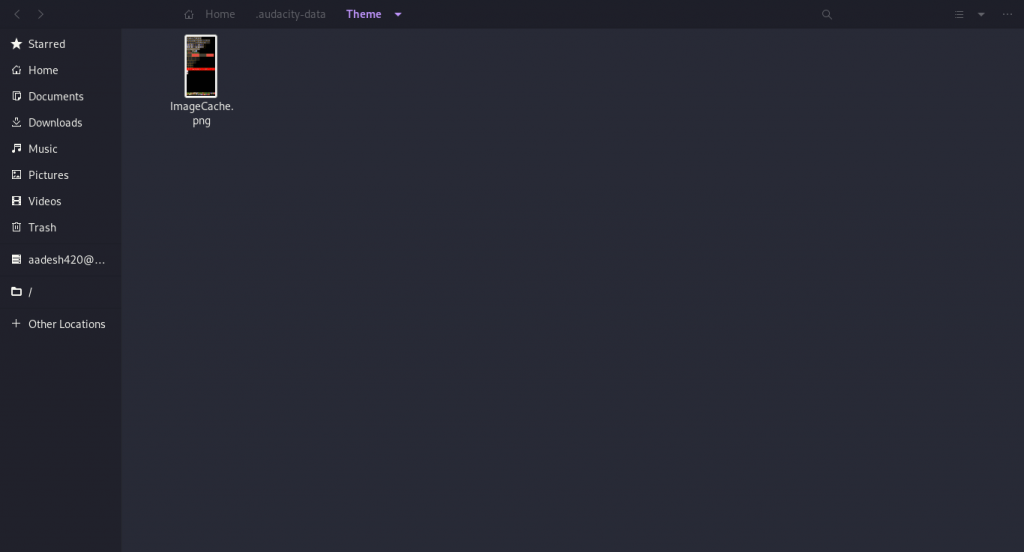
Now, select any one colour which you prefer as your dark theme and copy the ImageCache.png file to ~/.audacity-data/Theme folder. If the theme folder is absent, then create one.
Now, in the Audacity application, again navigate to Edit > Preferences and then from the Interface section, apply the Custom theme and click Okay.
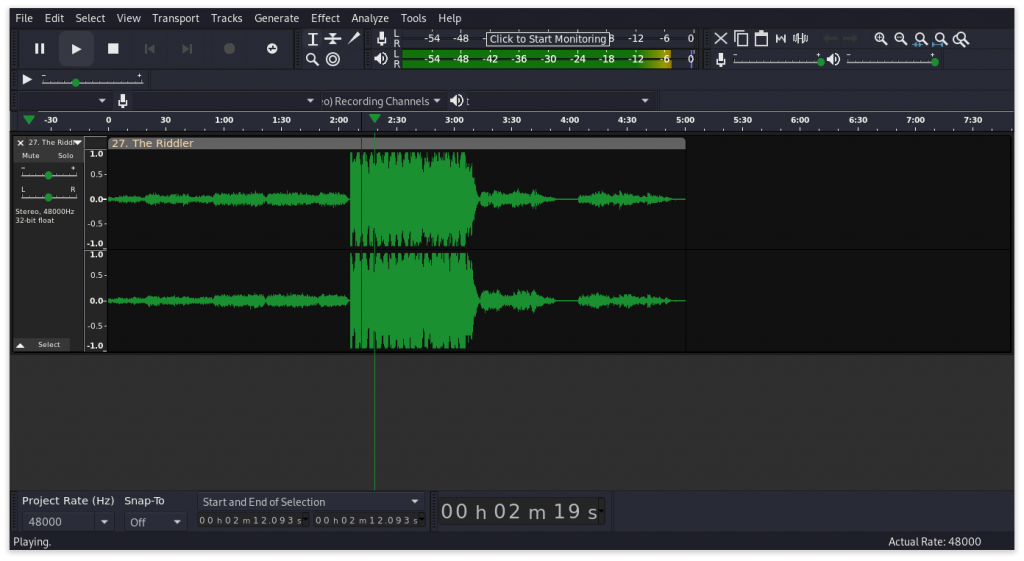
We have now successfully applied the custom theme.
Summary
Audacity is a really cool program for audio editing and because it is open-source, it allows for many developers to develop various plugins and custom themes for the application. The application is also documented really well on their website.

