PNG images are certainly better than JPEG when their quality is compared. However, when we talk about loading PNG images on a website, it takes quite some bandwidth and therefore the webpage becomes a little slow.
Therefore, converting images to JPEG format is a wise solution, despite compromising the quality. In this article, we will batch process images in the terminal using CLI tools such as ImageMagick and GraphicsMagick.
Install ImageMagick and GraphicsMagick
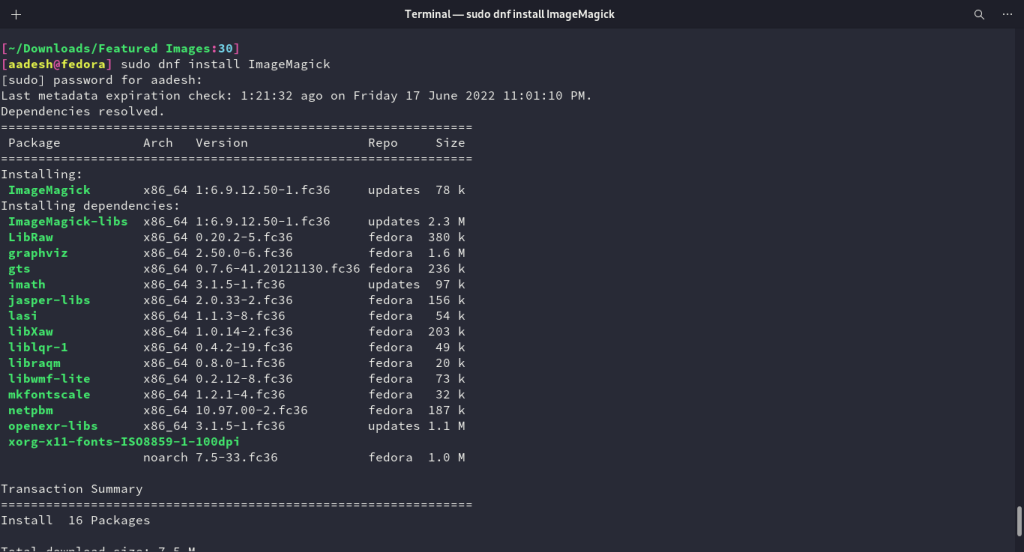
ImageMagick is a widely used open-source tool for modifying and managing image files. It is available on all the major Linux distributions. Install it by typing the following commands :
# Debian and Ubuntu based distributions
sudo apt update && sudo apt install imagemagick
# On Fedora Workstation
sudo dnf install imagemagick
# On Arch Linux
sudo pacman -S imagemagick
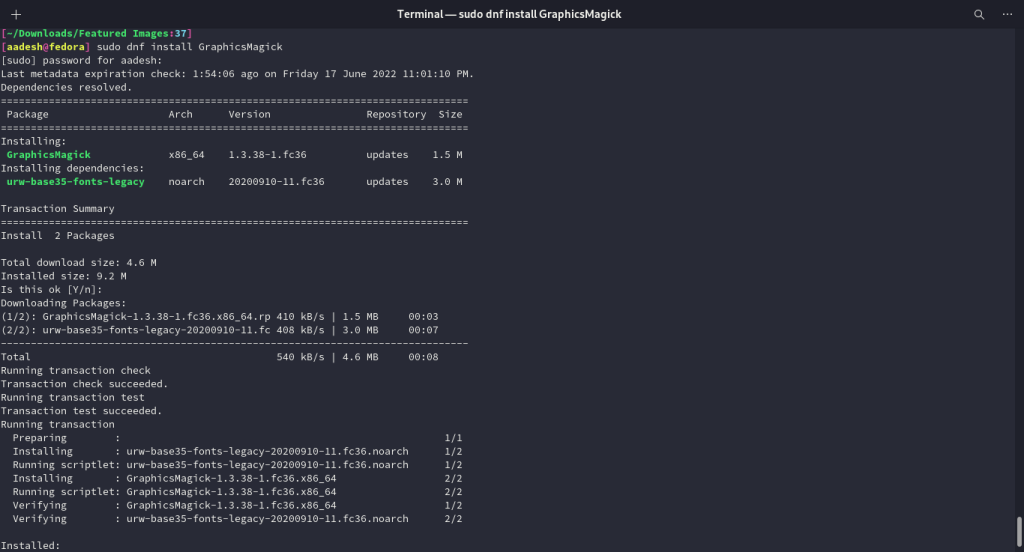
GraphicsMagick on the other hand is based upon ImageMagick, and it offers faster processing and better quality. To install it on your distribution, type the following commands :
# On Debian and Ubuntu based distributions
sudo apt install graphicsmagick
# On Fedora Workstation
sudo dnf install GraphicsMagick
# On Arch Linux and its derivatives
sudo pacman -S GraphicsMagick
Converting PNG images to JPEG
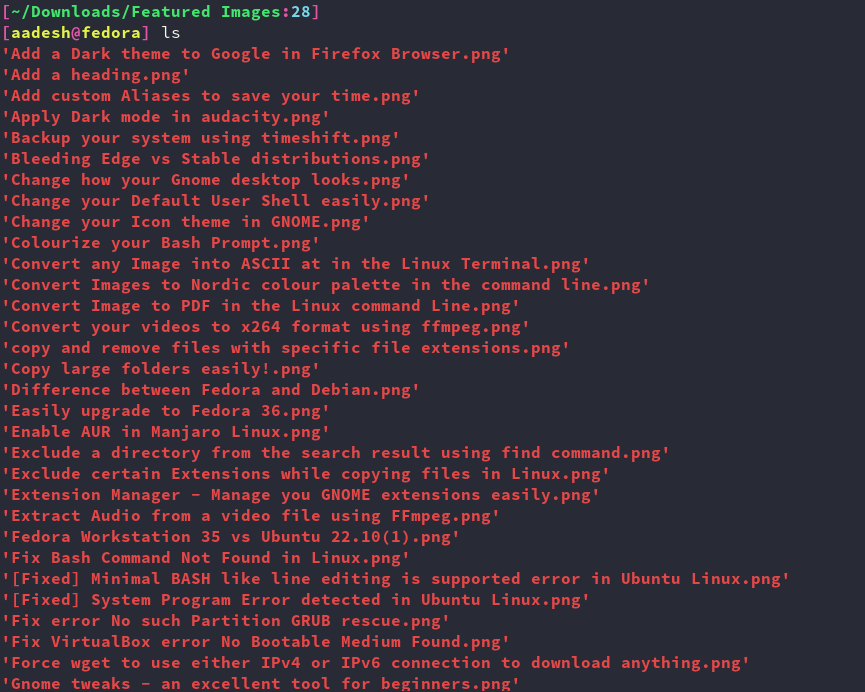
Navigate to the directory where you have stored all the PNG images using the cd command, and list out all the contents using the ls command.
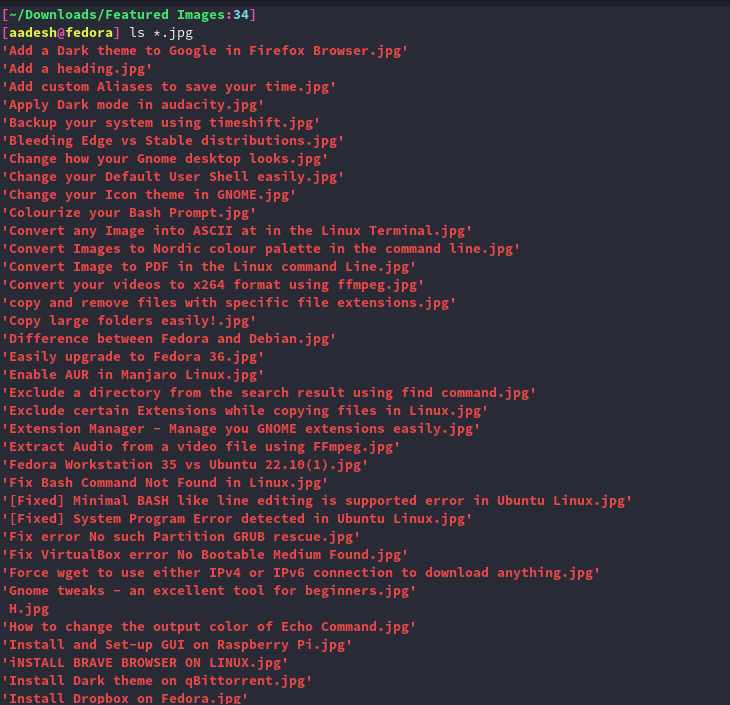
Now, we will convert the images using ImageMagick first, using mogrify command.
mogrify -format jpg *.png
ls *.png
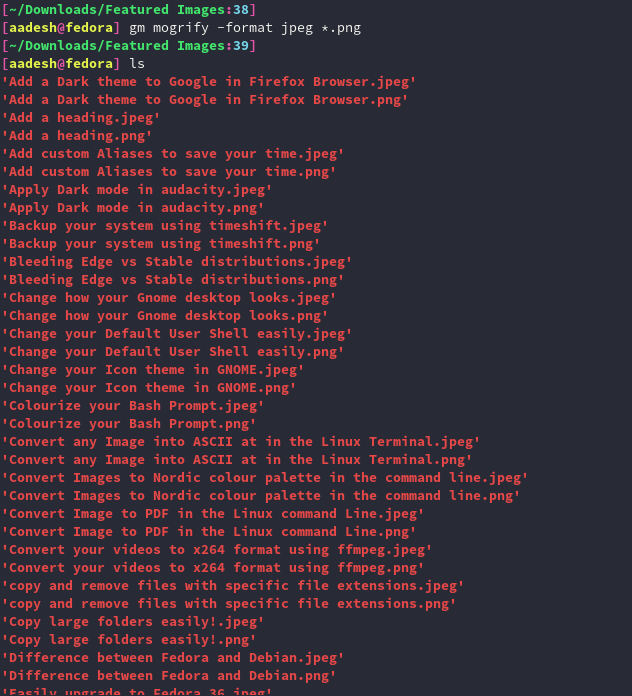
To achieve the same result using the GraphicsMagick, you can use the following command :
gm mogrify -format jpeg *.png
Summary
You can use the man pages of both the commands to know more about their functionality because ImageMagick’s scope is huge. Converting PNG images to JPG essentially saves a lot of space on the website’s server and increases the speed of the website on every device.
