iOS and iPadOS are the main operating systems which are shipped in the Apple Mobile devices such as iPhone and iPads. But, what if I tell you that you can actually use these Apple devices in a better way with much better software support?
Today, we will be walking you guys through a tutorial on how to run Linux on an iPad. We will be using an application to do this. Many people want to get their hands-on experience on Linux but don’t have any spare hardware to install an entire OS. So, running Linux on an iPad that you already own is a viable solution. Note that you are not running an entire OS, and therefore you will not be required to jailbreak your device. Jailbreaking refers to the term when you fiddle with your OS and remove warranty on your device in the process. If you want to run a fully fledged Linux distribution, then you can try the UTM virtual machine.
Keep in mind though that this is not an alternative to a full-fledged Linux Laptop or PC. With this set-up, you will be able to perform minor Linux terminal tasks to familiarize yourself with Linux and integrate Linux in some way into your daily workflow. Technically, this app allows the user to emulate an x86 system to run a Linux shell environment on the iPad.
Getting started: Get the ish Shell
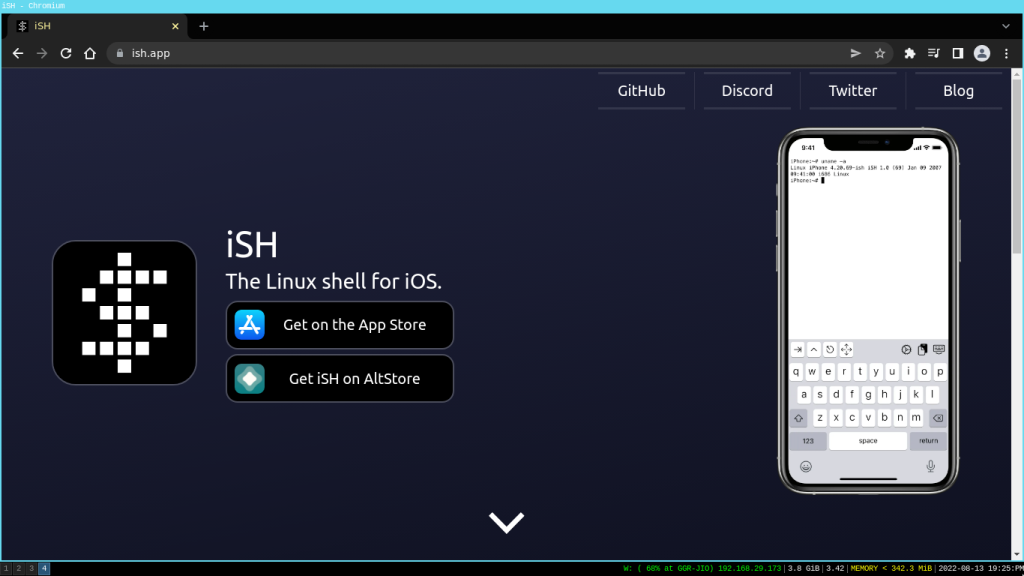
We will be using an application called iSH Shell, it is a free application. Go ahead and download the application, and open it up. You will see that the app opens up a shell, a Linux shell to be precise. You can go ahead and install packages with the command:
apk add <package>

The first thing we should do is update the system. The “apk” is a package manager, and it allows you to install packages on the system. We will use the following command to update the system:
apk update
Now we will run the upgrade command to upgrade the system:
apk upgrade
Give it a few moments to update and upgrade the system, and then we will be good to go again. Once the system is updated, we will add a few packages. I like using bash as it is in my comfort zone, so let’s install bash first:
apk add bash
Now let’s install Python3:
apk add python3
Once the installation is complete, let’s check the python3 version to make sure that it is indeed installed in the system:
python3 --version
Now we need to enable pip:
python3 -m ensurepip
So our python setup is complete, you can install virtualenv if you want through pip3, but be aware that pip on this hardware may be a little bit slower, so that is a tradeoff for running Linux on an iPad. Let’s go ahead and install OpenSSH:
apk add openssh
You can also install vim, net-tools and curl to get started with Linux.
apk add openssh vim net-tools
Through the ssh method, you can easily log onto many machines (assuming that you have ssh access) all from your iPad without ever leaving the desk! This makes multitasking a lot more achievable. Checking up on various servers, their process and job status and so on and so forth is very easy this way.
Conclusion
Feel free to drop into the iSH GitHub page to read up on other documentation or their discord server if you are facing some issues.
While running Linux this way on your iPad is now very easy (all thanks to the developers of the iSH Team), this is in no way an alternative to a full-fledged Linux-Powered PC. You may run into several broken packages and updates, but you can smoothly run low RAM-consuming tasks such as ssh, vim and many terminal applications! And guess what, terminal applications are the best way of getting your hands on Linux for the first time!
The Apple Silicon (M1 series processors) is also going to be fully supported by the Asahi Linux project. The developers are rapidly reverse engineering the ARM based CPU and contributing back to the Linux Kernel and because of that you can run Linux natively on a M1 MacBook without having to spin up a virtual machine (although we will recommend dual booting both Linux OS and macOS).


