QOwnNotes is a free and open-source markdown note-taking application that can be synced across all your devices using your Nextcloud/ownCloud account (that can be self-hosted as well). It provides many useful features such as encryption, and multiple workspaces, and you can even write scripts on this application.
Q in the name stands for Qt, which is the framework on which this application is built, and Own signifies that you own your notes. It is cross-platform, which means, you can install it on Linux, Windows, and macOS as well. On Android or iOS, you can use the “Nextcloud Notes” application.
In this tutorial, we will take a look at the installation procedure of this note-taking application, set it up to sync with our Nextcloud instance as well as discuss some of its useful features.
Features of QOwnNotes
Some of its useful features are mentioned below :
- It is written in C++ language and therefore utilizes very low system resources.
- Compatible with the Mobile applications of Nextcloud and ownCloud.
- Optional encryption is supported, AES-256 is built in, but you can use any custom encryption method as well.
- The notes you delete can be reloaded from your Nextcloud/ownCloud server.
- This application also supports Evernote and Joplin imports.
- A Portable mode is also available so that you can carry around your notes in a USB stick.
- Folders are also available to organize your notes.
- Spellchecking support is also available.
- You can also script in this application, it also has a vim editor mode.
- A Browser extension is also available so that you can directly add notes from the selected text, screenshots or bookmarks.
- Distraction-free mode, a dark theme and Typewriter modes are available so that you can type anything with ease.
Installation
On Debian and Ubuntu-based distributions, you can type the following commands to first add the repository and then install the application :
sudo add-apt-repository ppa:pbek/qownnotes
sudo apt-get update && sudo apt-get install qownnotes
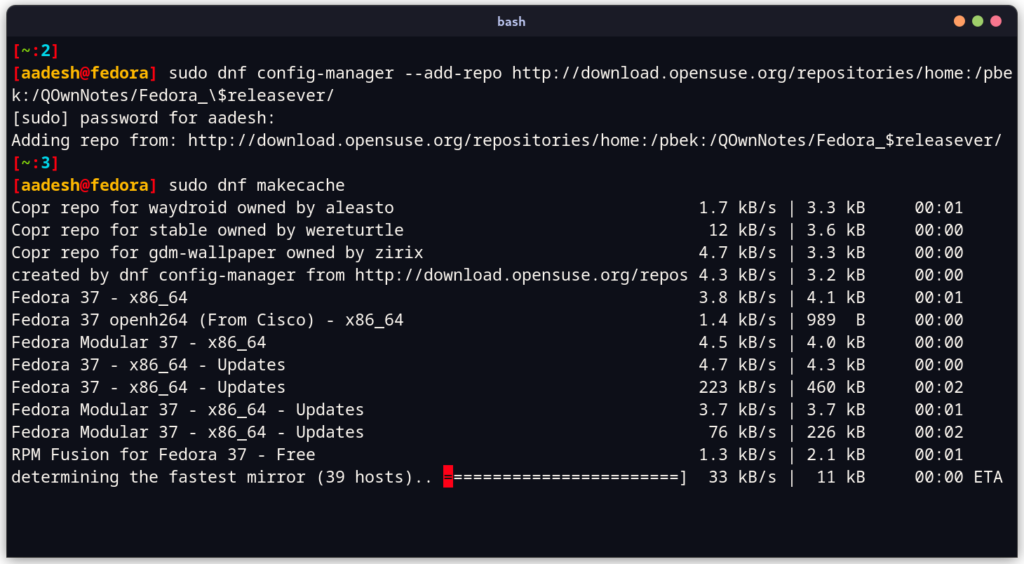
On the Fedora workstation, you can type the following command:
sudo dnf config-manager --add-repo http://download.opensuse.org/repositories/home:/pbek:/QOwnNotes/Fedora_\$releasever/

sudo dnf makecache

sudo rpm --import http://download.opensuse.org/repositories/home:/pbek:/QOwnNotes/Fedora_36/repodata/repomd.xml.key

sudo dnf install qownnotes
On Arch Linux, you can install the application from the AUR by typing :
yay -S qownnotes
Setting up
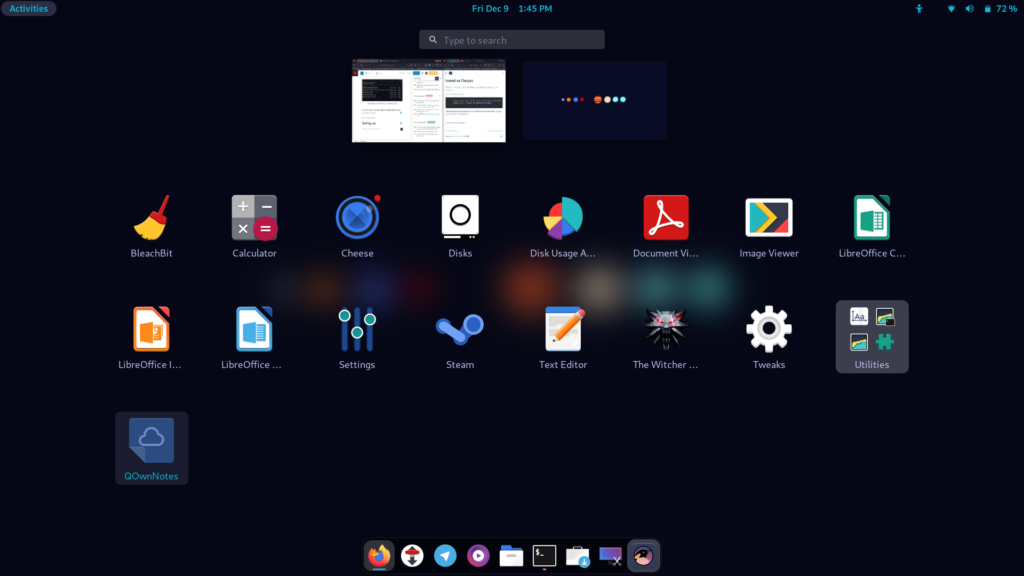
Search and launch the app from your Application Grid/Menu.
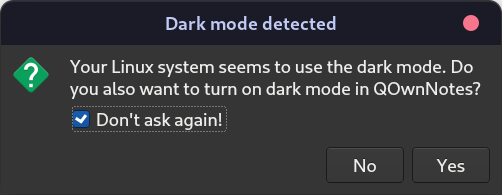
If you have Dark mode enabled on your Desktop, then you will be asked to enable it in the application’s dialog box.
Now on the next screen, set the location where you want your files to be saved.
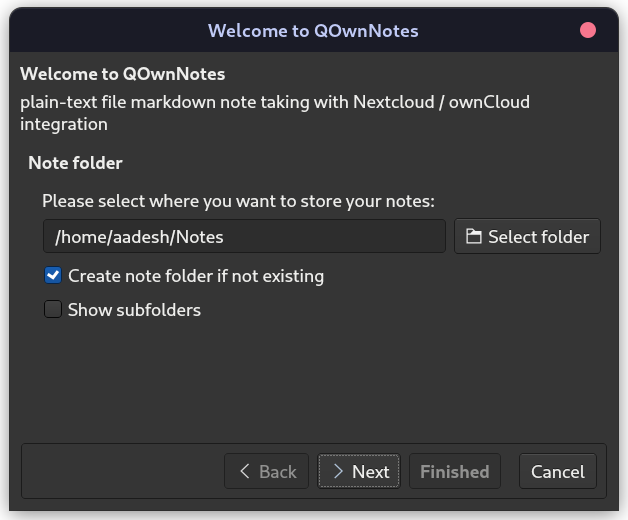
On the next screen, you will be asked to select your preferred interface for this application, you can select minimal if you’re just going to do basic text editing, I’m going to choose full for demonstration purposes.
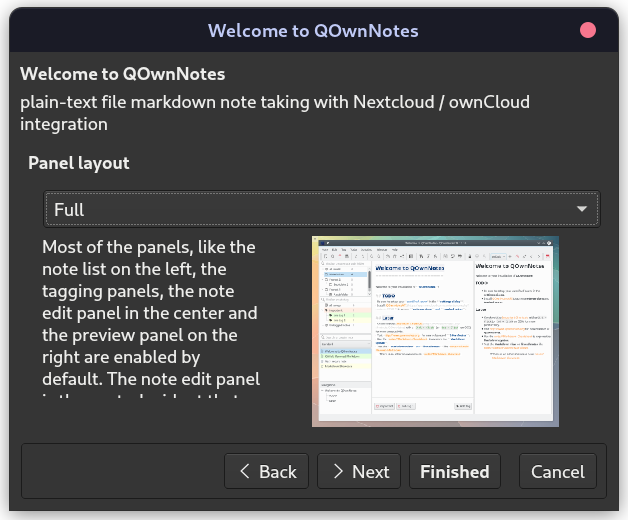
If you do want to use this application in offline mode, just hit finish, but if you want to connect your online accounts, hit Next.
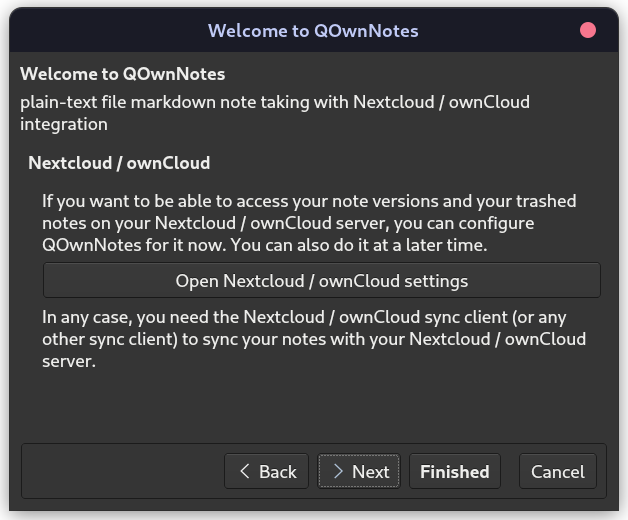
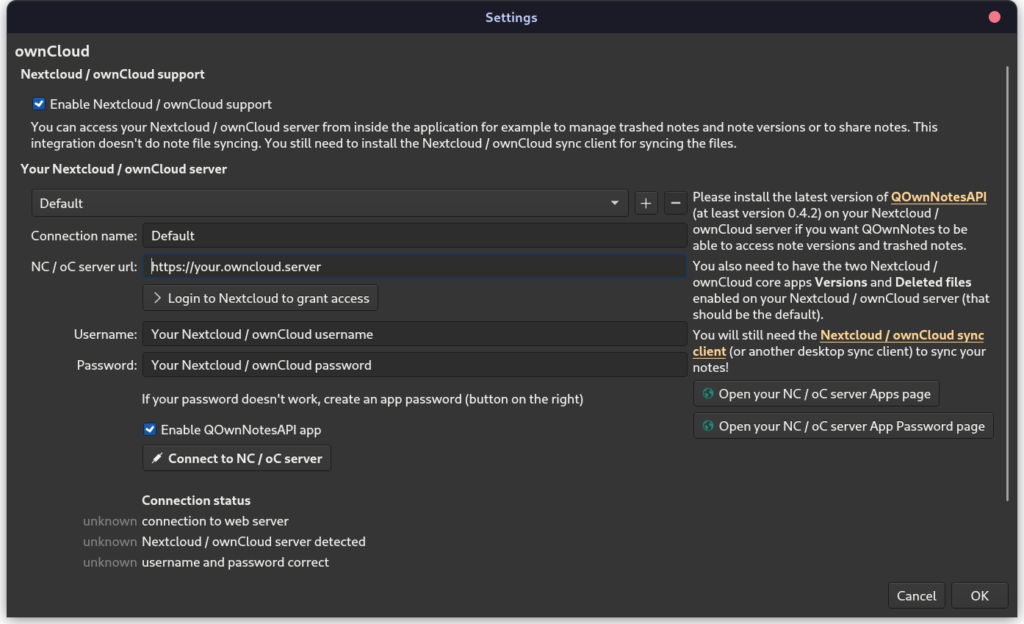
Click on ‘Open Next/ownCloud settings’ and then enter your credentials.
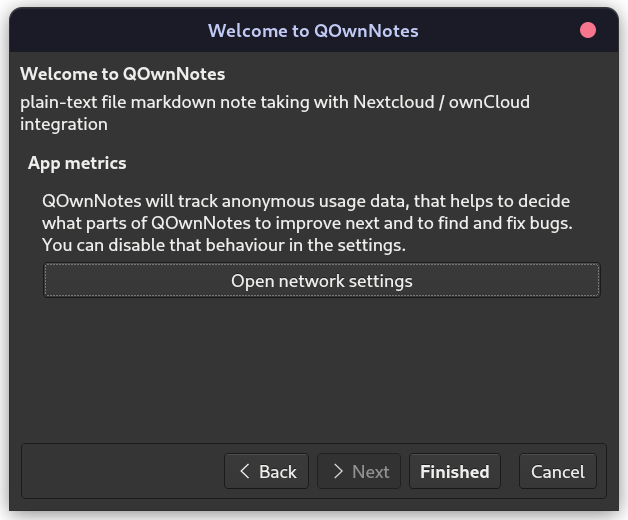
Finally, you can disable the anonymous tracking if you want, however, I’d recommend you not to do it since it helps the developers fix any bugs you encounter any.
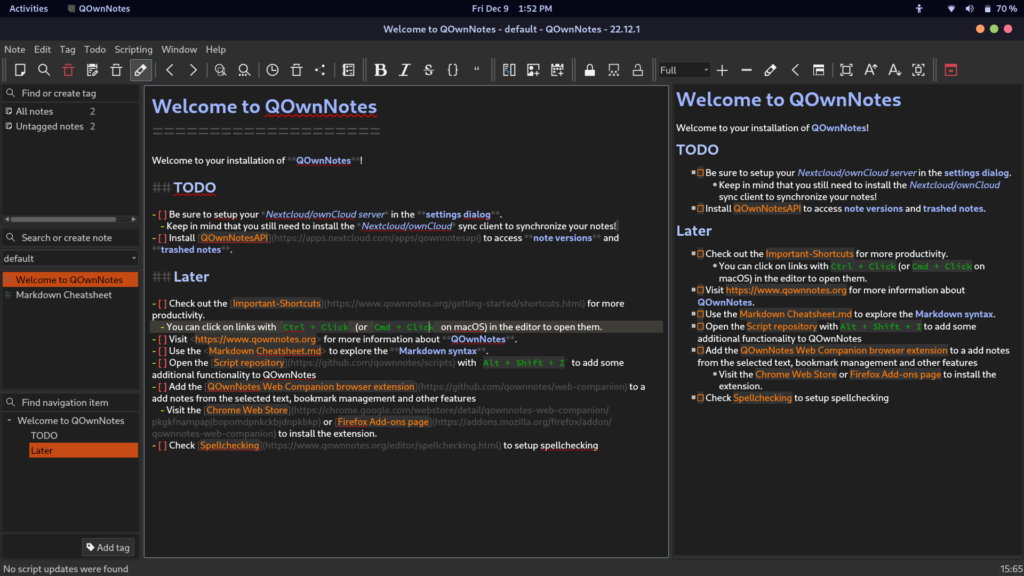
Finally, you will be greeted with the Interface of this application, and you can start making your notes.
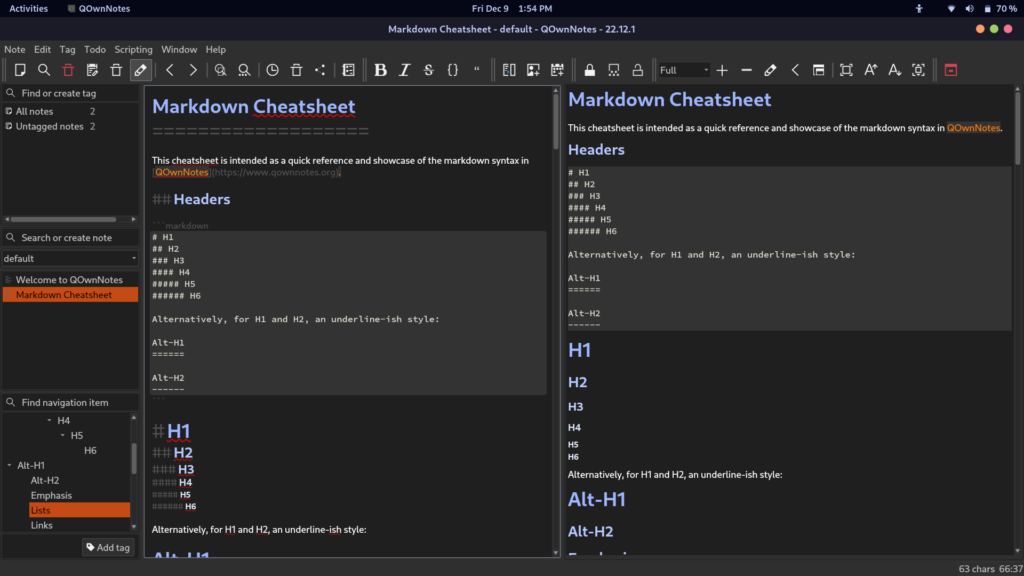
There is also another note named ‘Markdown’ which will help you with all the formatting stuff.
Summary
It is a really advanced and useful application, and the sync feature really makes it worth using it across devices. Dark theme does not put much strain on your eyes. If you are using a large screen, then you can also use multiple docks and floating windows inside this application. You can give it a try if you work regularly with Nextcloud or ownCloud instances.
