IntelliJ IDEA Community edition is a free and open source edition of the professional grade IDEA ultimate edition application by JetBrains. It provides all the necessary tools you will need to develop your code. Some of the supported platforms and languages are:
This is also a cross-platform application and is available on Windows, macOS, and Linux. And in this tutorial, we will discuss how to install and set up this application on all the Linux distributions using different methods. So let’s get started!
Installing IDEA Community edition
There are a few different ways to install IDEA (community edition). Let’s go through them one by one.
From Source
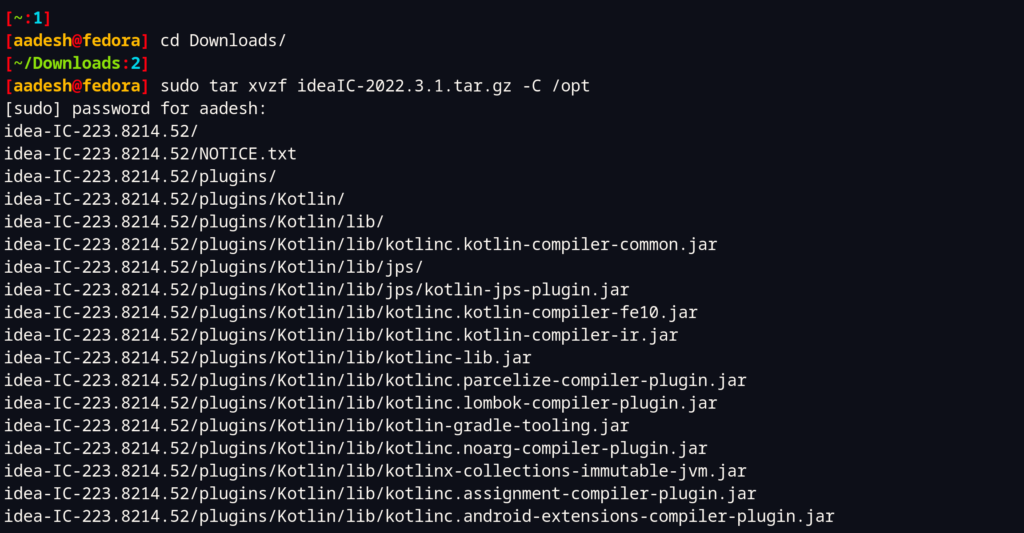
Visit the official website and download the latest tarball for Linux from the website. Once the download is finished, open a terminal window, and we will extract the downloaded files to the /opt directory using the tar command. Just type the following command:
# Enter your Downloads folder
cd ~/Downloads

# Extracting the tarball
sudo tar xvzf idealC-2022.X.Y.tar.gz -C /opt
Note that you have to change X and Y in the above code with the correct version numbers.
Note that the program still requires Java to work, and you need to have it installed on your system. To check if it is installed, you can type:
java --version

If you do not have Java installed on your system, then you can do so by typing the following commands in your terminal, depending on your Linux distribution:
# On Debian and Ubuntu based distributions:
sudo apt update && sudo apt install default-jre default-jdk

# On Fedora Workstation
sudo dnf install java-17-openjdk.x86_64

# On Arch Linux
sudo pacman -S jre-openjdk
sudo pacman -S jdk-openjdk
Finally, let’s change the ownership of our extracted directory inside the /opt directory, to do that, type the following commands in the Terminal:
sudo chown -Rfv USER:GROUP /opt/idea-IC-VERSION

Note that the version of my IDEA IC can be different from yours, and therefore you should use Tab completion after idea-IC- to find the correct directory name. Finally, you can run the installer script:
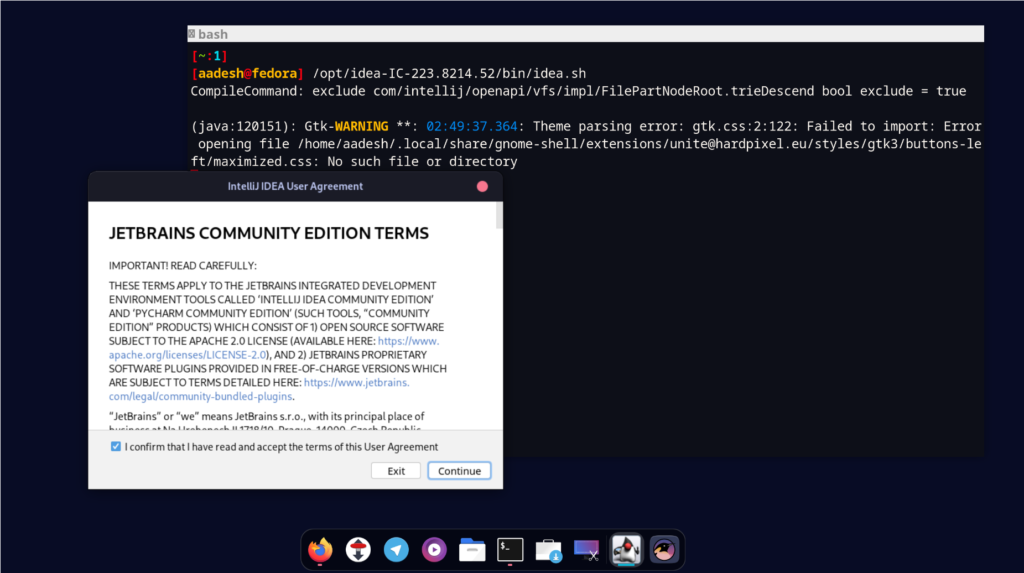
/opt/idea-IC-VERSION/bin/idea.sh
Finally, you will be able to see a dialog box asking you to accept the License agreements for the IDEA community edition, hit check the radio button, and click on continue.
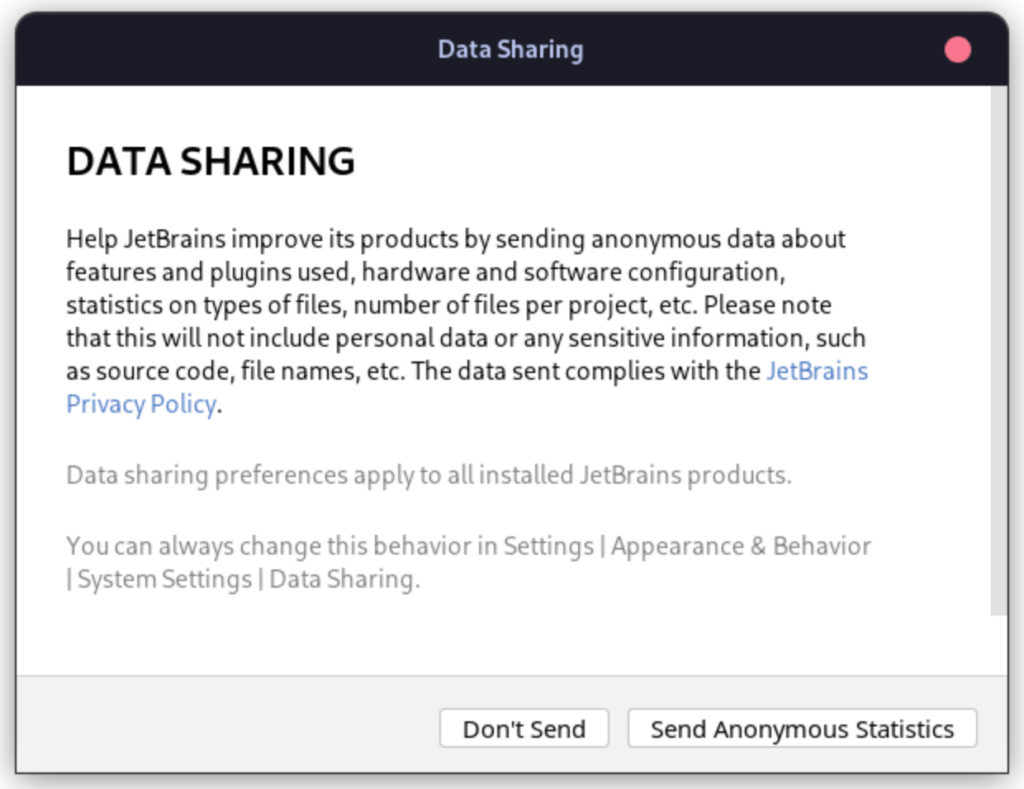
Now, the next screen will ask you to share anonymous statistical data about the application to JetBrains, and select whether to accept or deny as per your preference.
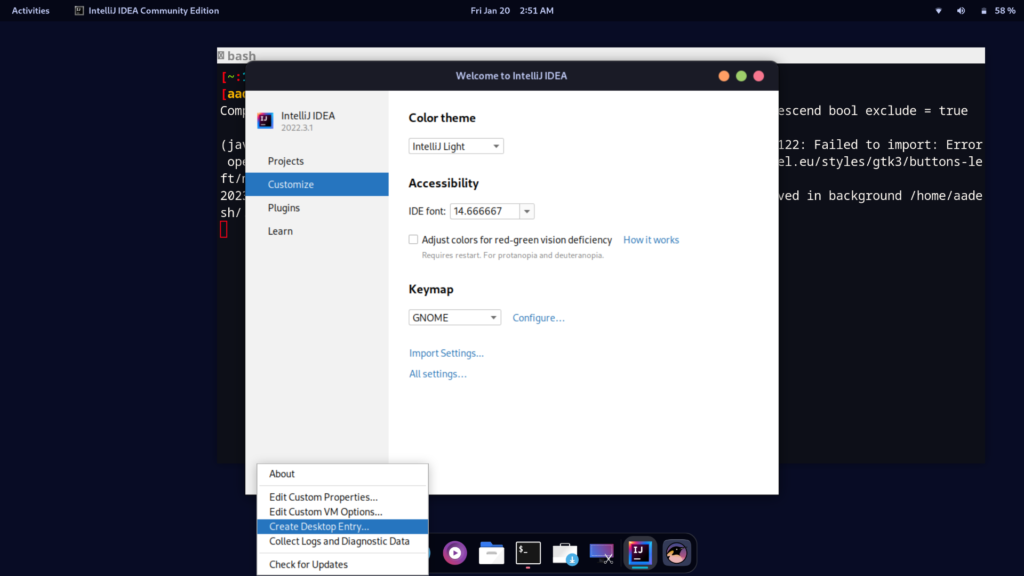
Finally, the application will be launched. However, you can create a desktop entry from the settings so that you do not have to launch the application from the Terminal.
From the snap store
You can also install the IDEA community edition from the snap store if you are using Ubuntu or any distribution which has snaps enabled, install it by typing:
sudo snap install intellij-idea-community --classic
From Flatpak
Although you can install the IDEA Community edition from Flatpak, it is not recommended because Flatpak are sandboxed, and you will have to spend some time giving this application appropriate file permissions. Still, you can install it by typing:
flatpak install flathub com.jetbrains.IntelliJ-IDEA-Community
Make sure you have Flathub enabled on your distribution, otherwise this command will not work.
Summary
I hope you were able to install Idea Community edition on your Linux desktop with the help of this tutorial, if you have any doubts regarding this application’s installation procedure, you can ask them in the comments right away.

