AppImages provide an effortless and convenient way of downloading and using apps on Linux systems. They eliminate the need for complex installations, as you must download the file, make it executable, and run it whenever you want to use it.
AppImages are essentially self-contained packages that include all the necessary dependencies, making them an excellent option for users who want to avoid compatibility issues that often arise with different Linux distributions.
The popularity of AppImages has been increasing among app developers, with many now offering their programs in this format on their official websites.
So, if you’re looking for a plug-and-play solution for using apps on Linux, look no further than AppImages!
Where to download AppImages from?
So the next question is pretty obvious: What is the best place to download AppImages? The AppImage project provides the official site where they host all their AppImages in different categories, which is very convenient! There are also several sites like AppImageHub where you can check out some amazing apps and download the AppImage file for them.
Integrate AppImages into Your Linux Workflow
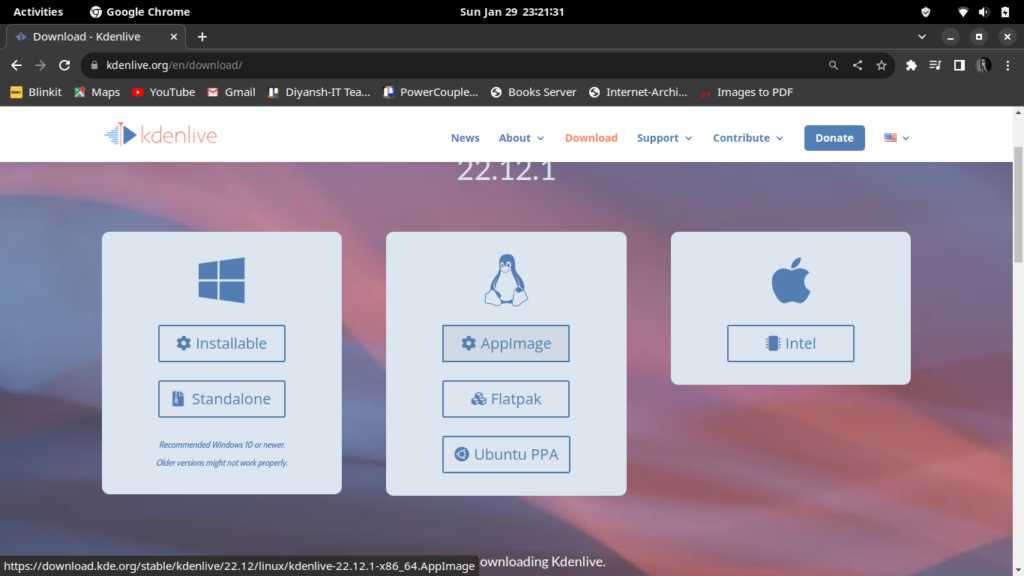
For our example, we’ll be downloading kdenlive, the open-source video editor. So first, head to the official download page for kdenlive and download the AppImage file.

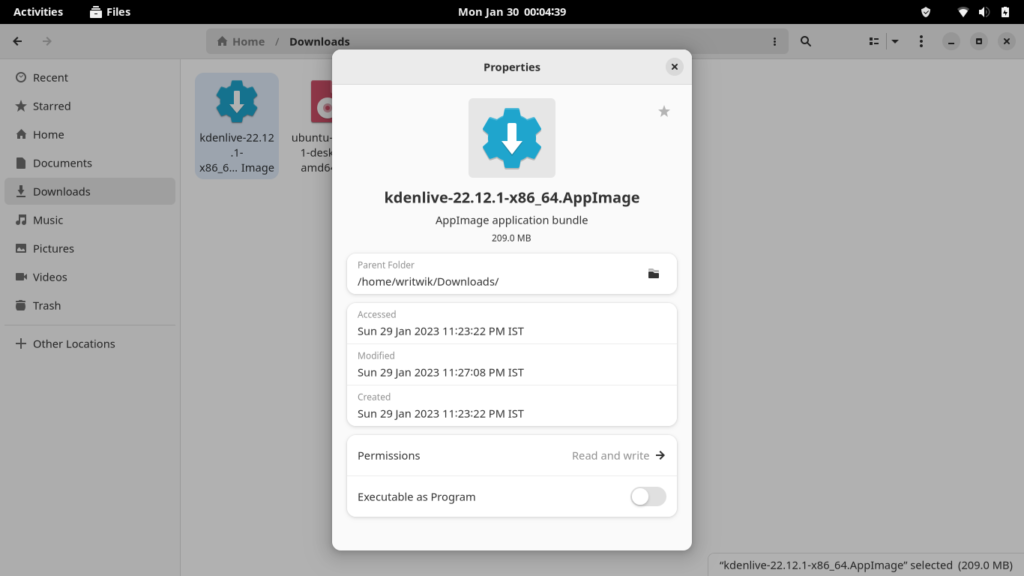
Now locate the directory where you have downloaded the file and then right-click on the file. Now go to preferences and enable the file to run as a program.

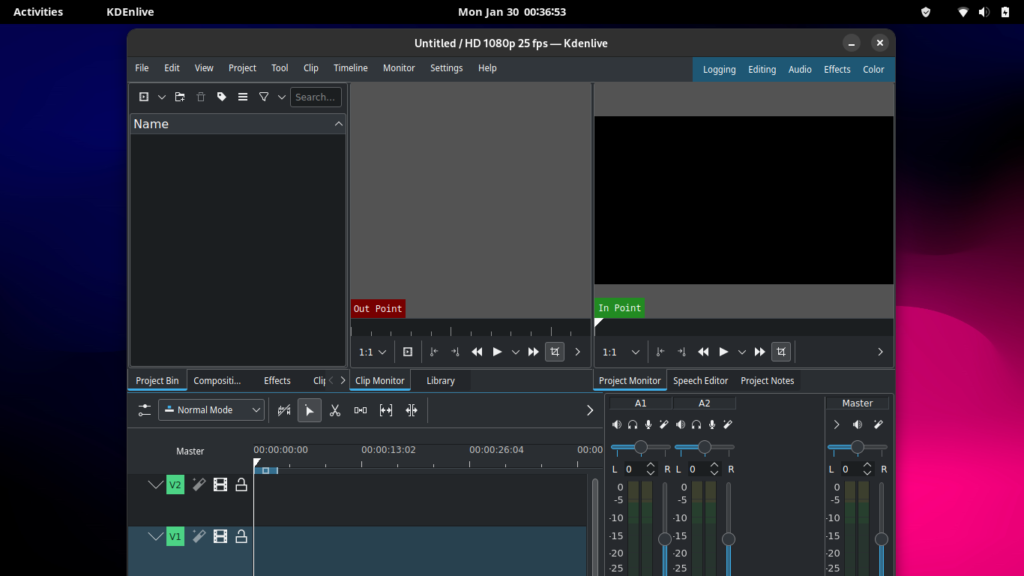
Then simply double-click on the file, and it’ll launch! Note that this does not install the application onto your system, it just runs it as is. You will have to go to the download directory every time, locate the file and then double-click on it to launch the program. You will also need to ensure that whatever program you are working on should be saved on the disk while using this method to run AppImages.
However, suppose you are on the Arch Linux OS. In that case, you can use the AppImage Launcher application, which will integrate all the app image files into the application menu like every other app.
Even if you don’t or can’t use the AppImage Launcher program, we have another way of making AppImages more accessible to you. First, cut the file and locate it in your Home directory. Now make a new folder dedicated to all the AppImages we will have on our system.
I called my folder simple “AppImage.” Now paste the AppImage files into the dedicated folder. Now we will create a desktop entry file containing the details for this application. First, we will need the file name. Now open up any text editor, I’m using gedit. Copy and paste the following text and edit as necessary:
[Desktop Entry]
Type=Application
Name=KDEnlive
Comment=KDEnlive
Icon=/home/writwik/AppImages/Icons/kdenlive-logo.png.png
Exec=/home/writwik/AppImages/kdenlive-22.12.1-x86_64.AppImage
Terminal=false
Categories=KDEnlive;video-editor
Note that you will have to make another sub-directory inside the first one if you also want to store icon images for the applications. I downloaded a png file for the KDEnlive app and stored it inside the Icons folder in the AppImages folder. The folder structure is as follows:
.
├── Icons
│   └── kdenlive-logo.png
└── kdenlive-22.12.1-x86_64.AppImage
You will need to save the file when you have completed writing the file in gedit or any other text editor. You will need the save the file in the “.local/share/applications/app-name.desktop” format. Make sure to save it in the exact directory, or else you will not be able to launch it as an application.
Now you can simply once log out from the system, and when you log back in, you can search for the app image application from your applications menu and launch the program as is!

Conclusion
We’ve also talked about installing a new app to manage and install AppImages. Also, for more such content and to learn Linux with code examples, check out LinuxForDevices! As always, thanks for reading!
