LibreOffice is the most popular office suite on Linux-based operating systems and is usually the default office suite on many Linux distributions since there is no official Microsoft Office Suite available in the Linux ecosystem. And LanguageTool is one of the best tools for autocorrecting any typos or grammatical mistakes you make while writing. LanguageTool is largely used by writers like me in a web browser (as an extension) to correct mistakes that we make sometimes while writing articles and tutorials. But what if you combine the power of both of these open-source software and use it in your daily work environment?
That is precisely what we are going to discuss in this article. We will try to install the LanguageTool extension on the LibreOffice writer application to do spell check of whatever we write in that program. In this tutorial, we’ll guide you through the process of integrating LanguageTool with LibreOffice Writer for enhanced spell-checking.
Integrating LanguageTool with LibreOffice Writer enhances your spell-checking capabilities, offering a more robust solution for catching typos and grammatical errors. Whether you’re using LibreOffice 7.4 and above or an older version, the installation process is straightforward. For newer versions, you’ll need a constant Internet connection, while older versions allow offline use. Once set up, you can enable LanguageTool from the ‘Language Settings’ menu in LibreOffice Writer, providing a seamless writing experience
Checking Your LibreOffice Version
How you install the LanguageTool largely depends on the version of LibreOffice you are using. Many LTS (Long Term Support) operating systems ship with the older versions of LibreOffice to maintain stability and the distributions who focus on being the cutting-edge in terms of software provide the latest version of LibreOffice. So, in order to check the version of LibreOffice, open any application from the suite and from the Help menu, open the About page.
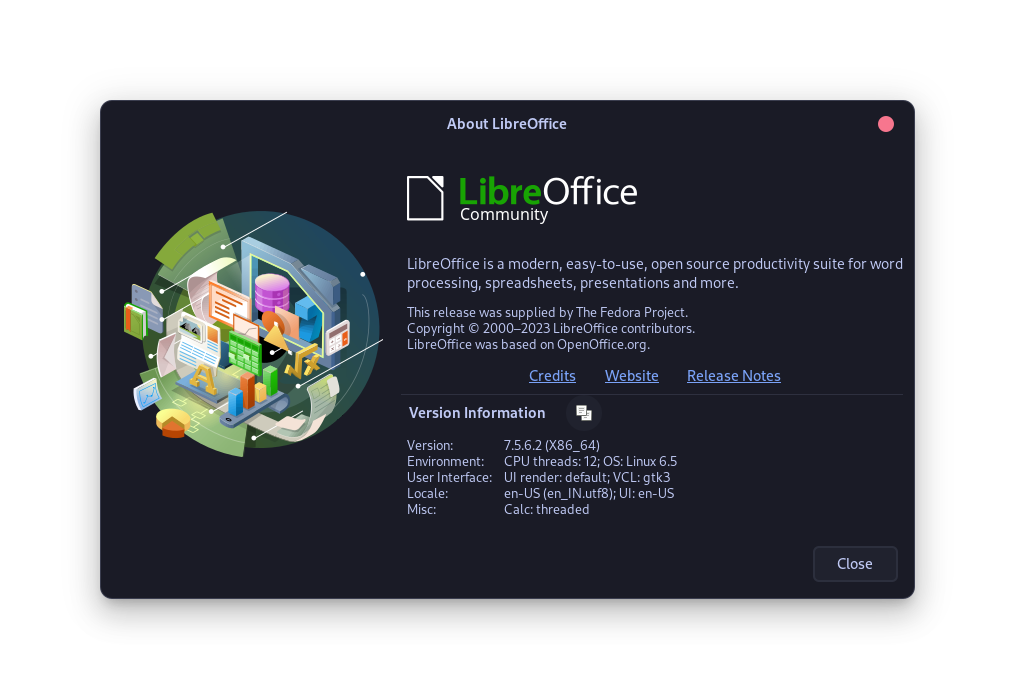
Now, you can follow two steps to install LanguageTool, depending upon the version of LibreOffice you are running.
Installing LanguageTool on LibreOffice 7.4 and Above
If you are using LibreOffice version 7.4 or higher, then you can follow these steps, keep in mind that using this method would require you to have an internet connection at all times if you want to use the spell-check option.
From the ‘Tools’ section in the Menu bar, open ‘Options’.
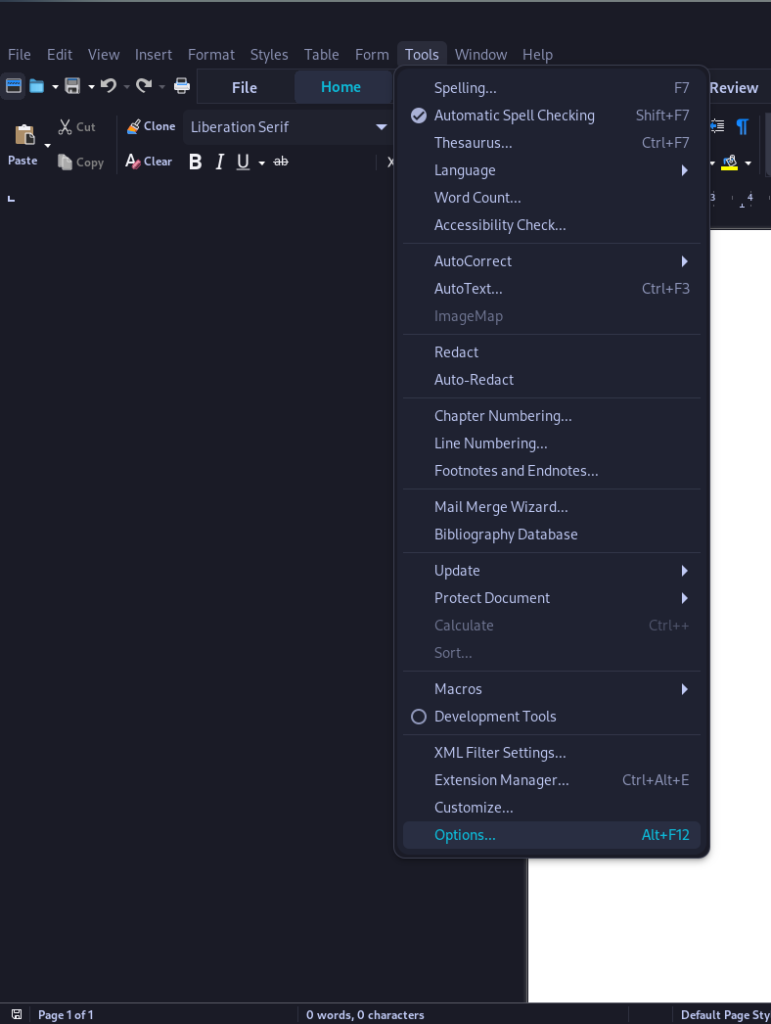
Next, navigate to ‘Language Settings‘ and then click on the ‘LanguageTool Server‘ option and then just click on the ‘Enable LanguageTool’ button. Once you hit ‘OK’, you may need to restart the application.
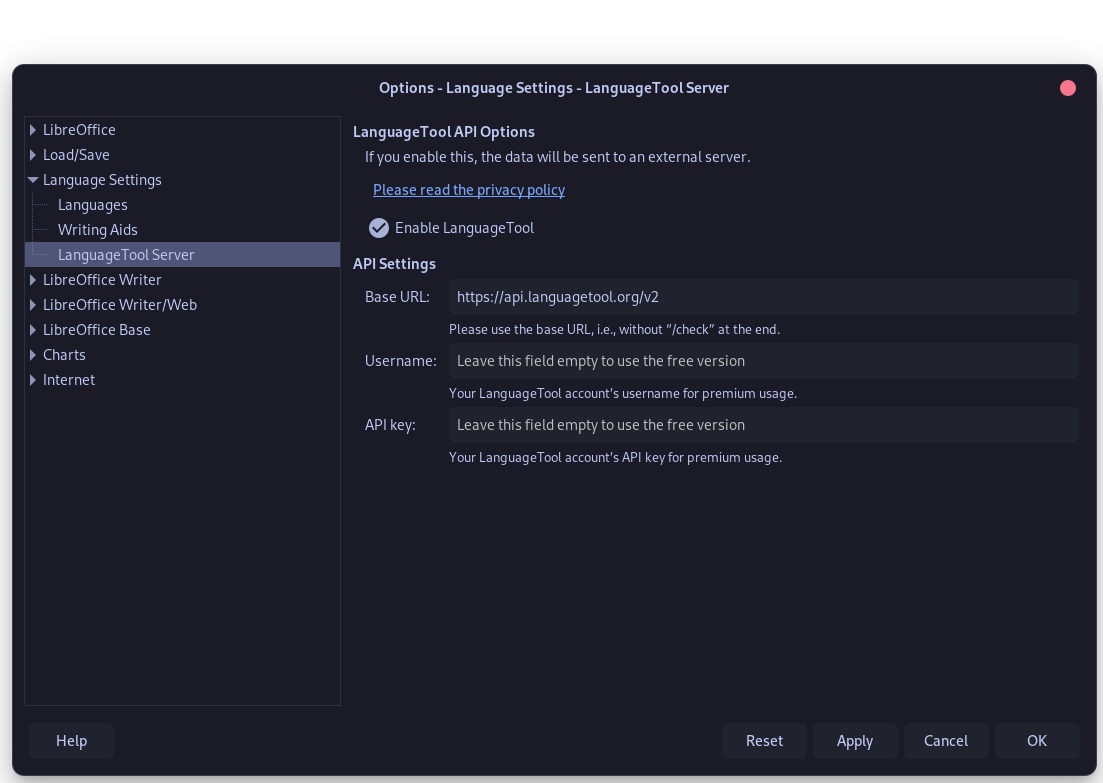
The base URL will be automatically filed with the free API, however if for some reason it doesn’t, then copy-paste the following URL in the field:
https://api.languagetool.org/v2
If you have LanguageTool premium account, then type the following URL instead:
https://api.languagetoolplus.com/v2
And then also enter your registered e-mail with LanguageTool in the Username field and type your personal API key which you got upon signing up for the LanguageTool premium. If you have self-hosted LanguageTool yourself, then you might want to add the following URL:
http://SERVER_URL:8081/v2
Enabling LanguageTool
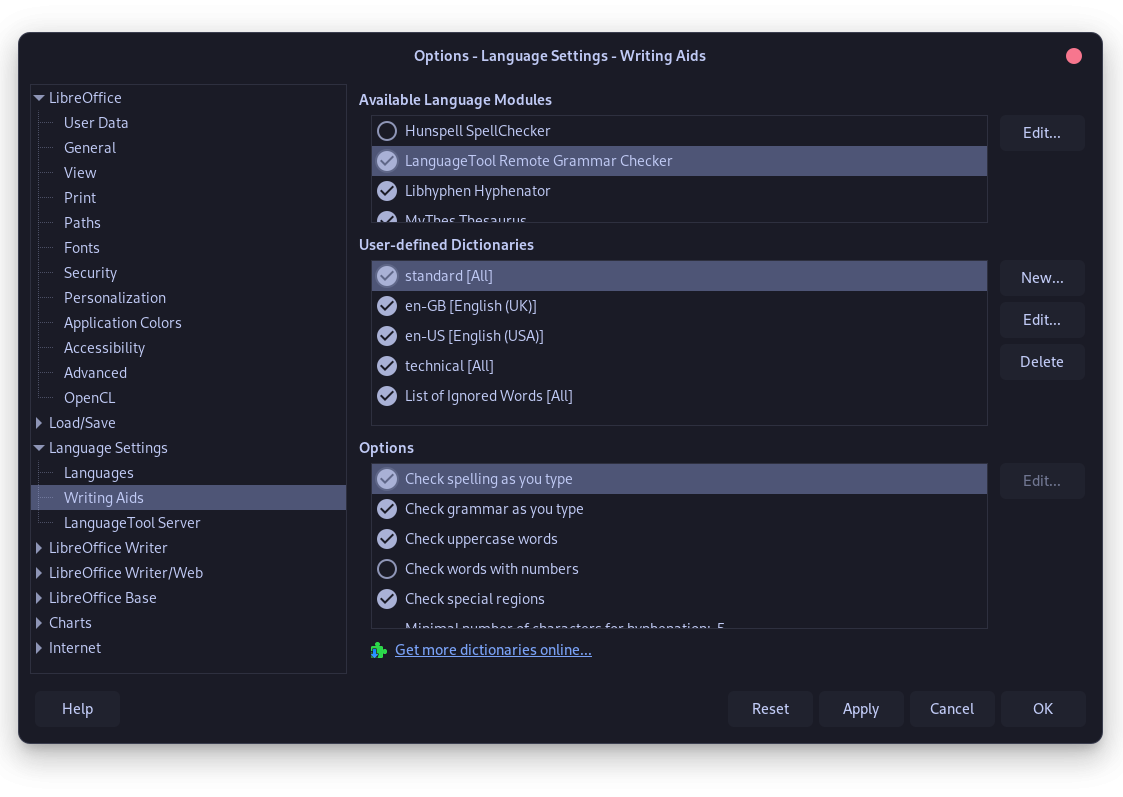
Once added to Writer, LanguageTool can be enabled from ‘Writing Aids’ section in the same ‘Language Settings Menu’ we accessed earlier. Just enable the ‘LanguageTool remote Grammar Checker’ and click on the OK button to apply the settings. If you have any other spell checker enabled, then you should also disable it from here.
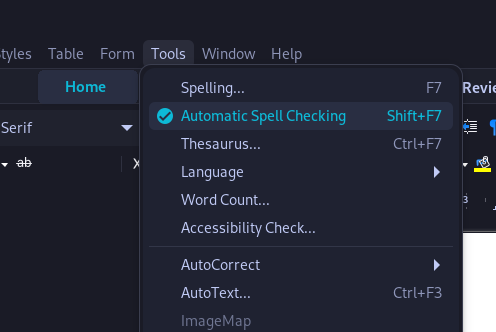
Once you are done, just enable the ‘Automatic Spell Checking’ present in the Tools menu, and you are good to go!
Installing LanguageTool on LibreOffice Versions Below 7.4
This method lets you run LanguageTool without having an Internet connection, and thus can be beneficial for privacy conscious people. All you need to do is download the extension file (.oxt) from the official LanguageTool website, and then simply double-click on the downloaded file. It will open in the Extension Manager.
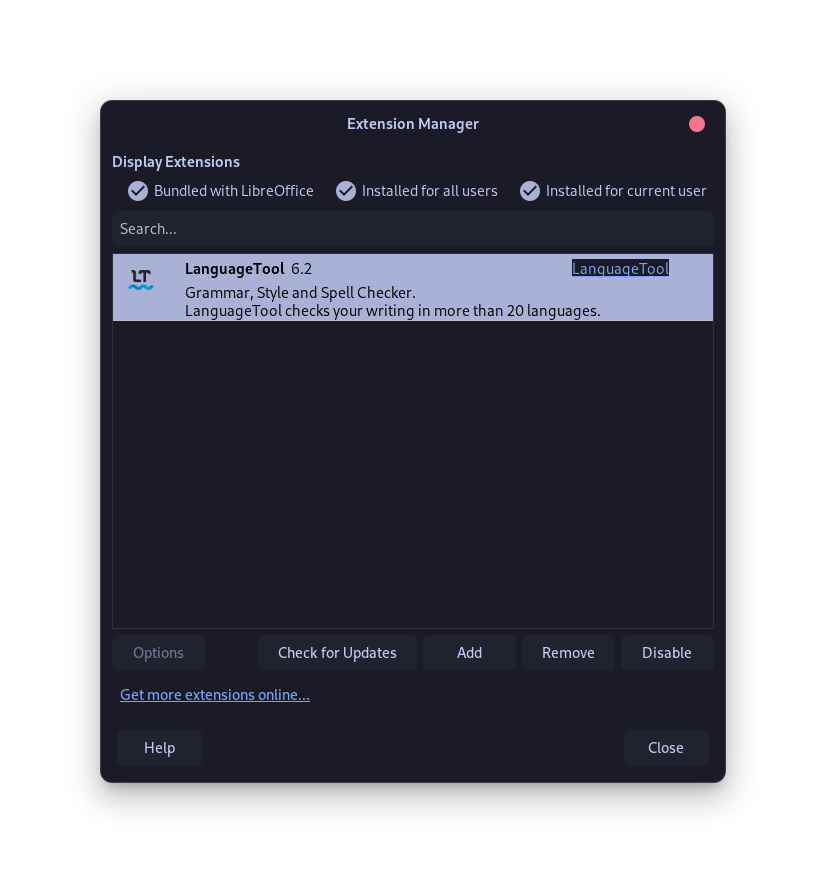
Close this dialog box, now we need to install the Java dependencies which is needed for this extension to work. If you are using an Ubuntu/Debian based distribution, then type the following command in your Terminal window:
sudo apt install default-jre libreoffice-java-common
Once you are done, just enable this spell check from the Tools > Options > Language Settings > Writing Aids menu, and then you are good to go!
Final Thoughts on Enhancing LibreOffice with LanguageTool
If you install this spell checker using the second method, then you have the option to customize a lot of things in the LanguageTool itself, however for some reason it was bugged for me and I even tried two versions of LanguageTool, but it didn’t resolve it, so I just prefer to use the online version of spell check. I don’t use LibreOffice Writer a lot, but when I do, I’m usually at home connected to the internet, so that is not a problem for me.
Because LanguageTool is open-source, you can actually self-host it, and I found that pretty cool since I have already self-hosted a qBittorrent application on my local server. This tool when combined with LibreOffice works really great and improves the workflow by a lot. Have you ever considered how much time you could save by automating your spell checks?

