There we will demonstrate how to install ngrok on Kali Linux and how to use it. Firstly, let’s understand what is Ngrok.
Think about it, if you have a local web server running on your local system. And you have to share it to someone far away. Let’s say for example we have to share observation or share some new feature of web server to seniors. We need some way to share our localhost sever to outside network. Ngrok provides a solution for exactly that situation.
Features of Ngrok
- Easy localhost sharing: Ngrok provides an easy way to share access to a local web server to anyone, anywhere.
- Security: Ngrok provides secure end to end tunnel connection.
- Service Cost: The basic ngrok service is free and permits up to four tunnels and 40 connections per minute. After that it costs depending upon your requirements.
Ngrok installation on Kali Linux
a) Download ZIP file
Head over to https://ngrok.com/download. And select Linux tab on list of different OSes.
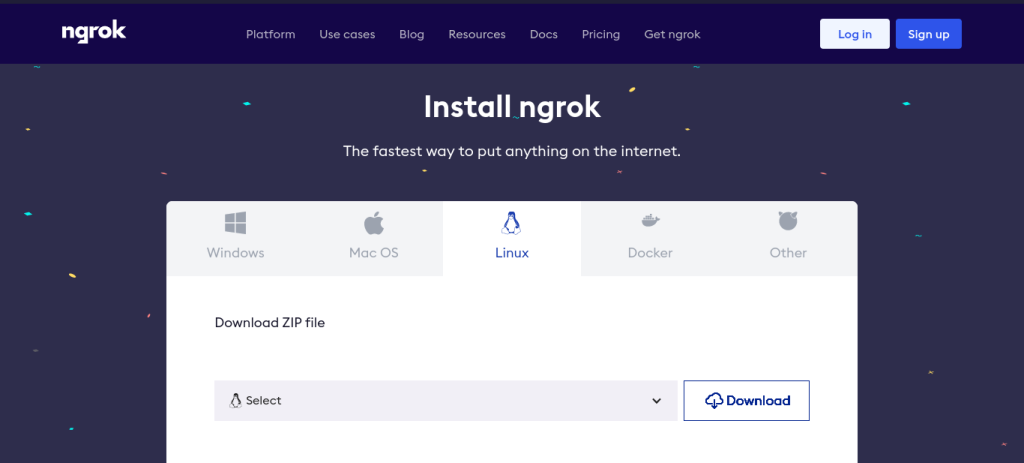
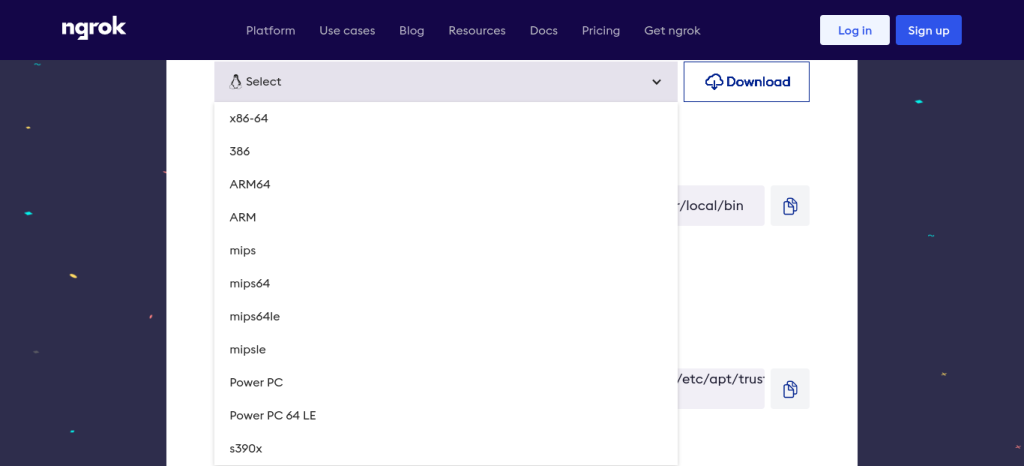
Now, we will select our system architecture from the drop-down menu. Considering our Kali Linux system is 64 bit, we will select x86-64 option. And click on Download button.
Open your Terminal, and type this command. It will execrate the downloaded file.
sudo tar xvzf ~/Downloads/ngrok-v3-stable-linux-amd64.tgz -C /usr/local/bin
There are other ways to install Ngrok. Run any of the respective command given below into Terminal to install with that method.
- Install ngrok via Apt:
curl -s https://ngrok-agent.s3.amazonaws.com/ngrok.asc | sudo tee /etc/apt/trusted.gpg.d/ngrok.asc >/dev/null && echo "deb https://ngrok-agent.s3.amazonaws.com buster main" | sudo tee /etc/apt/sources.list.d/ngrok.list && sudo apt update && sudo apt install ngrok
- Install ngrok via Snap:
snap install ngrok
b) Add authtoken
If you have your authtoken, type this command into Terminal. And skip next c) part.
ngrok config add-authtoken <token>
Replace <token> with your token. If we don’t have token for ngrok, or you never had used ngrok before then, we have to sign up to ngrok website.
c) Sign Up
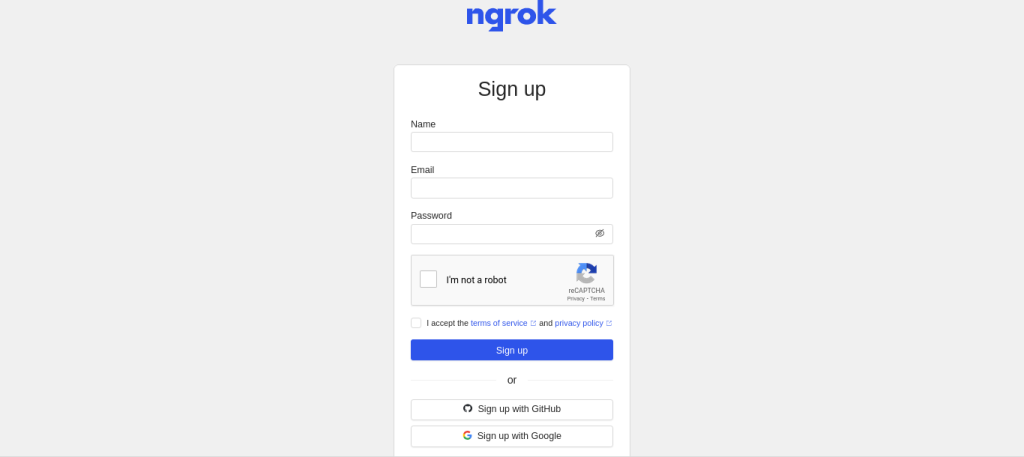
If you don’t have the authtoken, then head over to https://dashboard.ngrok.com/signup, create an account with your preferred method.
After Sign up and account verification, we will be redirected to our ngrok dashboard.
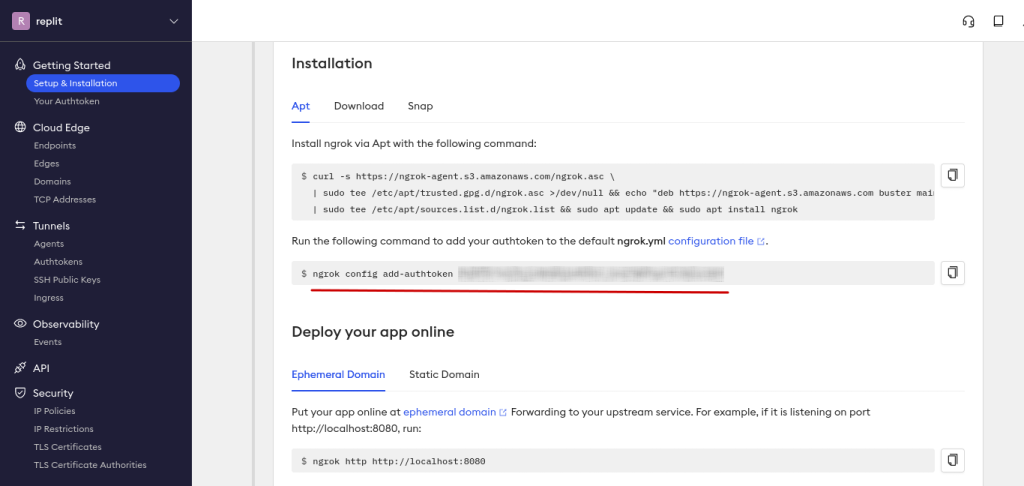
And copy the command from your ngrok dashboard given for authtoken (Highlighted in red color in above image), and paste it into your Terminal. And run.
ngrok config add-authtoken <your_authtoken>
d) Test the working of ngrok
After that, our ngrok is ready to be used. Let’s try on apache2 default web page. Set up apache2 web server on your Kali Linux. And type 127.0.0.1 or localhost in web browser. And the default apache2 web page will open in your browser.
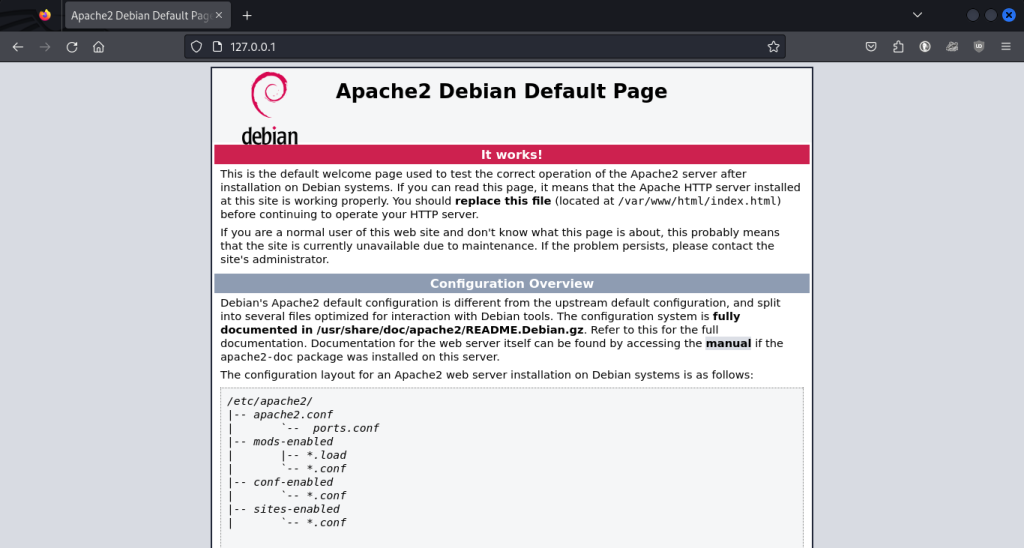
This is a web server runs on HTTP with its default port number 80. Type the command given below into your Terminal. This will provide us a public link of our local web server in Terminal.
ngrok http http://localhost:80
Basic syntax is given below.
ngrok <protocol> <local web server address>:<port number>

Now, your Terminal look the below image. Copy the link given in forwarding row in your Terminal and paste it into your web browser, or better share it to someone. This is the public link for your local web server. You can also press Ctrl+C to stop sharing this public link.

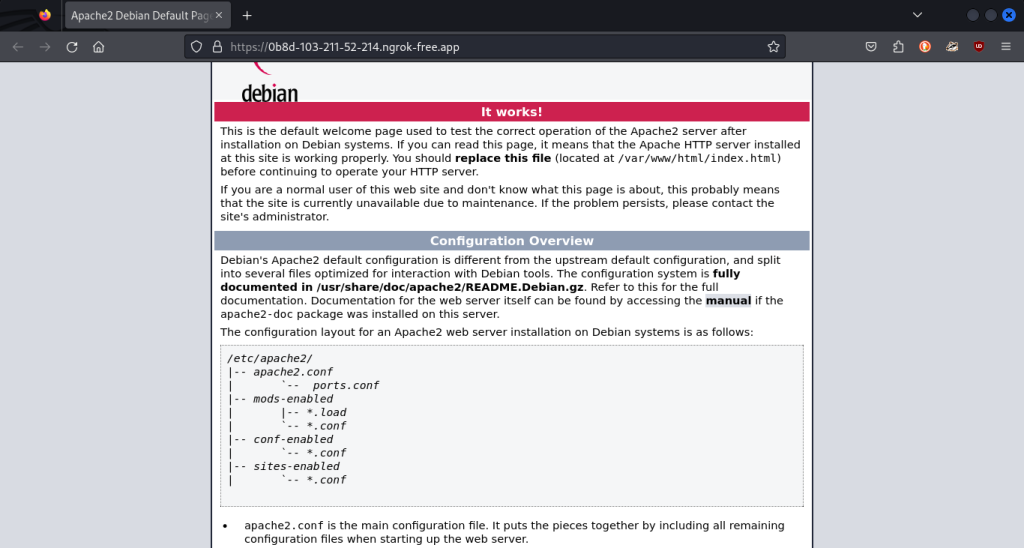
After, pasting and running above link into your web browser. Our public page will open in browser. This page is a copy of our local web server page.
Conclusion
In this module, we discussed Ngrok and their basic features. We installed Ngrok in Kali Linux, however same applies to other distros. We got our authtoken to use Ngrok by singing up to Ngrok website. And we also demonstrated Ngrok on apache2 default web page. For more information about Ngrok, see their documentation.
Also Read
- HTTP Tunneling In Linux With Ngrok
- How to Host an HTTP Server in One Line – All Programming Languages
