
DOS was a family of old operating system developed for IBM PC compatible computers. While IBM PC DOS was the main OS, MS-DOS was later developed by Microsoft as a rebranded version of the OS.
There were many games developed for DOS based PCs and if you want a hit of nostalgia, you will have to access one of those PCs in order to play them. Naturally, accessing those PCs are incredibly hard and actually emulating them on modern PCs with x64 architecture is also not that easy. You will definitely encounter some Audio/Video driver incompatibility if you use FreeDOS which actually runs on the native hardware.
This is where the DOSBox-X emulator comes in. It is just a free and open source version of DOSBox emulator, but it has a lot of features which are not present in the original application. It can run DOS games as well as many DOS applications along with emulating environments to run Windows ME, 3.X, 9X and software written for those versions of Windows.
In this tutorial, we will learn how to install and run DOSBox-X emulator on Linux based distributions.
Installing DOSBox-X emulator
I’m using Nobara Linux 64 bit version which is actually based on Fedora Linux, however if you follow along with the tutorial, you can install it on any Linux based distributions, just jump to the OS which you are using.
Installing DOSBox-X on Fedora or Red Hat based systems
The developers of this emulator have provided an official COPR repository which you can add on your Fedora machine and install the emulator from there. Just open a Terminal window and type the following commands in the Terminal window:
sudo dnf copr enable rob72/DOSBox-X
How to install
DOXBox-X on Linux?
Once the repository is added, simply run the following command to install this emulator on your system:
sudo dnf install dosbox-x
How to install
DOXBox-X on Linux?
On Any other distribution
If you are using any other Linux distribution, such as Arch Linux or Ubuntu, you can install this application with the help of Flatpak packaging format. Just make sure you have enabled the Flathub repository on your system and type the following commands in your Terminal window:
flatpak install flathub com.dosbox_x.DOSBox-X
Once installed, you can launch the application from your App Grid/Menu.
Post installation Setup
When you first launch the application, you will be greeted with a file manager window asking you to specify the directory where you want this application to run. Just hit OK and it will be fine.
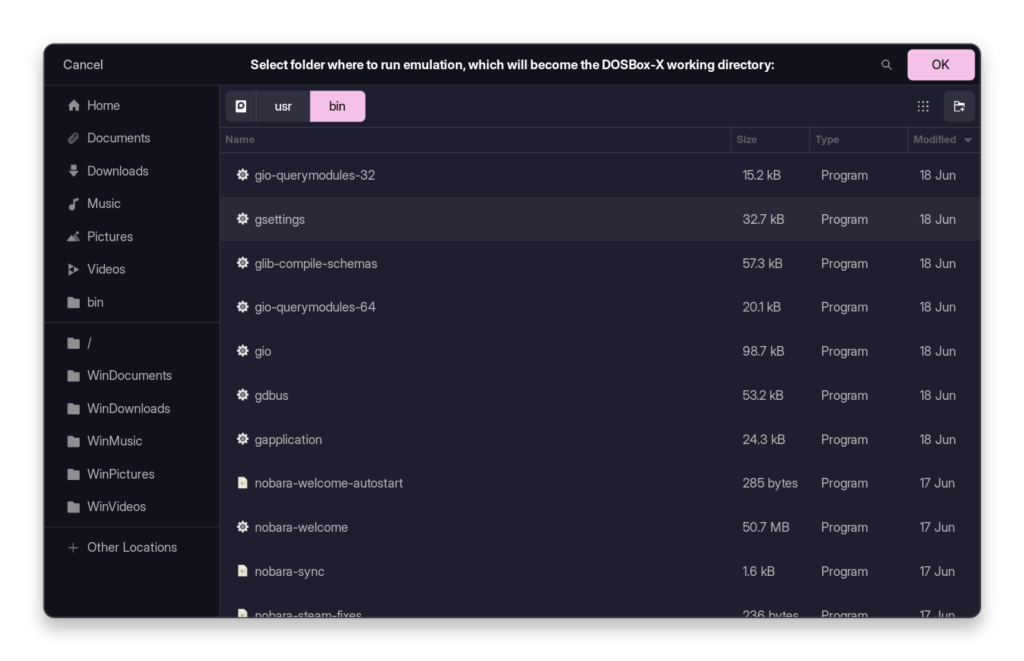
Once selected, you will be greeted with the DOSBox-X interface.
How to install
DOXBox-X on Linux?
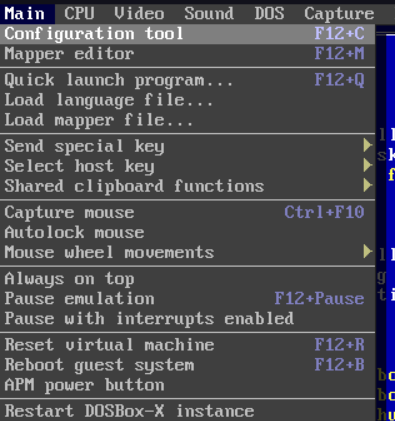
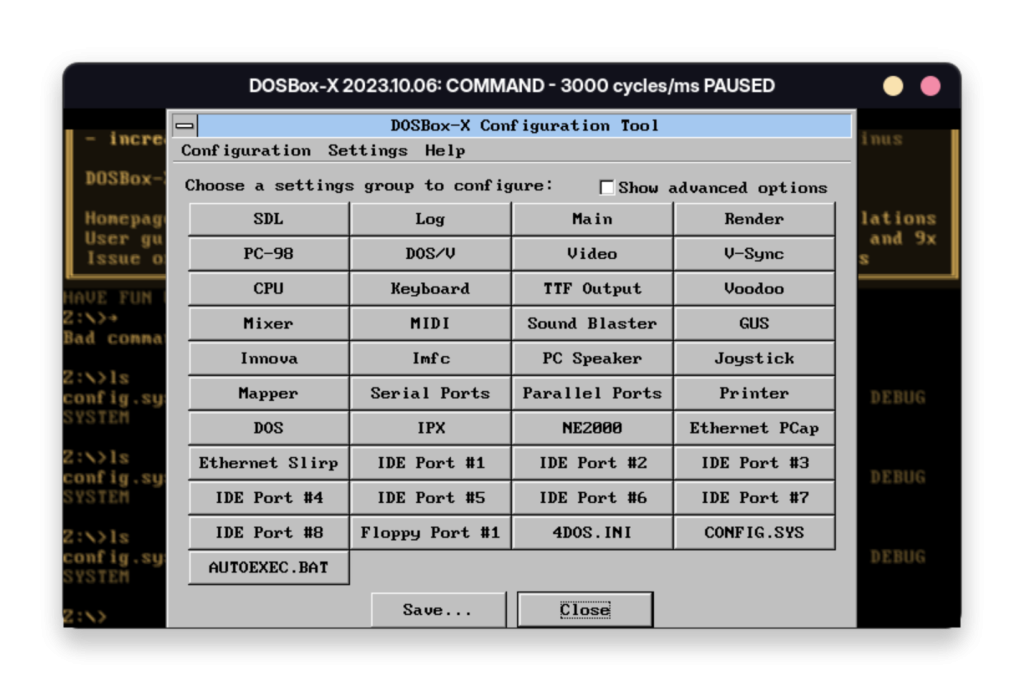
Now let’s configure a few basic things to make this OS even more useful. Go to the Main settings from the top bar and open the ‘Configuration Tool’.
From the ‘SDL’ section, you can change the default resolution from ‘desktop’ to your preference (for example, 1920×1080).
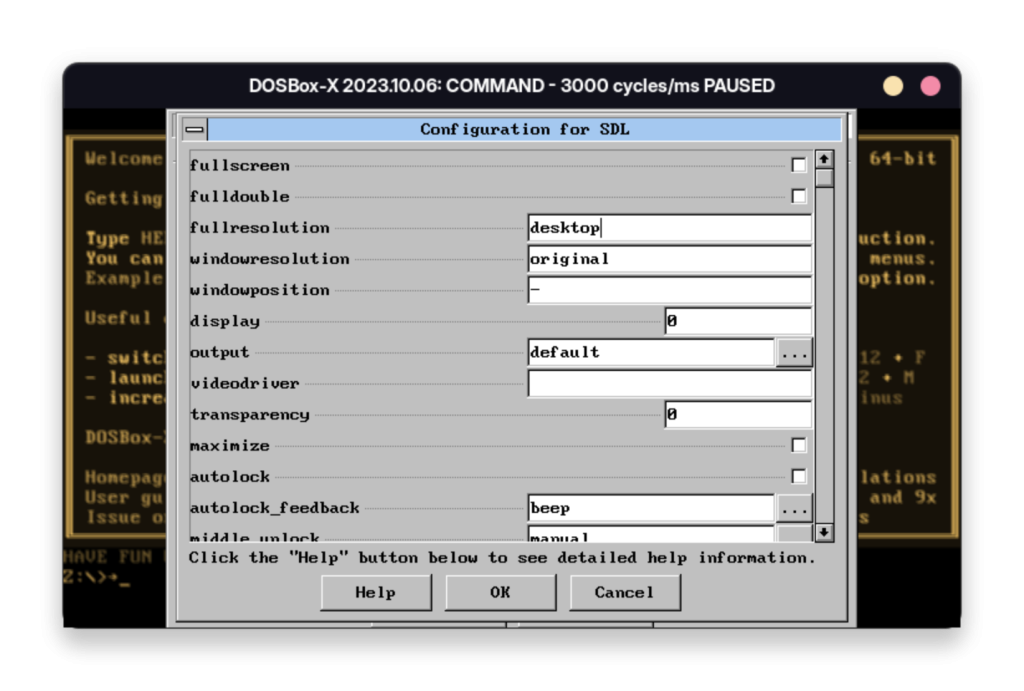
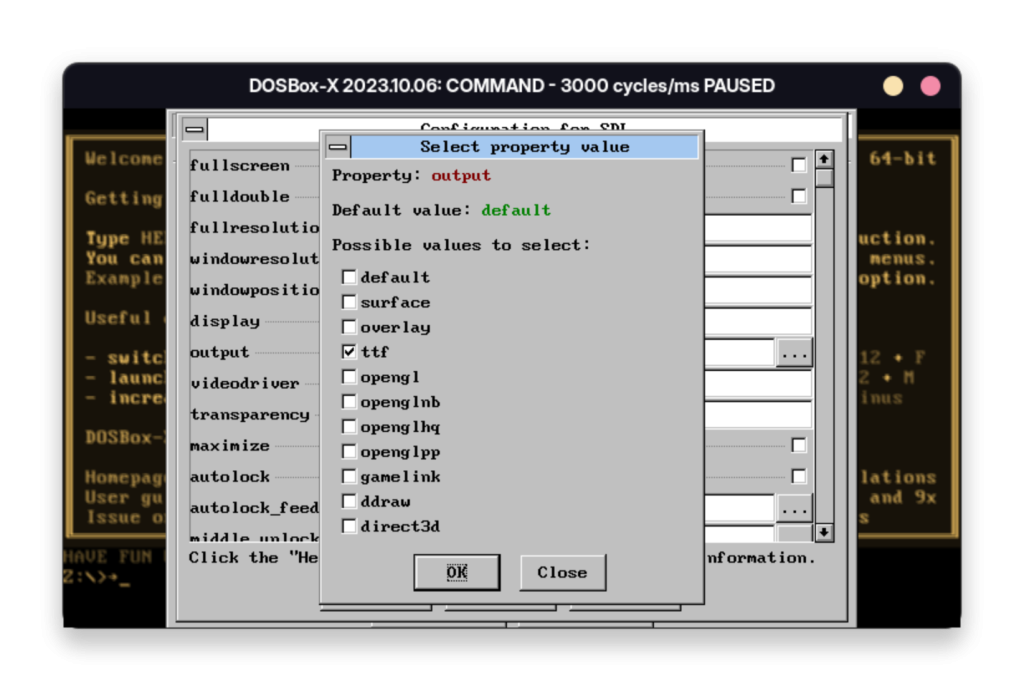
The other one setting which you can change here is the font. From the default DOS look, you can change it to either ‘TTF’ or OpenGL. This can be done from the ‘Output’ settings. This setting will make the DOS look a bit modern.
At this point, we don’t have an actual “C:/” drive attached to our emulator. To do that, open your file manager and create a folder anywhere you prefer. For simplicity’s sake, I’ll create a folder ~/c in my home directory. In this folder you can store all your applications and folders (and stick to 8-character limit for these folders). After you have done that, just launch the configuration tool again in DOSBox-X and go to the AUTOEXEC.BAT section.
From here, you will have to type a command which will mount the C drive we just created earlier. Note that you will have to write the full path of the directory you created, and replace it accordingly in the command listed below:
mount c /home/aadesh/c
c:
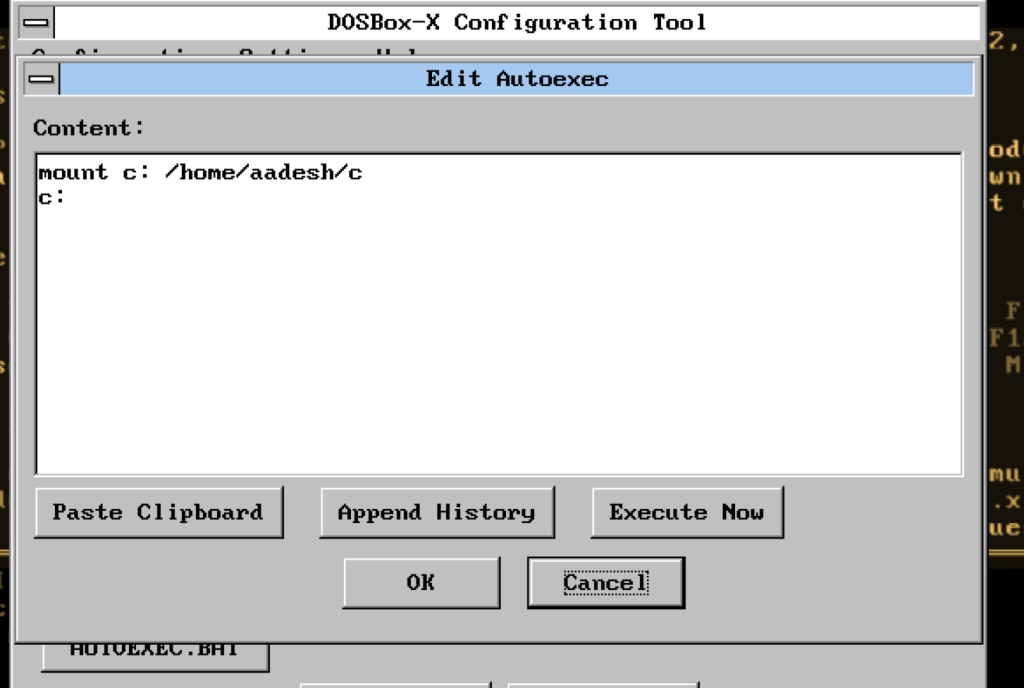
Once you have added the lines, click OK and then Save and restart the machine. On the next boot of DOSBox-X, you will see that the folder is actually mounted as C: drive.

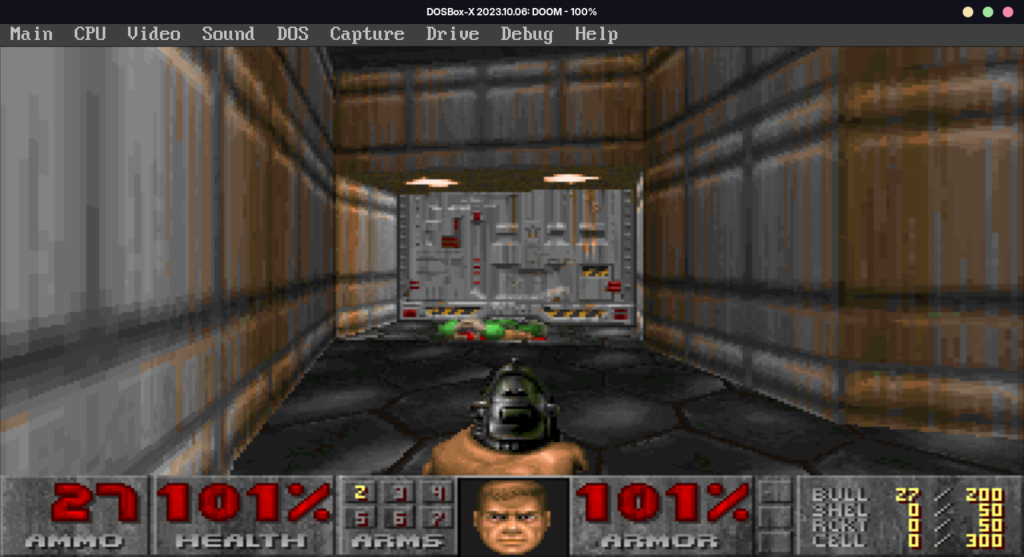
In this C directory, you can store all your applications and games and run it from the emulator, Here is a screenshot of one of the classic games ‘DOOM’ running on this emulator:
Wrapping Up
DOSBox-X is an extremely impressive DOS emulator with which you can play and enjoy your classic games and relive the nostalgia. While initial setup can be a bit cumbersone, you You can check out their official documentation if you are interested in the project. Also, let us know down in the comments below if you found this article useful.