

Spicetify is a power command line tool which lets you customize the overall interface of the Spotify music client on Linux. Because the Spotify client is just an electron wrapper (think of it like a webapp) of the website, Spicetify can inject CSS code and make the music player look just like you want. These customizations include different colors, brand-new pages which compliment the overall Spotify interface.
This is an ideal tool for those users who want their desktop interface to look integrated, with all the applications following the same theme and icon packs. People who rice their window managers also love Spicetify, and in this tutorial, we will try to install Spicetify on our Linux desktop and then try to customize various things about the Spotify client!
Installing Spotify
First of all, make sure that you have Spotify installed on your PC. On Ubuntu, make sure to install the DEB version of Spotify rather than the snap version, as it does not work properly with Spicetify. Just open a Terminal window and type the following command on Ubuntu:
sudo apt install curl
curl -sS https://download.spotify.com/debian/pubkey_6224F9941A8AA6D1.gpg | sudo gpg --dearmor --yes -o /etc/apt/trusted.gpg.d/spotify.gpg
Once you got the repository key added to your PC, you can add the repository to your APT sources file, and then install Spotify:
echo "deb http://repository.spotify.com stable non-free" | sudo tee /etc/apt/sources.list.d/spotify.list
sudo apt update && sudo apt install spotify-client
Once the client is successfully installed, you have to change its permission by typing:
sudo chmod a+wr /usr/share/spotify
sudo chmod a+wr /usr/share/spotify/Apps -R
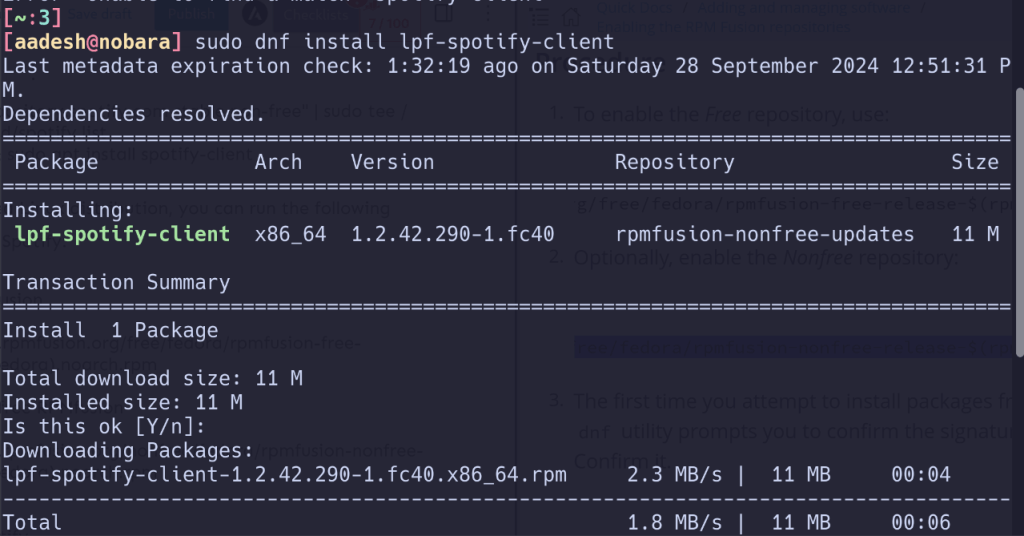
On any Fedora based Linux distribution, you can run the following command to install Spotify:
#First enable RPMFusion
sudo dnf install \
  https://download1.rpmfusion.org/free/fedora/rpmfusion-free-release-$(rpm -E %fedora).noarch.rpm

# Now enable Non-free RPMfusion
udo dnf install \
  https://download1.rpmfusion.org/nonfree/fedora/rpmfusion-nonfree-release-$(rpm -E %fedora).noarch.rpm

# Finally install Spotify
sudo dnf install lpf-spotify-client
On Arch Linux and its derivative distributions such as Manjaro or Endeavour OS, it is recommended to install this music player with the help of an AUR helper like yay or PARU:
yay -S spotify
Once installed, you need to change the permission of the directory where Spotify is installed with this command:
sudo chmod a+wr /opt/spotify
sudo chmod a+wr /opt/spotify/Apps -R
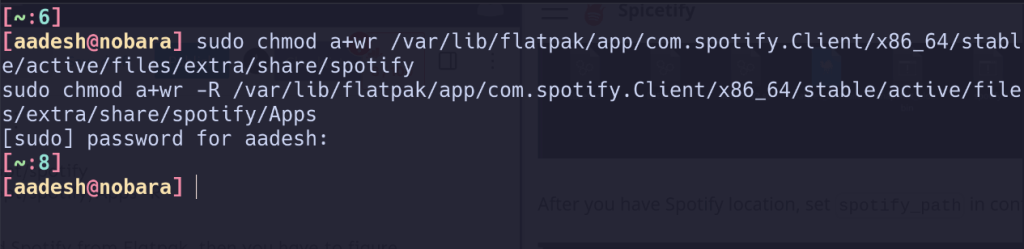
If you have installed Spotify from Flatpak, then you have to figure out the directory where the application is installed. On Nobara Linux, it is stored in the /var/lib/flatpak/app/com.spotify.Client/x86_64/stable/active/files/extra/share/spotify/ directory. Change permission for the directory:
sudo chmod a+wr /var/lib/flatpak/app/com.spotify.Client/x86_64/stable/active/files/extra/share/spotify
sudo chmod a+wr -R /var/lib/flatpak/app/com.spotify.Client/x86_64/stable/active/files/extra/share/spotify/Apps
Also, locate the prefs file, it is usually located at ~/.config/spotify/prefs or ~/.var/app/com.spotify.Client/config/spotify/prefs. For me, it is the second location, note down this path as well.
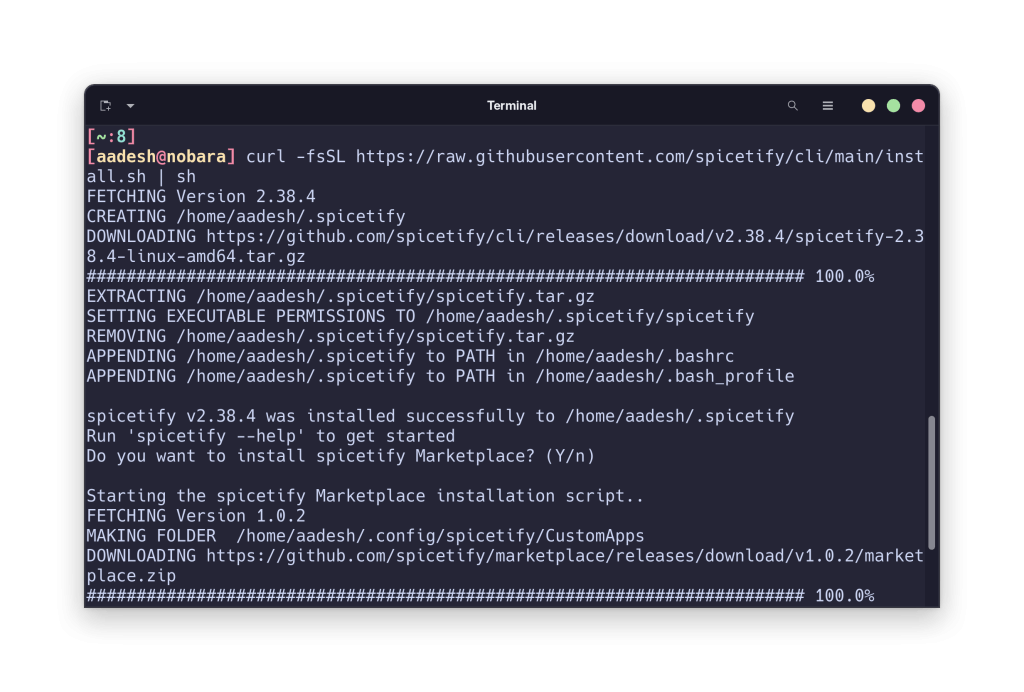
Installing Spicetify on Linux
I’m going to follow the recommended Spicetify installation method, which is via a script. Just run the following command in the Terminal window:
curl -fsSL https://raw.githubusercontent.com/spicetify/cli/main/install.sh | sh
Once installed, you have to edit a config file if you are using Spotify from Flatpak. Open a Terminal window and type the following command:
nano ~/.config/spicetify/config-xpui.ini
In this config file, change the spotify_path variable to what we found earlier and also specify the prefs file location in prefs_path variable. Make sure that you enter the full path, don’t abbreviate /home/user to ~/.
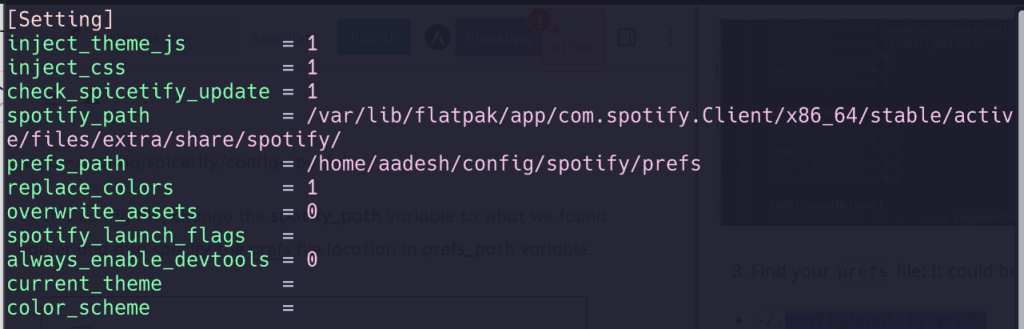
Once you have edited the file, just save and exit out of the editor. Finally, run the following command:
spicetify backup apply
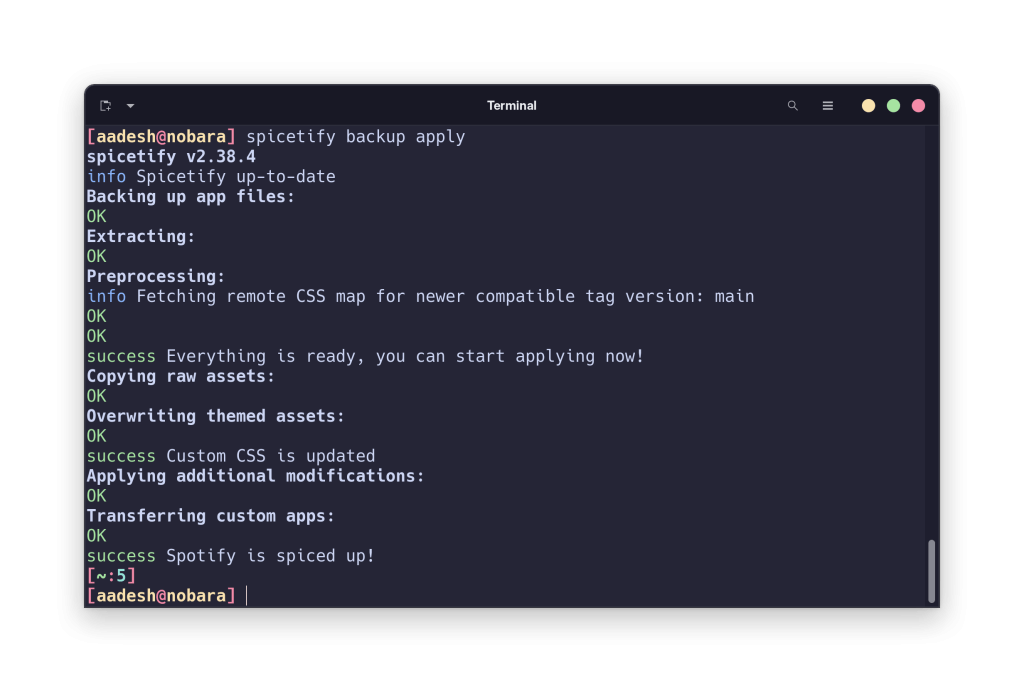
As you can see, we have successfully modified our Spotify client.
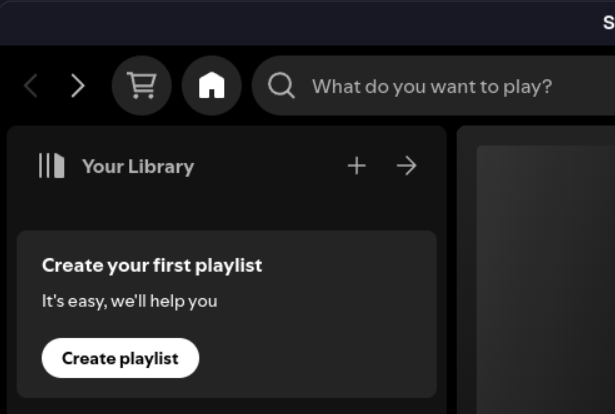
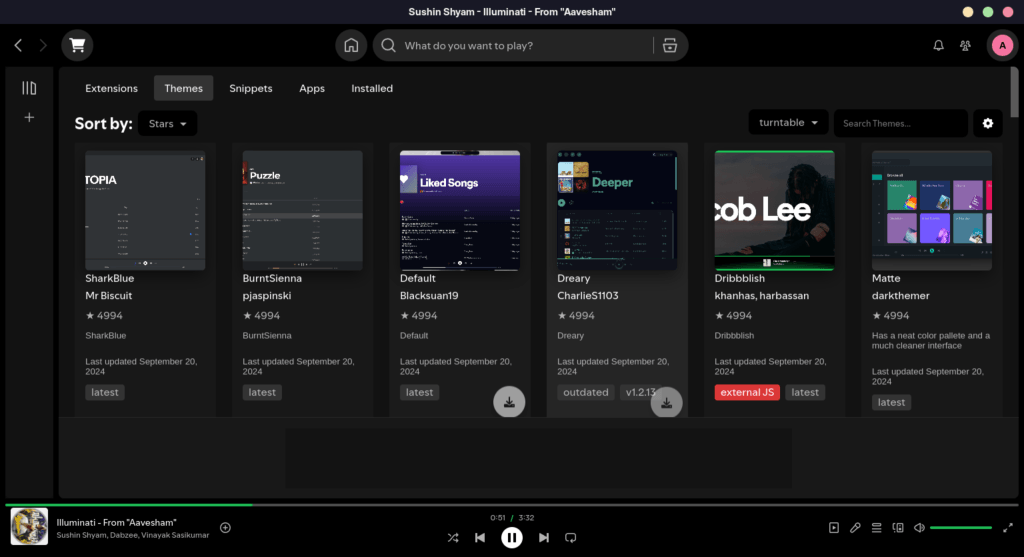
Finally, launch the Spotify application and then look for the ‘marketplace’ icon on the top left.
From the marketplace, you can install different themes, customize how Album art shows and many more other options.
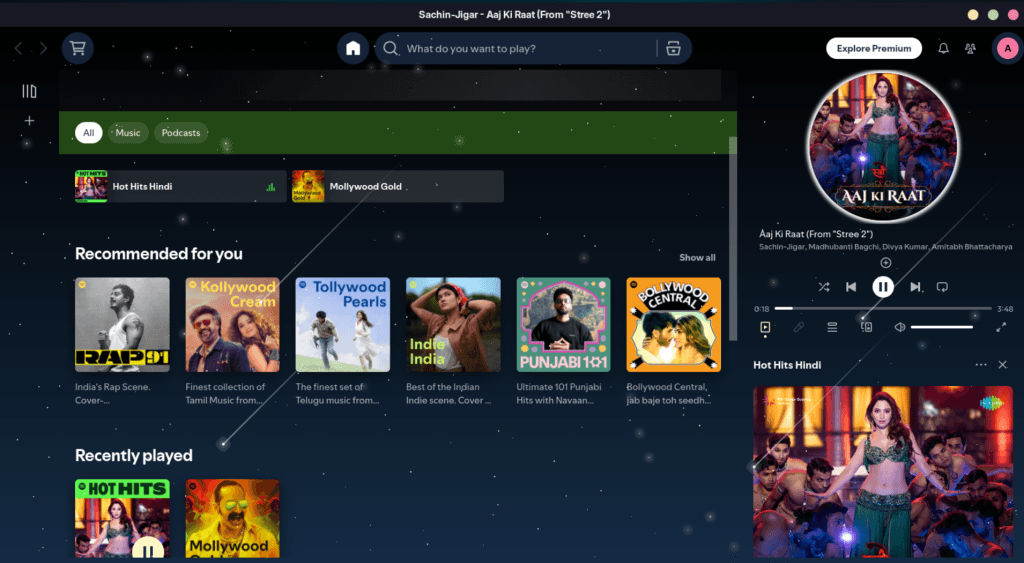
For example, I have customized my app to look something like this:
Wrapping Up
Remember to not add too many extensions as it will slow down the app heavily, and only add extensions which are trustworthy and starred by others. Spicetify is a really cool command line tool which can heavily change the interface of the Spotify Music player and give you a brilliant user experience.
However, if you are looking for a minimal Spotify application which does not get in your way when you are working, then you can also check out the command line Spotify client on GitHub.