In this module, we’ll learn to perform HTTP Tunneling using ngrok on Linux. Ever been in a situation where you had a webserver running locally and needed to access it from outside the network? One might not always have Port Forwarding rules set up in the network. This is where Ngrok comes in handy! Ngrok allows you to have an instant, secure URL to your localhost server through any NAT or firewall with a single command and in this module, we will be having a look at how to set up ngrok on our Linux machines!
How to install ngrok on Linux?
1. Download The Zip File
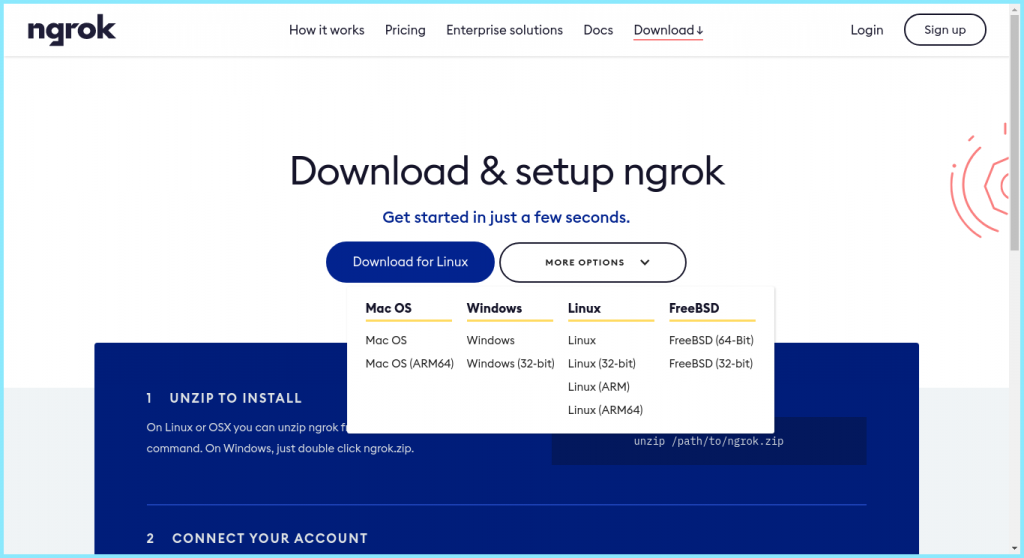
Ngrok is available to download for free on their official download page. It is available for a lot of different platforms. Choose the one which suits you best and download it. For this tutorial, we would stick to Ngrok on Linux.
2. Extract The Binary
Once you have downloaded the zipped file, we need to extract it’s contents using the unzip command:
$ ls
ngrok-stable-linux-amd64.zip
$ unzip ngrok-stable-linux-amd64.zip
Archive:  ngrok-stable-linux-amd64.zip
  inflating: ngrok
$ ls
ngrok  ngrok-stable-linux-amd64.zip
3. Connect Our Account
Next up, we need to register an account with Ngrok
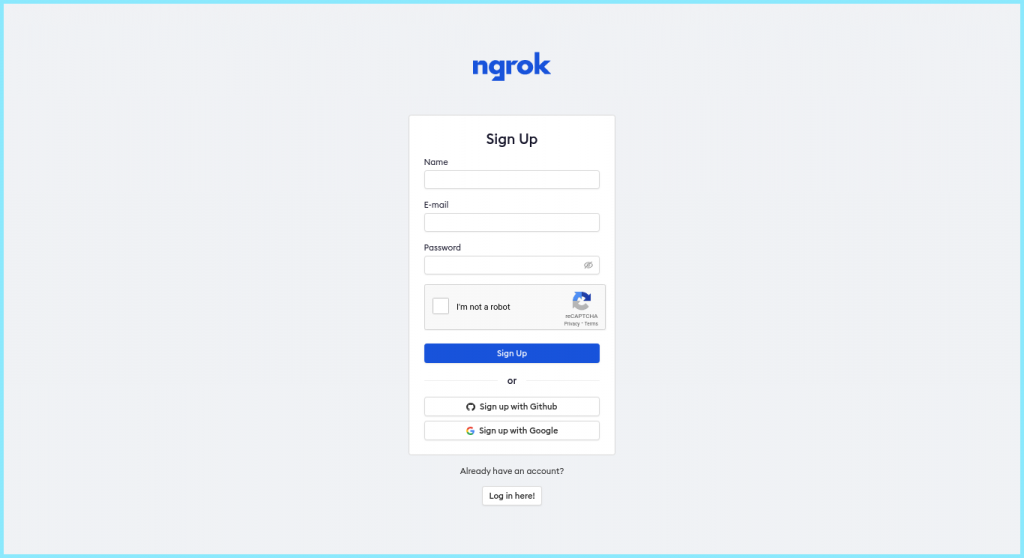
Once you have registered with Ngrok and signed in to your account, you would be given an auth token. Adding this token to our default ngrok.yml config file would allow us to have access to more features and longer session times. Running tunnels will be listed on the status page of the dashboard.
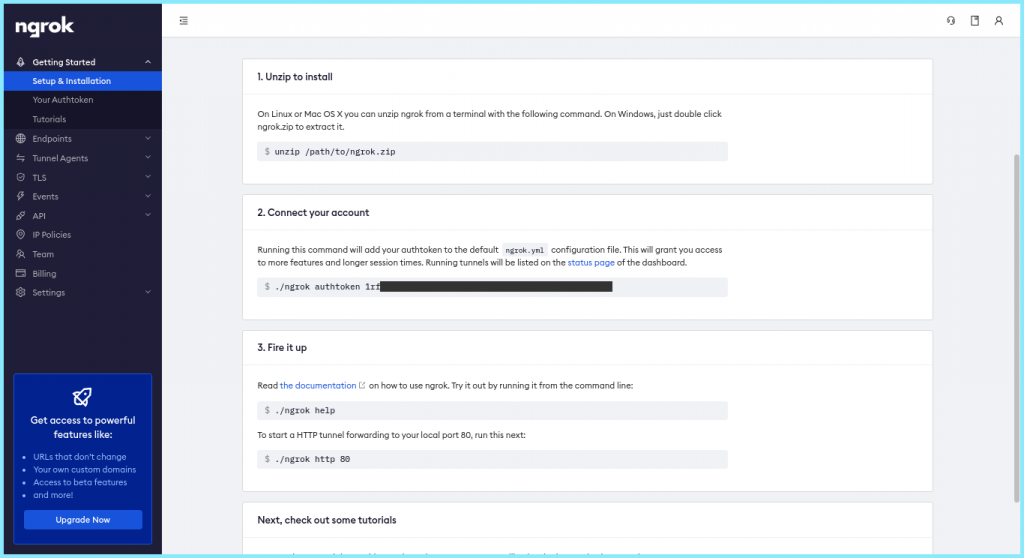
As specified, you can simply do this by running:
$ ./ngrok authtoken [TOKEN]
With this, we have ngrok ready at our disposal!
HTTP Tunneling With Ngrok
A very common use of ngrok is to allow people outside your network to access your local HTTP server. This is very common in cases when you are making a website or a web app and want to present it to people outside your current network!
Thus assuming that our server is running on port 80, we can forward it by:
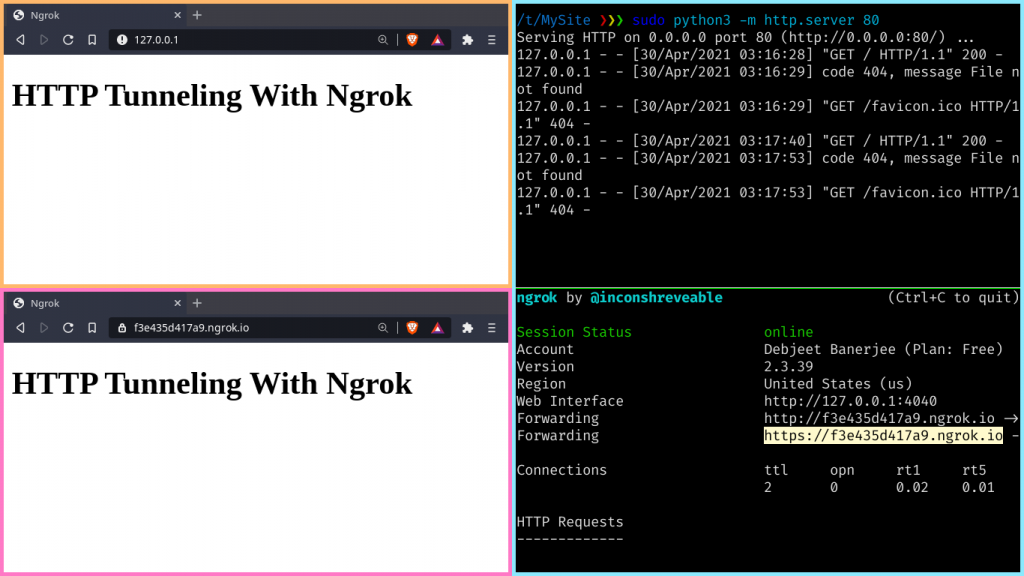
$ ./ngrok http 80
This should give you an HTTP and one HTTPS link as shown. Now if you Copy-Paste these links in your browser, you would be presented with the webpage that you were running locally!
Ananlysing Incoming Traffic
ngrok provides a real-time web UI where you can inspect all of the HTTP traffic running over your tunnels. After you’ve started ngrok, just open http://localhost:4040 in a web browser to inspect request details.
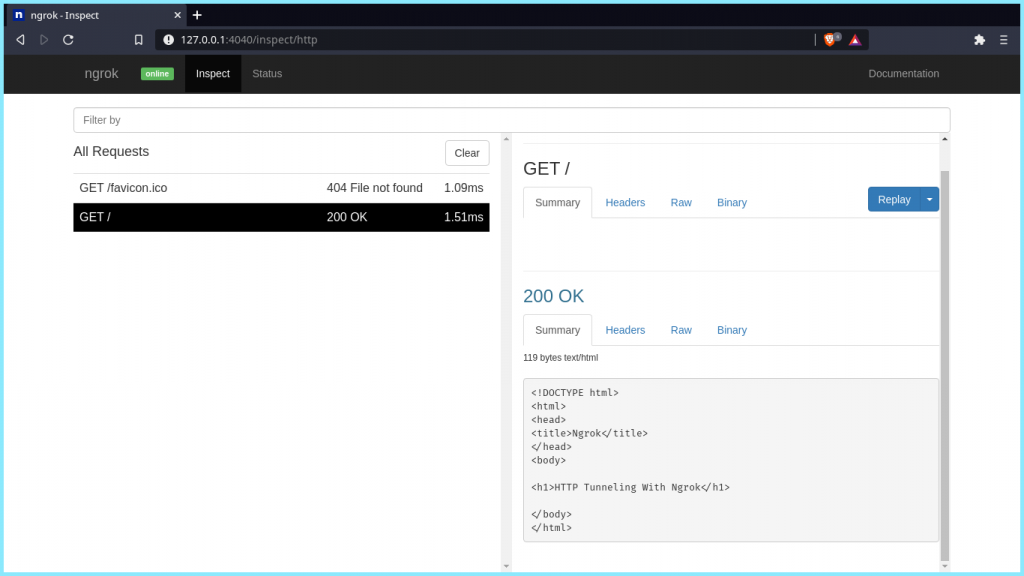
Here, you can have a look at all the requests made to your ngrok link including the details of the request and response including the time, duration, headers, query parameters, and request payload as well as the raw bytes on the wire. You can also replay the requests in order to further inspect it!
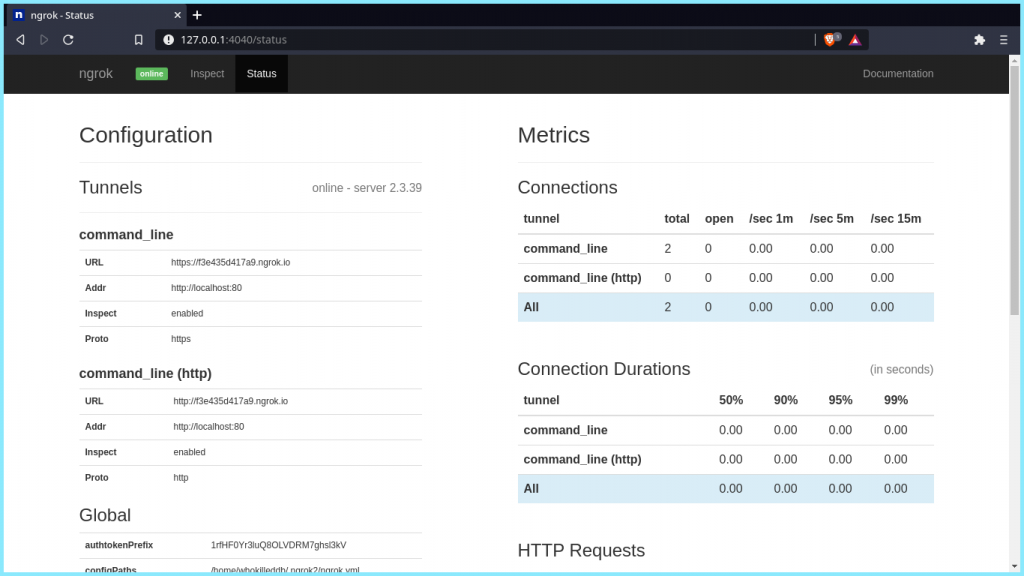
You can also check the status of you tunnel using the Web UI which gives you different Metrics regarding the state of your tunnel.
Adding Authentication To Our HTTP Tunnels
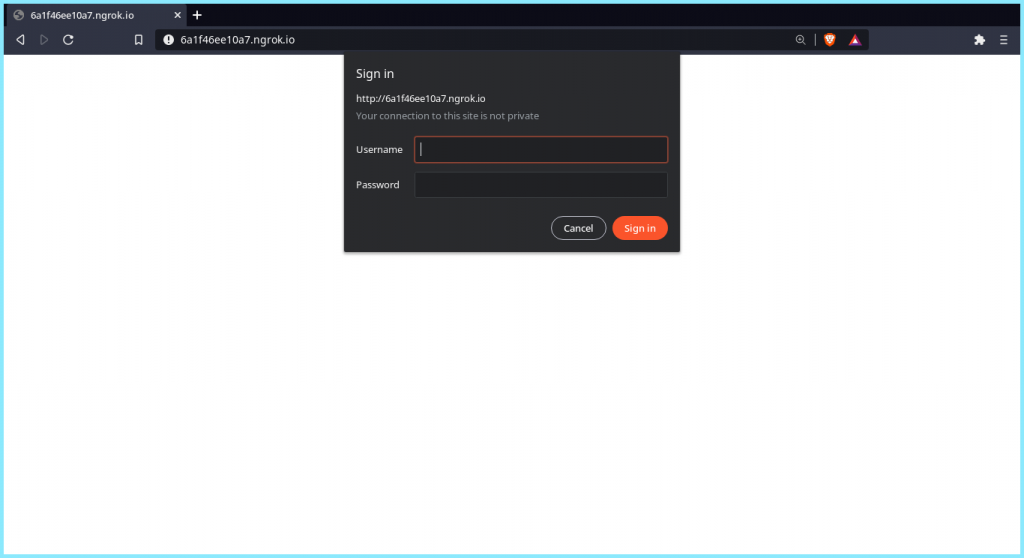
You might not want everyone to access your ngrok tunnel. Hence, to protect it from being accessed publically, you can protect it with a password. This enforces HTTP Basic Auth on all requests with the username and password you specify as an argument.
$ ./ngrok http -auth="user:pass" 80
Sharing Files Over HTTP Tunnels
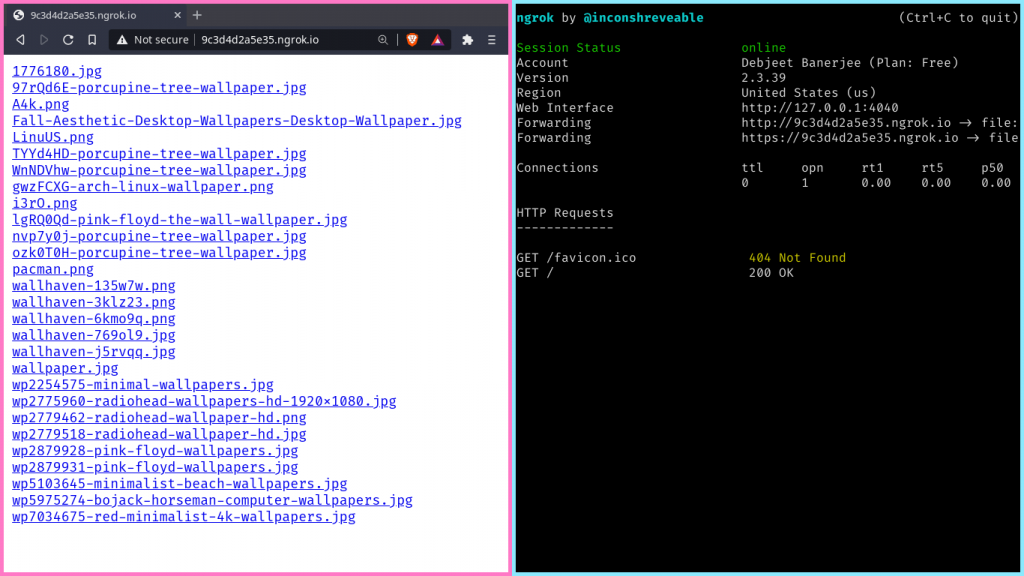
You can also share your local folders over a HTTP tunnels with ngrok. Ngrok can serve local file system directories by using its own built-in fileserver, no separate server needed! You can serve files using the file:// scheme when specifying the forwarding URL. It should be noted that all paths must be specified as absolute paths, the file:// URL scheme has no notion of relative paths.
$ ./ngrok http file:///path/to/folder
Conclusion
Thus in this module, we saw how to use Ngrok to allow HTTP tunneling through our network. However, ngrok is a very versatile tool and can also be used to tunnel TCP ports as well. For more information about this tool, you can refer to their documentation!


