Linux distributions can be installed on bare hardware as well as inside any Virtualization software. We have discussed installation of many Linux distributions such as Linux Mint, Ubuntu and others on VirtualBox earlier on this site as well. But, what if you need to take a backup of the Virtual Machine you are using? What if you want to move that virtual machine to any other device without losing all your personal data? Or What if you need an exact copy of the virtual machine for any other purpose?
In this tutorial, we will learn about the different methods through which you can take backup of your installed Virtual machines and restore them on the same or a different PC, so that you will not have to install an OS again and again.
How can you take a backup of your Virtual machine?
Well, there are three main methods through which you can take a backup of your Virtual Machines, these methods are useful for different scenarios so you should keep the user case in your mind before you select the method.
- Take simple snapshots: You can utilize this method if you are just trying to make changes to the OS installed in your VM, such as an upgrade. You can roll back the updates using these snapshots.
- Copy the entire VM files: This involves copying the Virtual hard drive and other related files from the installed directory and paste it to a new PC or folder.
- Export the Virtual Machine: Using this method, you can export the Virtual Machine to any other Virtualization Software like GNOME Boxes.
Depending upon what you want to do with the backup, you can choose any of the above methods.
Method 1: Taking Simple Snapshots
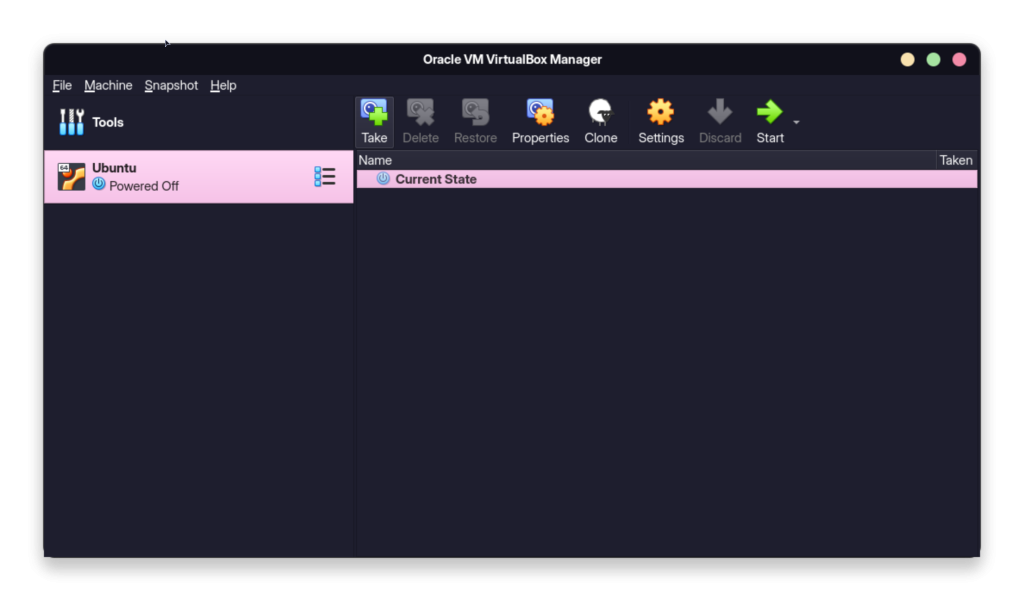
Simply click on the Menu button beside the virtual machine you want to take a snapshot of, and just click on the ‘Snapshots’ section.

Once the menu is open, simply click on the ‘Take Snapshot’ button.
Note that by taking snapshots, you are just taking a snapshot of the ‘current state’ of the VM, that is the configuration, state of files and the settings. And because of this, Snapshots take very less space on the disk.
Method 2: Copying the Entire VM files
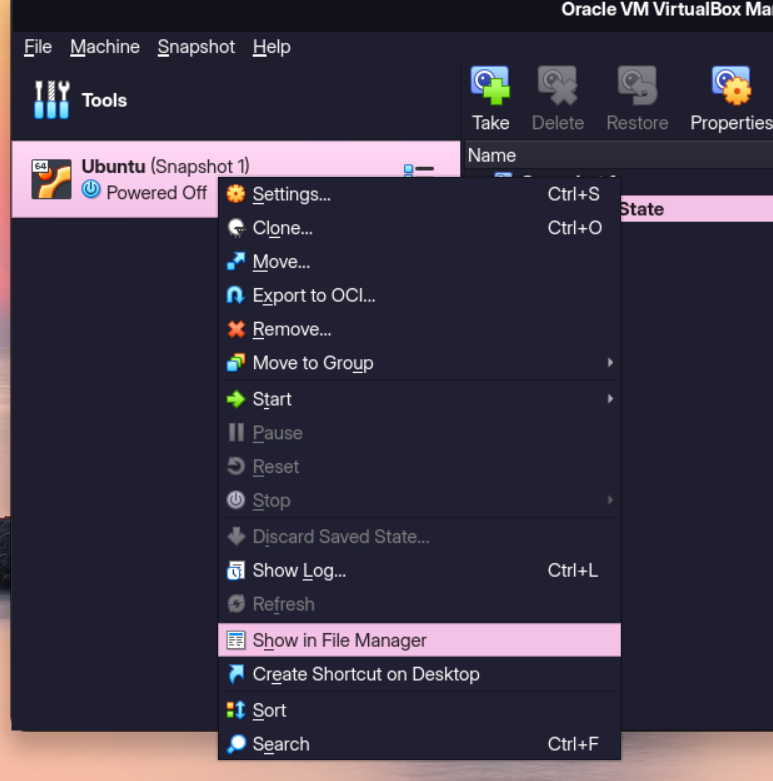
If you want to copy the whole Virtual machine, including the operating system and all the configuration files, then the best option for you is this method. You can simply navigate to the directory where the OS is installed and copy all the files to somewhere else (or a USB drive). First shut down the virtual machine and then right-click on the Virtual Machine to show the dialog box. From the dialog box, select ‘Show in file manager’ option.
A new window will open showing all the files which are related to your VM’s OS.
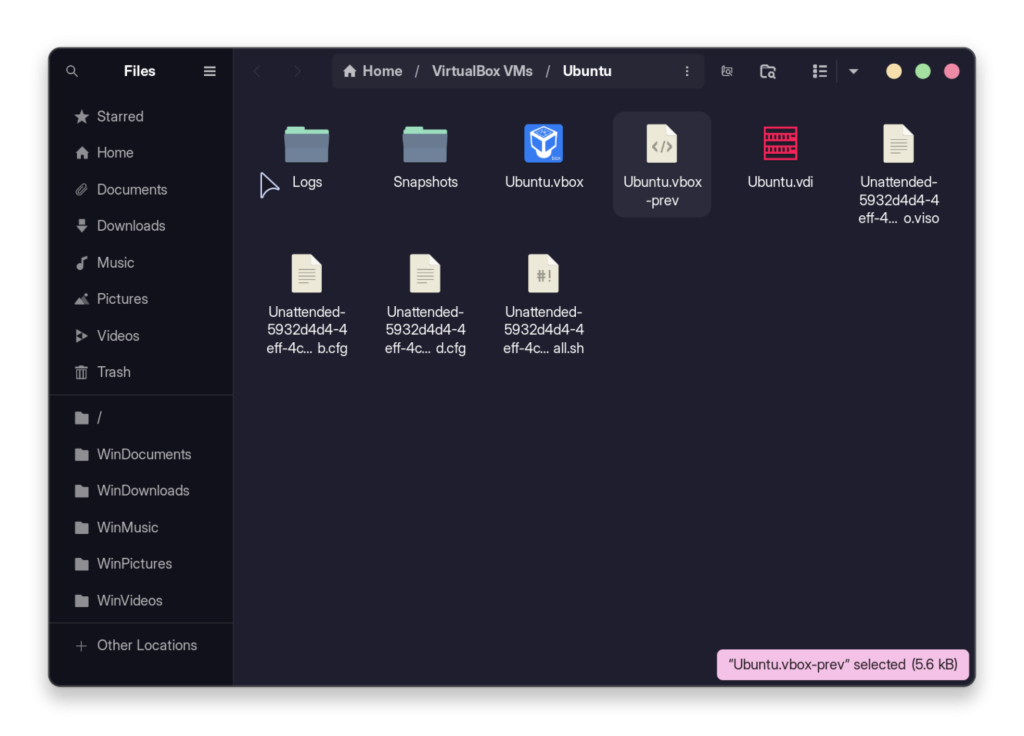
Just navigate to one folder above the current directory and copy the whole directory, which should be the name of the OS itself. You can place it anywhere, from a different disk, a network attached storage or a USB drive if you want.

Method 3: Exporting the Virtual machine
If you want to deploy any pre-configured machine to the cloud or just migrate it to another Virtualization software like VMware, then this method is ideal for you.
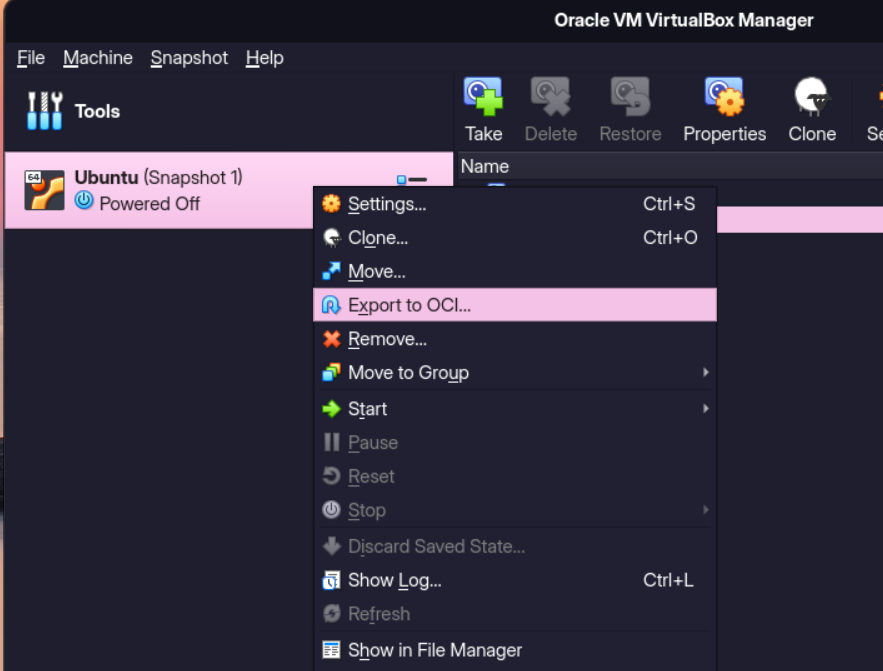
VirtualBox exports any Virtual Machine in the .OVA format, which refers to the Open Virtualization Format (OVF) package. Just right-click on the virtual machine you want to export, and then click on the ‘Export to OCI’ option.
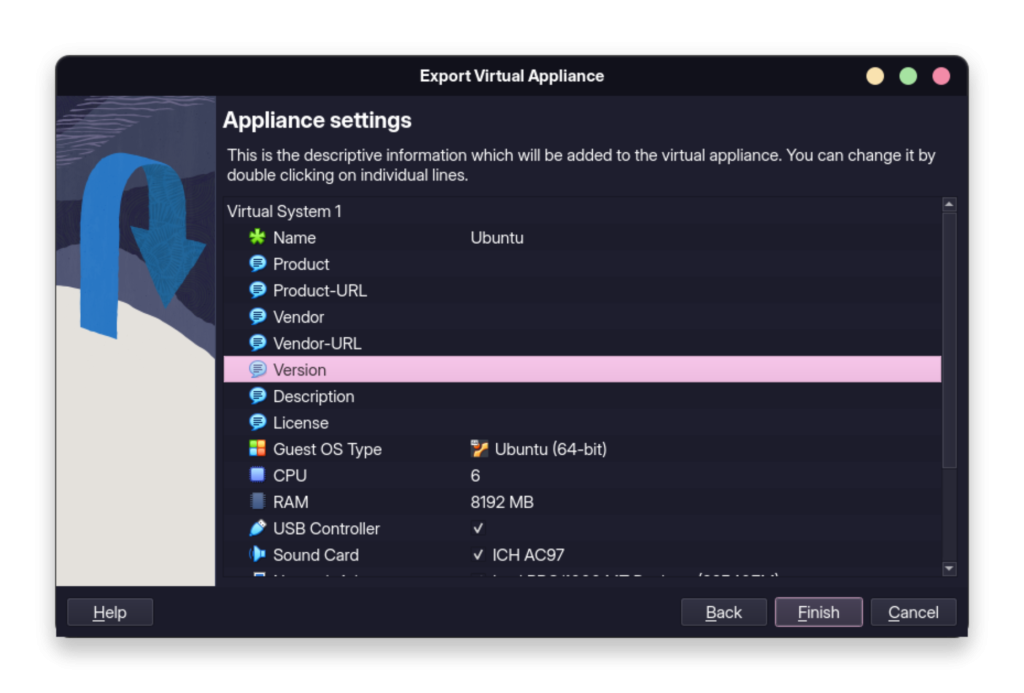
Now you can choose to export either the full image or just the manifest file of the VM, which just contains the settings from the dialog box.

You can even customize the settings of the virtual machine while exporting. Change the values which you need to and just hit the export button.
Just like the snapshots, this method also does not take much space on the disk.
Restoring the backups
You can easily restore from a snapshot, files or OVA images, the methods are mentioned below:
Restoring a Snapshot
If something breaks in an update, and you want to go back to the previous version, then you can try restoring the snapshot of the VM which you may have created earlier. Just select a snapshot and click on the ‘Restore’ button at the top when it gets highlighted.

Once again, click on the Restore button in the new dialog box.
Method 2: Restoring from the copied files
If you have simply copied the files created by the VM, then you can also easily restore it on a different PC. You have to paste that copied folder in the designated VirtualBox directory on your OS. Usually it is located in the home directory with the name ‘VirtualBox VMs’.
Method 3: Restoring an exported Image file
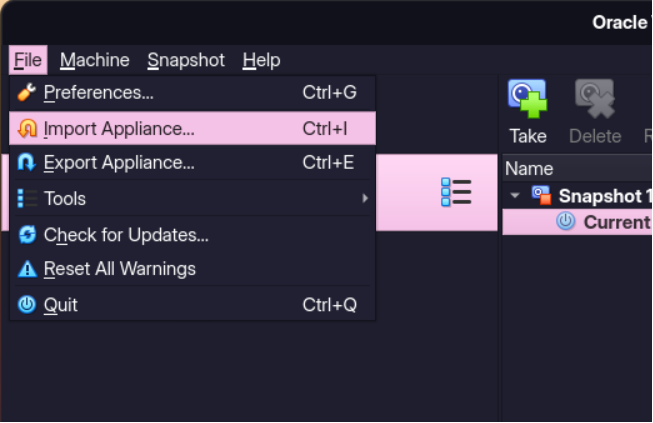
If you have exported the VM in an OVA format, then you can import it easily from the drop-down menu located on the menu bar. Just select File and then Import Appliance.
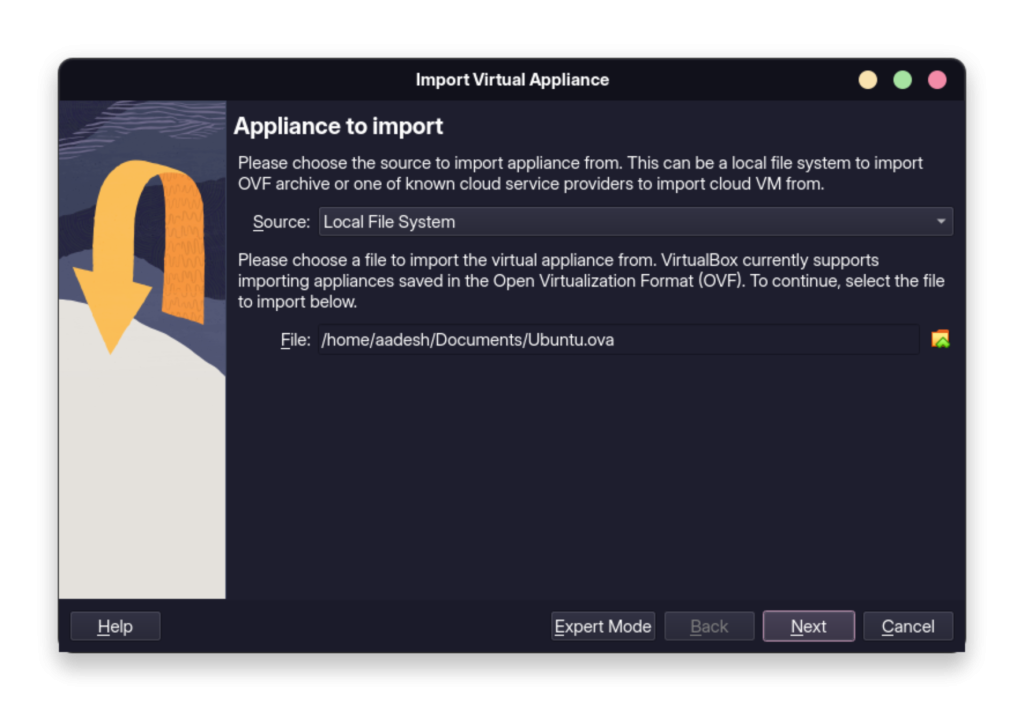
And then just select the exported file in the new dialog box.
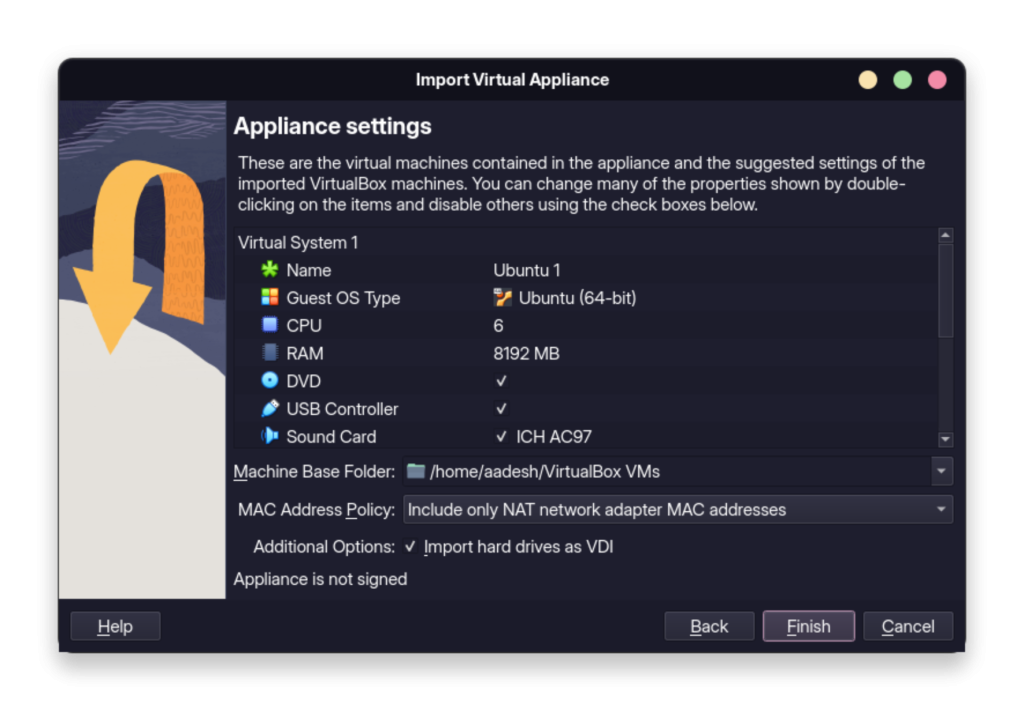
When you click on the next button, there will be an option to further customize the settings before importing the Image.
That’s it! You have now learned how to successfully back up your Virtual machines via different methods.
References
Official VirtualBox documentation