

Ubuntu is the most widely used Linux based operating system amongst all of them. We have discussed how to install this Linux based distro on hardware, as well as in a virtual machine. The installer is very easy to use and allows you to do things like change the timezone, create a user, set up the password and so on.
If you are installing the operating system in a hurry, then there are chances that you might mess up some settings or make a typo error in the username. Even if you don’t make a typing error, there might be a case when you want to change the username of the account you are using. Changing the username is not simple as it sounds because your home directory (/home/$USER) is also linked to your username, and you will have to figure out how to migrate all data from that directory to your newly created username. Well, we have already figured out the most of it, and you can use this guide to change your username on Ubuntu easily!
Creating a Temporary Username
You cannot just begin making changes to the live user, and for that you will have to create another temporary user with admin privileges and log into that account. To create a temporary user, type the following command in your Terminal:
sudo adduser temp
While adding the user, you will also be asked to assign a password for this user. Next, you will have to add this user to the sudo group so it will have admin privileges.
sudo usermod -aG sudo temp
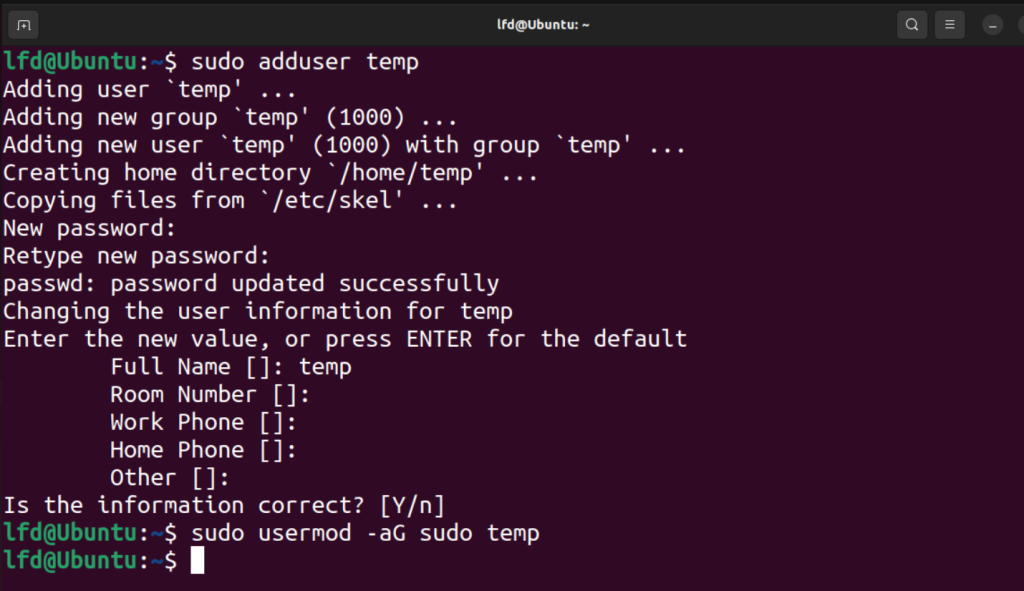
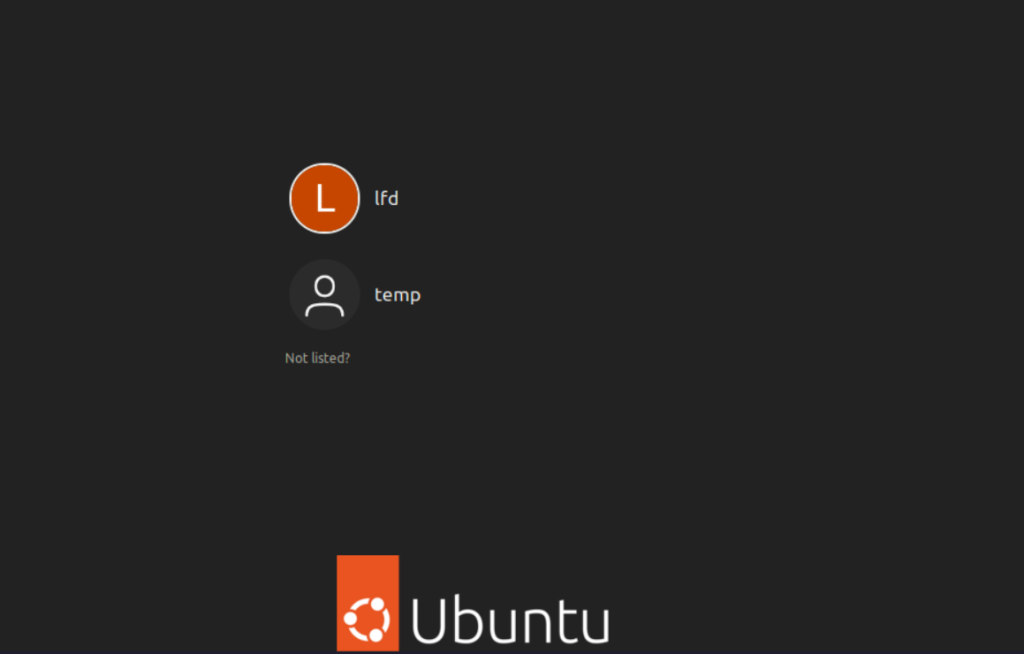
Once you are done, simply log out of your system and log back in using the user ‘Temp’ which we just created.
Changing the Username on Ubuntu
Once you are logged back in using the ‘Temp’ account, again open the terminal and type the following command so that the Terminal itself gets elevated to root.
sudo su
Finally, using the Usermod command, we can change the username of our main account to whatever we want. Use the command like this:
usermod -l #NEWUSER -d /home/#NEWUSER -m #OLDUSER
In the above command, make sure to replace #OLDUSER and #NEWUSER with the correct usernames.
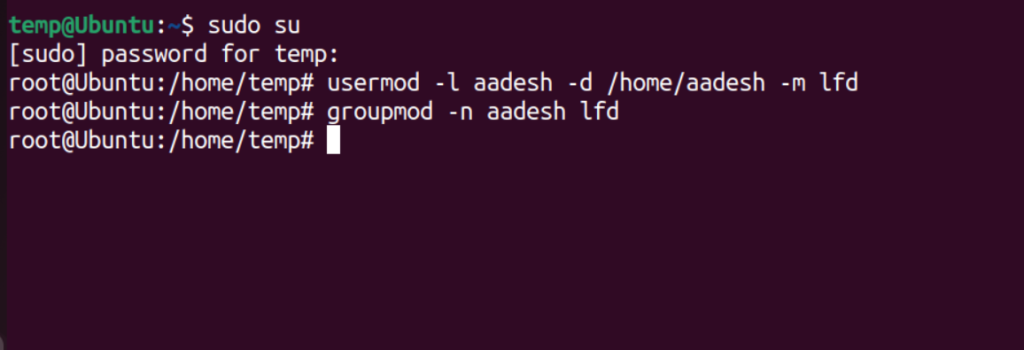
Now, you will also have to change the group name of the user, and you can do that with the help of groupmod command. Just type the following in your Terminal window:
groupmod -n #NEWUSER #OLDUSER
We’re now done with migrating the username.
Creating Symbolic Links for the old User
If you have any hard-coded scripts or programs which rely on the previous username’s home directory, then we can just create a symlink for the previous username to our current username’s home directory so that those scripts do not break.
You can do that by typing the following command:
ln -s /home/#NEWUSER /home/#OLDUSER
Now, we also have to modify the symlink’s permission to change its ownership from root to the new user using the chown command:
chown -h #NEWUSER: /home/#OLDUSER

Now, just logout from your temporary account and you will be able to log in to the account with changed username. You can then also delete the temporary user account which you created:
sudo userdel temp -f -r
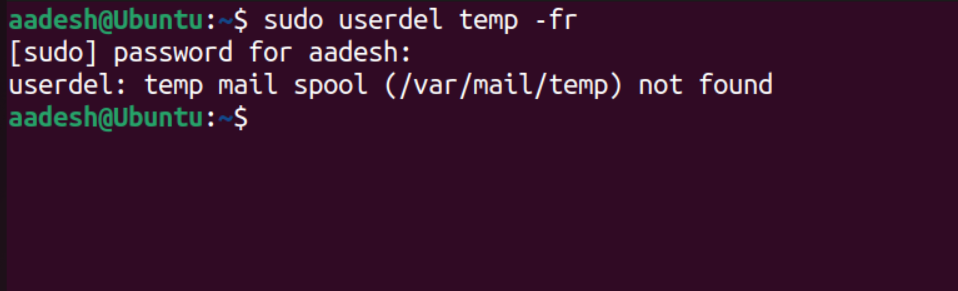
This command will remove the user temp along with the home directory of the temp user.
Conclusion
Linux systems allow excellent user and permission management and if you want to change any of the things related to a user or group then you have to be extra careful about the permissions.
In this tutorial, we have also created a symlink for the ‘renamed’ user, which is really important for not breaking any kind of scripts or daemon which are hard-coded for the particular username.
References
Manual page of Adduser command