
There has been a long debate about SystemD and its existence and the things that it does on Linux distributions. People say it’s bloated, slow, does a lot of things that should not be its job, etc. SystemD is used as an ‘init system’ which means it is primarily responsible for starting various system services whenever your PC is turned on. But you can also use systemD for enabling or disabling startup services (using the systemctl command) from the terminal.
Because of the wide variety of things SystemD can do (and its stability), every major Linux distribution just use SystemD as their init service. These distributions include Debian, Ubuntu, Fedora, OpenSUSE etc, so pretty much every distribution. However, because there are people in the Linux community who dislike SystemD and because the freedom Linux and open source software allows in general, many developers have actually made a stable Linux distribution which is based on Debian and called it ‘Devuan’.
Just like Debian, Devuan Linux has a confusing download page, and it does not even offer a Live media like any other distribution, so you just have to install this distribution and then try out how it feels. But don’t worry because in this tutorial, we will check out the installation guide of Devuan Linux.
Downloading Devuan Linux ISO
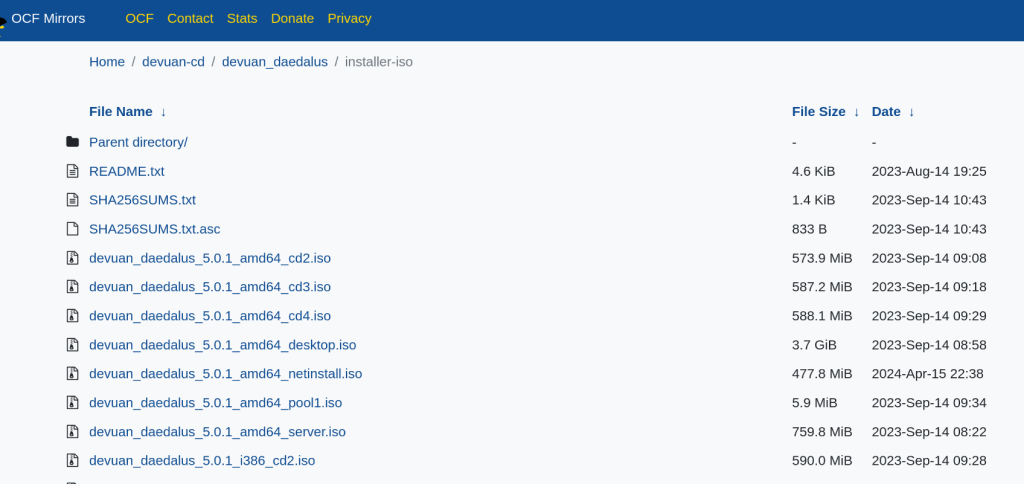
So there are several ISO files listed on the official Devuan Linux site, and you will have to pick the right one. If you are running even a fairly modern CPU on your PC or laptop, then you will have to select the ISO which has the word ‘amd’ in it (yes, even if it is an Intel CPU). You can select the netinstall image if you will have a network connection to your PC either via Ethernet or Wi-Fi, but if you are going for a completely offline install, then select the ‘Desktop’ ISO file which is located inside the ‘Installer-ISO’ directory on any of the HTTPS server.
Once downloaded, you will have to burn this ISO image to a USB drive using software tools like Ventoy or Balena Etcher, click the respective links to know how to burn the ISO file to a USB drive. Then turn off your PC and change the boot order from the BIOS menu upon reboot so that your PC boots up from the USB drive instead of the internal SSD.
Installing Devuan Linux
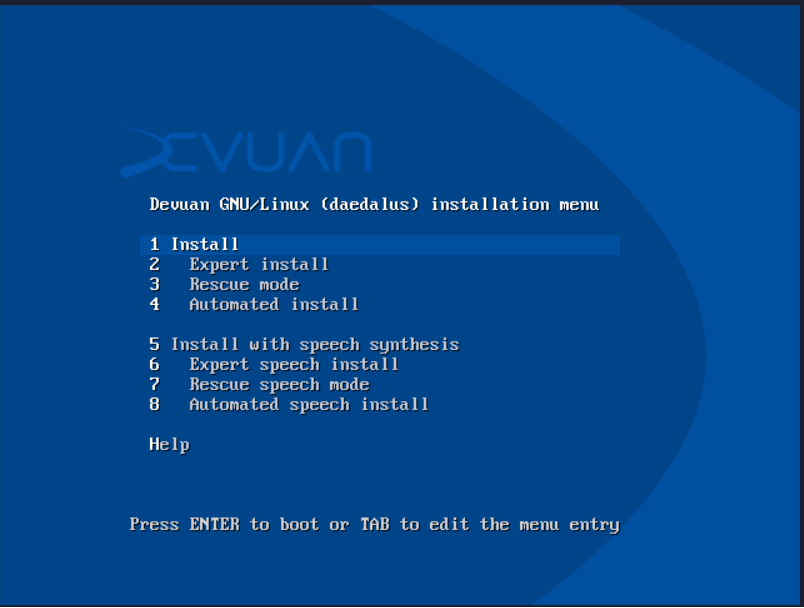
When you are first booted into the Live ISO, you will be asked what method you want for the installation. Just simply select the first option (using the arrow keys on your keyboard) and then press enter.
In the next step, you will have to select the language of the installer. I’m going forward with English but you select whichever language you are comfortable in.

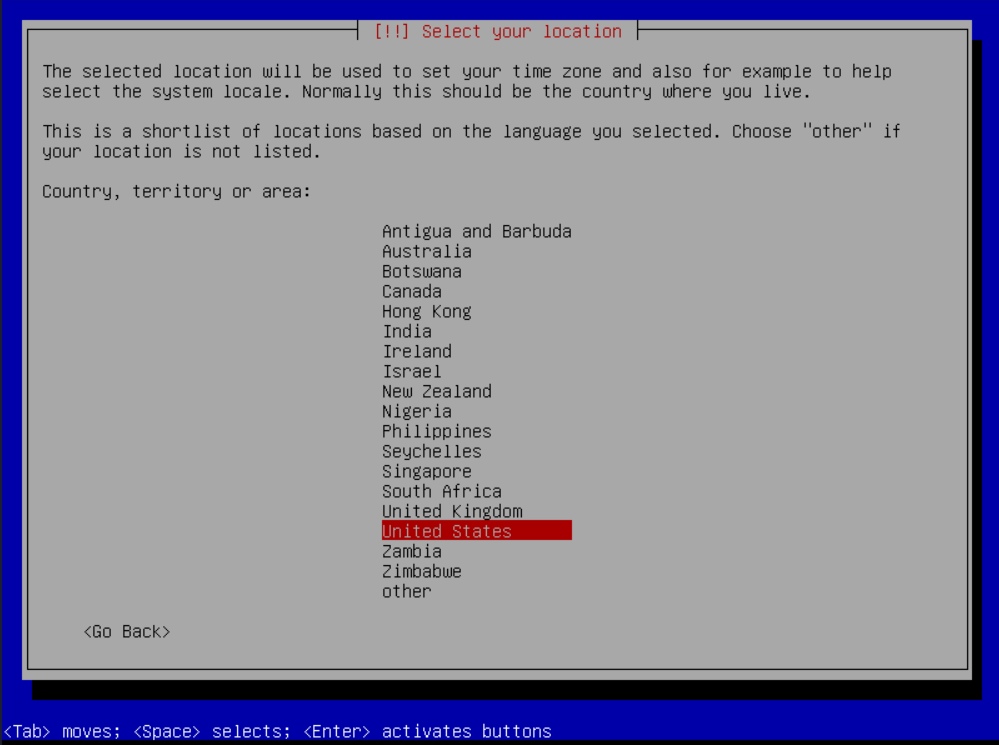
In the next step, you will have to select your location or timezone. Since I’m in India, I will select that option, but you should choose the location where you live and press Enter.
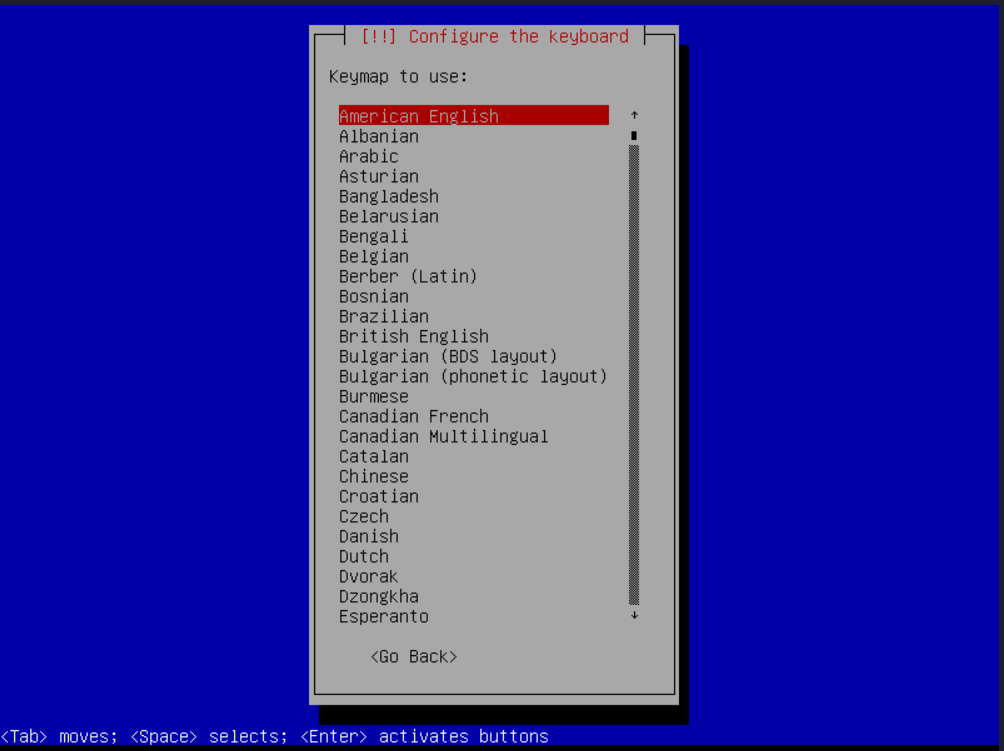
Next, you will have to select the correct keyboard layout which you are using. I’ll just select English (US) since I could not find an option for Indian English and then press Enter.
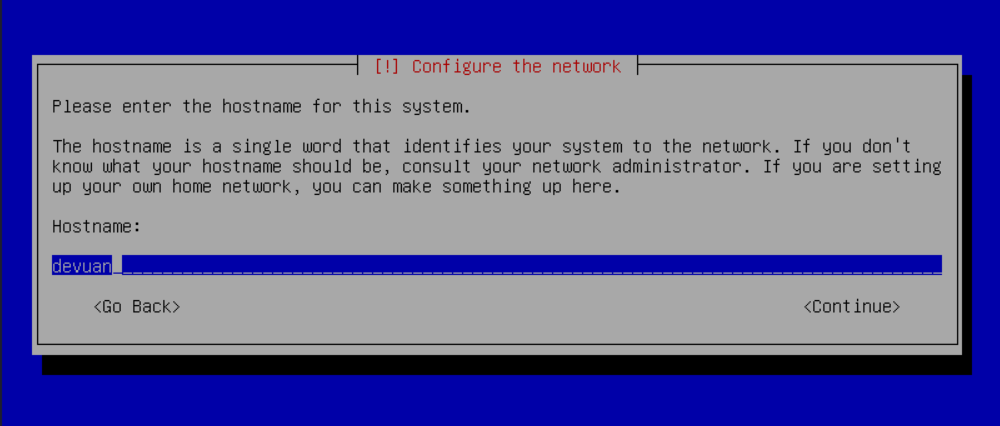
Now, you will have to create a hostname for the PC, it could be as simple as ‘PC’, however I like the distribution’s name as the hostname so I will use ‘Devuan’ and press Enter.
In the next step, you will be asked to enter a domain name for your PC, but since we are installing it on a home PC, I will just skip this step by pressing enter.
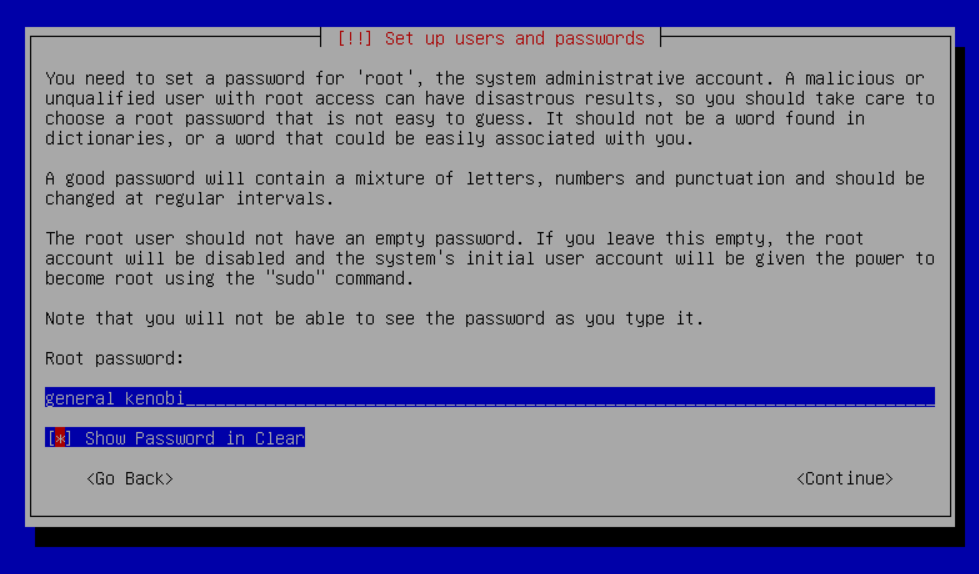
You will be asked for a root password in the next step, enter a strong and memorable password and press Enter and you will have to type this password again in the next step for verification.
What we just set up was the root account, and now we will have to create an account for the user which we will primarily use.
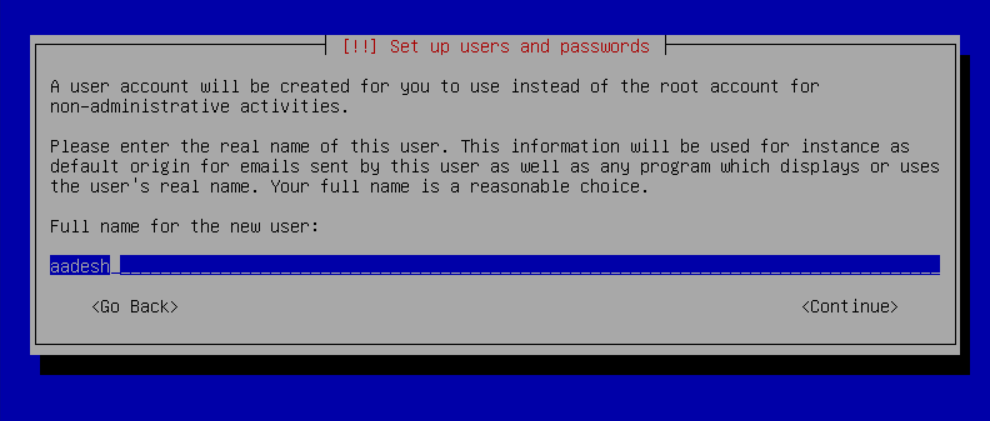
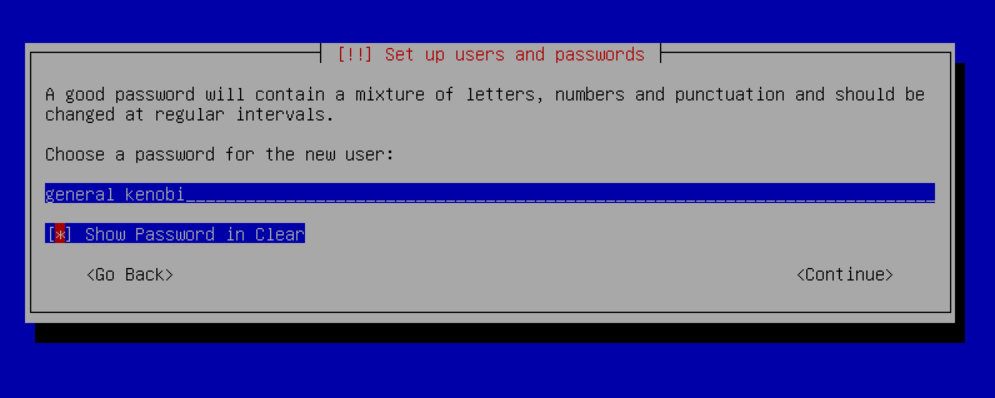
Upon entering the username, you will have to create a separate password for the user as well, but for the sake of simplicity, I’m going to use the same password as for the root account.
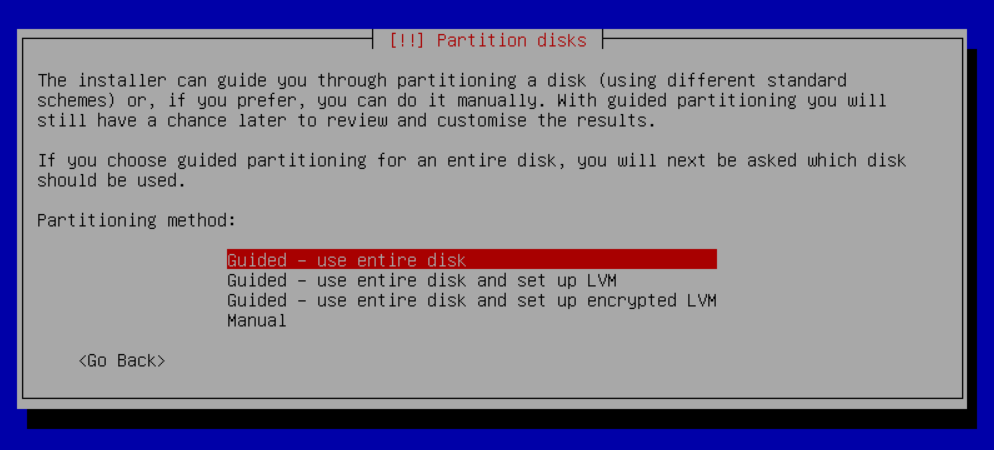
In the next step, you will have to partition the SSD properly. Since I am using a virtual machine, I can simply choose to erase the whole disk and install Devuan there. You can also choose to have an encrypted or non encrypted LVm partitions.
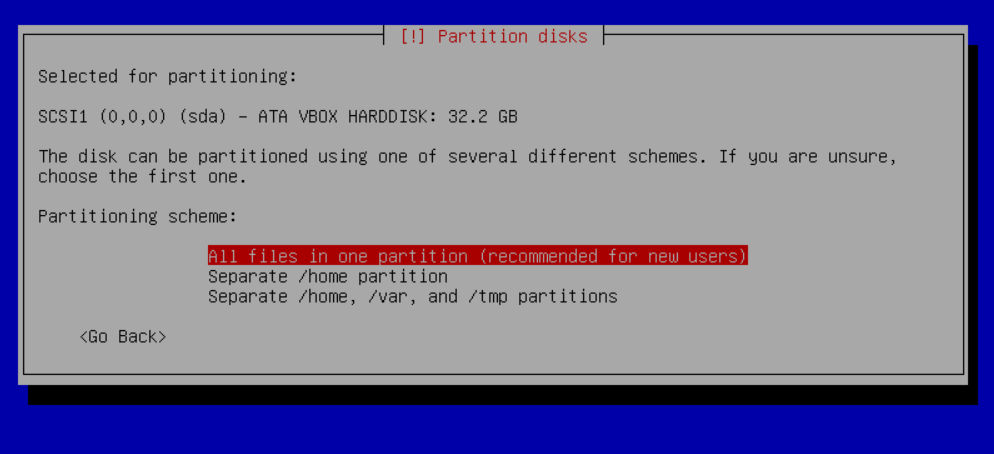
If you select the first option, you will have the choice to have either all files in one single partition or you can have a separate home and /tmp partitions. If you are a distrohopper then you can create a separate home partition otherwise one single partition is just fine.
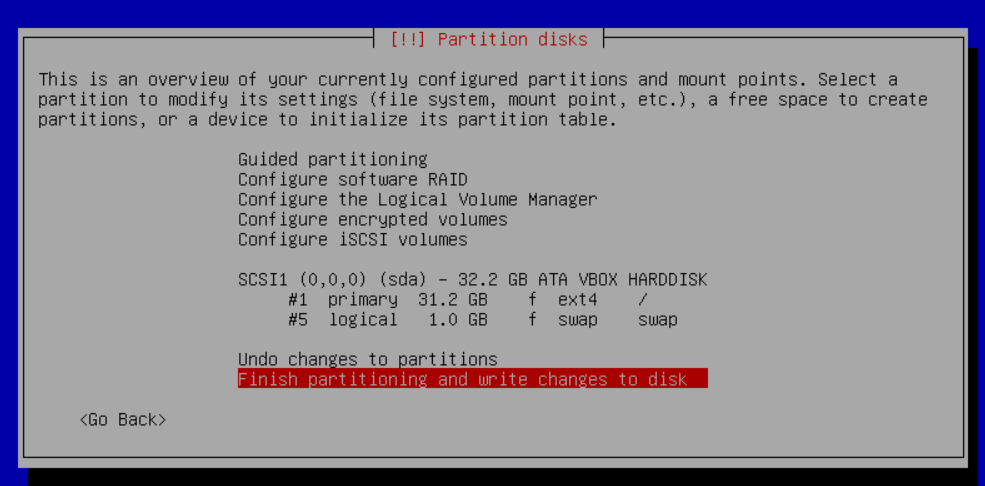
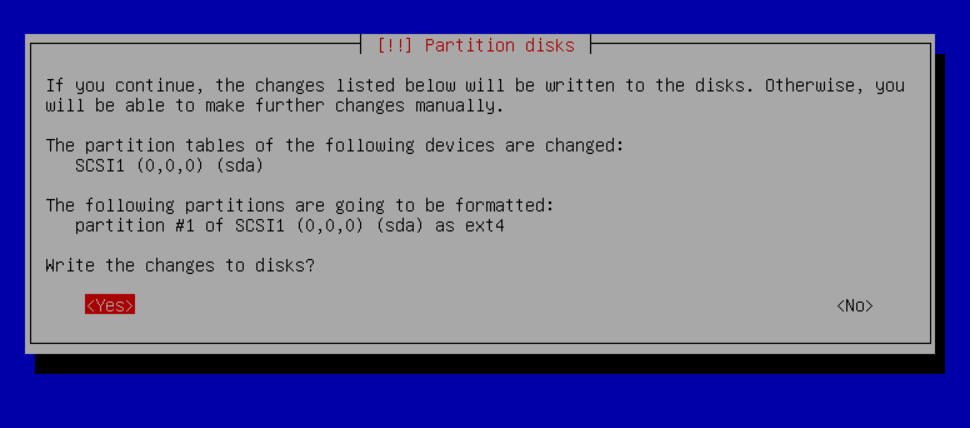
In the next step, a Swap partition will be automatically created along with your selected partitions, but I have deleted the SWAP because my system has a sufficient amount of RAM (8GB).
For confirmation, you will have an additional step where you would have to select ‘yes’.
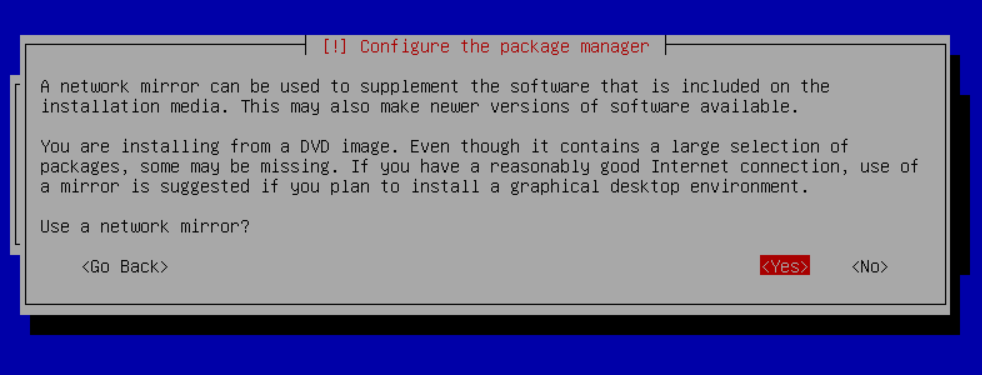
Now this step really important, you will have to select a network mirror that will be used to install the latest version of applications and packages on the Devuan Installation.
On the next screen, there will be a question about telemetry, you can choose to enable or disable it, I have disable it and proceeded to the next step.
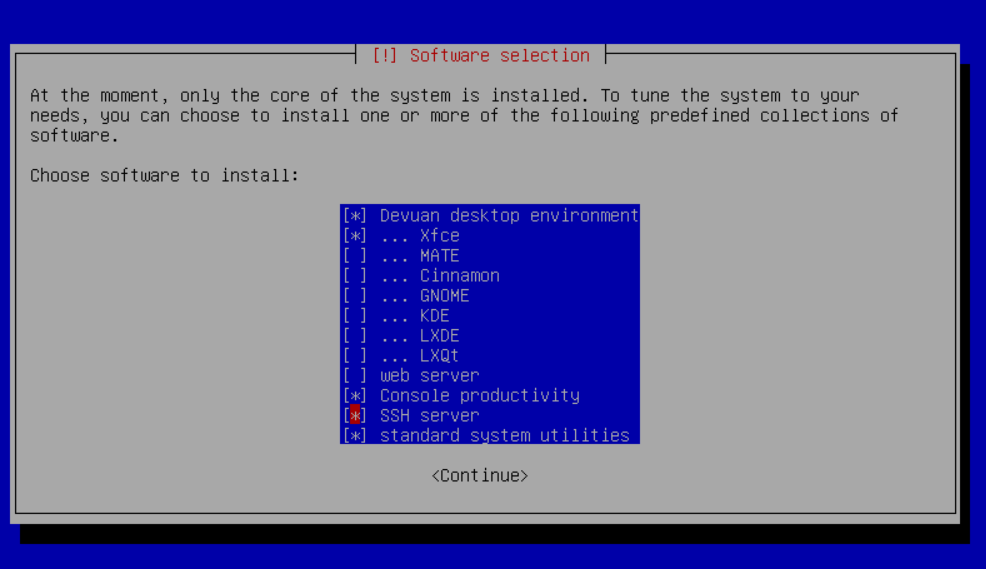
Finally, you can select the desktop environment of your choice, by default only XFCE and Devuan Desktop Environment is selected alongwith Standard system utilities (which includes office suite etc) but I have added Console productivity as well as SSH server (you can select by pressing the space bar). You can choose any desktop environment which you prefer.
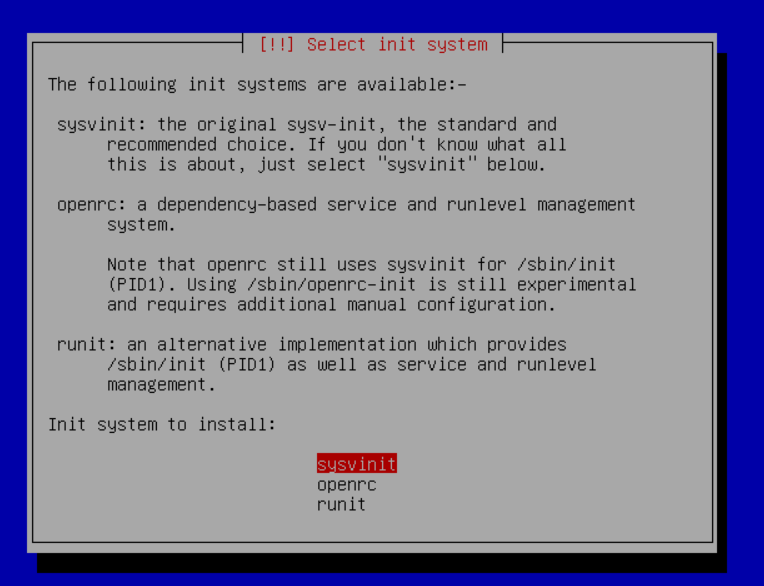
Next, you will be asked to enable or disable AppArmor, it is an extra security layer and good-to-have thing. Just enable it and proceed to the next step which will ask you to choose the init system. Note that SystemD is not listed here and you can choose from sysvinit, openrc and runit. As metioned in the installer, just select sysvinit unless you know what you are doing.
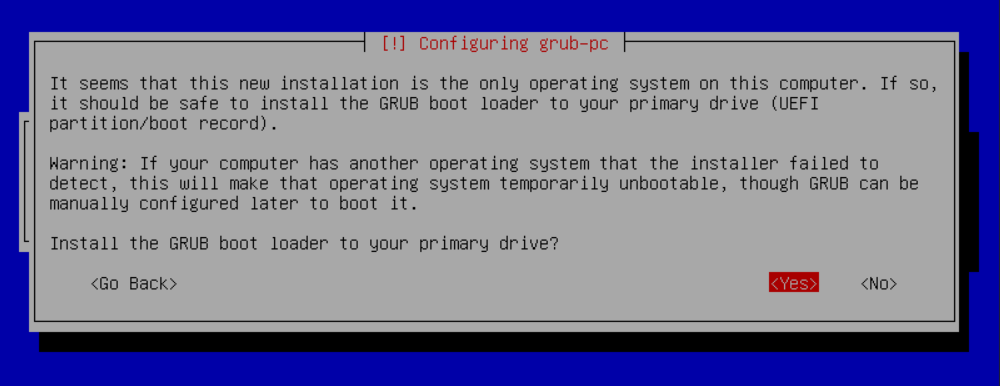
Finally, if you are not dual booting, you should not have a problem with the GRUB bootloader being on the priamry device, so just select yes and proceed.
Finally, when the installation is finished, you will be asked to reboot your system, just hit continue.
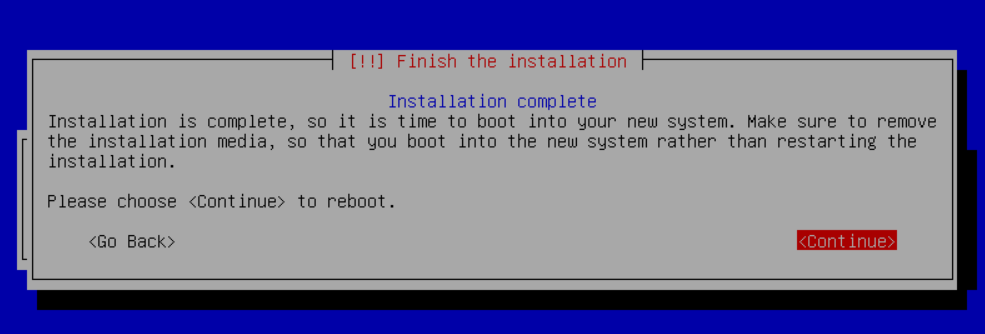
Make sure to remove the USB drive from your PC while the system is rebooting.
Post-Installation Tweaks
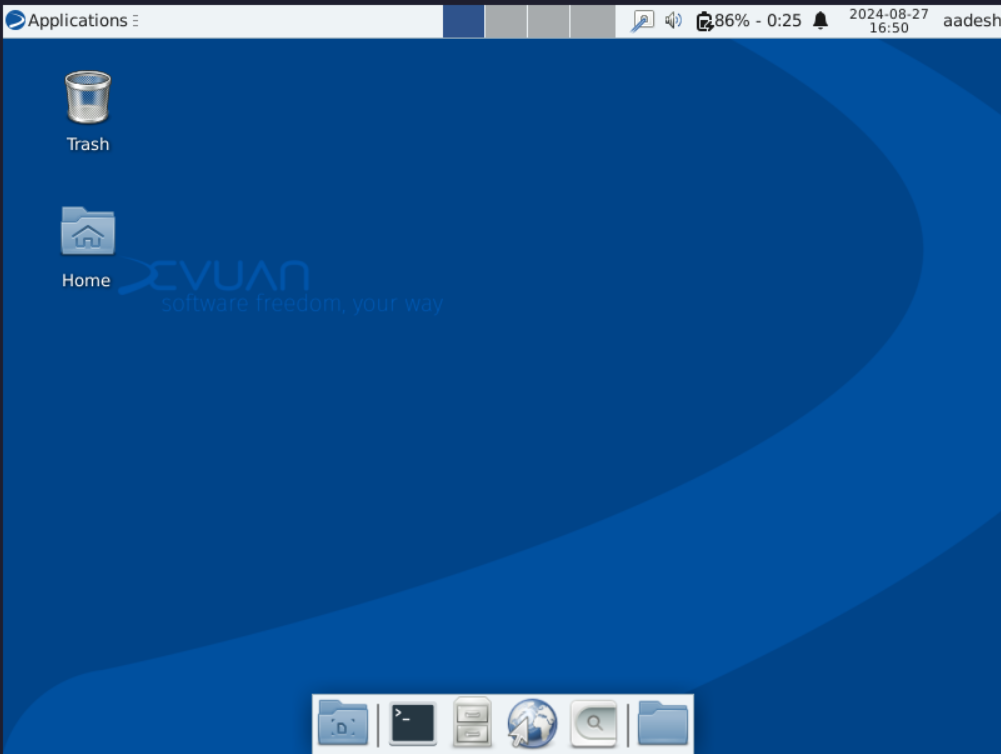
Once you log into the system, you will be greeted with the desktop environment you chose to install with Devuan Linux.
I am now going to add the user I created during installation in the wheel group, which will grant that user admin privileges so that I don’t have to log in to the root account every time I want to update the system or do anything else which requires root privileges.
Log in as root account and from the Terminal, type the following command to add the user to the wheel group:
sudo adduser $USER wheel
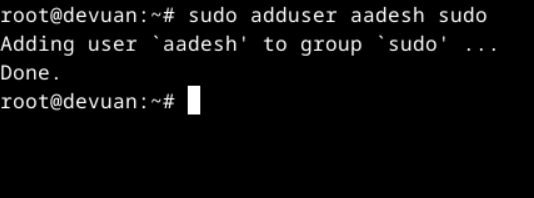
Now just log out and log back in with the username to enjoy admin privileges. And make sure to update the system while you’re at it.
Wrapping Up
Devuan Linux is a really unique distribution because of its choice of the init system. But do note that some programs are actually hard-coded to be run on systems which have systemD installed, so first check online in various forums that your required program runs smoothly without SystemD.
What do you think of systemD, do you like it? Or does the init system not matter to you? Do let us know by commenting your thoughts down below on SystemD as well as Devuan Linux.