
Arch Linux is one of the most popular Linux distributions, alongside Debian and Fedora. People generally use it because it is extremely bare-bones, and basically the user picks what gets installed, even the desktop environment. We have covered the installation of Arch Linux in great detail, however even with the archinstall script the process is quite cumbersome and scary for beginners as the process takes place in the Terminal.
Garuda Linux is a ‘gaming-focused’ Linux distribution based on Arch, which can be easily installed by beginners who are not yet comfortable while typing commands in the Terminal. In this guide, we’ll take a look at all the extra features and tools are included in Garuda Linux, as well as learn how to install it on your PC.
What’s unique about Garuda Linux?
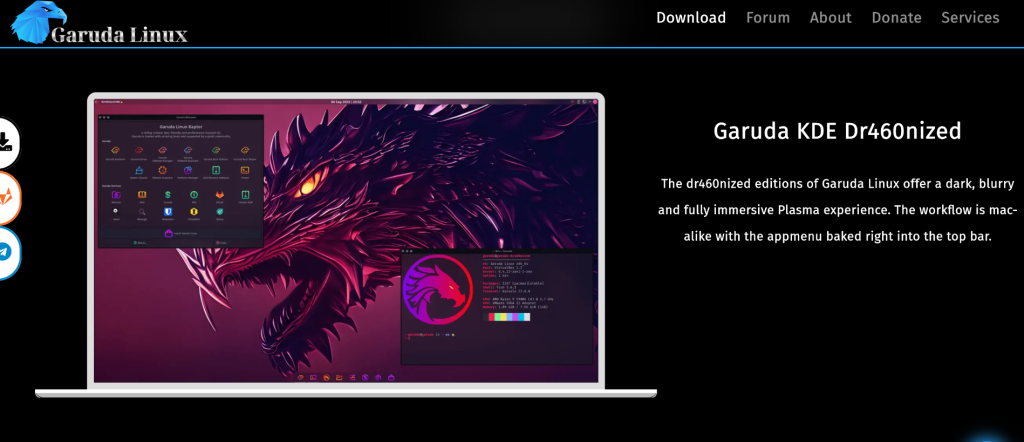
Gaurda Linux ships a custom version of KDE by default known as KDE Dr460nized edition which has custom themes, transparency effects as well as visual appearance. It looks really good in my opinion, except the Icon theme, which is a bit too much and make the applications unrecognizable.

As you can see in the screenshot above, they have customized the KDE desktop to look like GNOME, with a dock at the bottom and a panel at the top.

Another thing which sets Garuda Linux apart from stock Arch Linux is its welcome app, which is really intuitive for beginners as they can install important applications, kernel, drivers, Steam, Heroic, emulators and web browsers from a single place.
Installing Garuda
Download the ISO and make a live USB
Well, first of all, you will have to create a bootable drive using a USB storage device by using either Ventoy or Balena Etcher. Download the official ISO file of Garuda from their site. We’ll be using the KDE dragonized edition for the demonstration, however, the installation procedure should be the same for every ISO.
There’s also a ‘gaming ISO’ which ships with a lot of preinstalled software such as Steam and MangoHUD, but don’t worry you can install them afterward as well if you need them.
Once you have created the live USB, simply shut down your PC or laptop and then enter the BIOS menu. Usually It’s either the F2, F10, F12 or Del keys, check on Google what your motherboard/laptop manufacturer has set this key to. And from the boot menu, change the boot order so that the PC or laptop boots from the USB drive instead of the internal SSD.
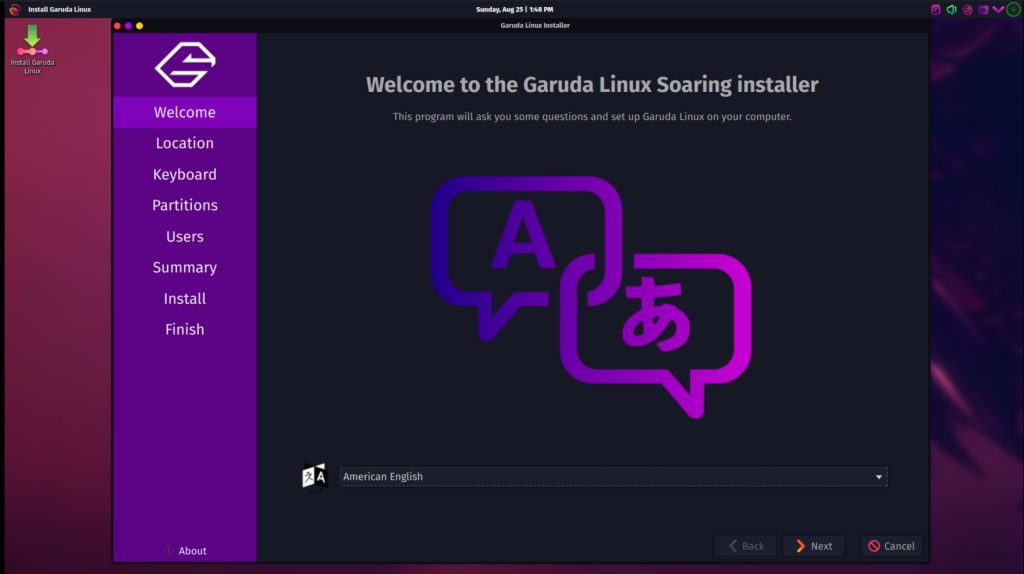
Beginning Installation
Once you’re booted from the Live USB, you will be greeted with the Garuda Installer. Select the installer’s language and just hit the next button.
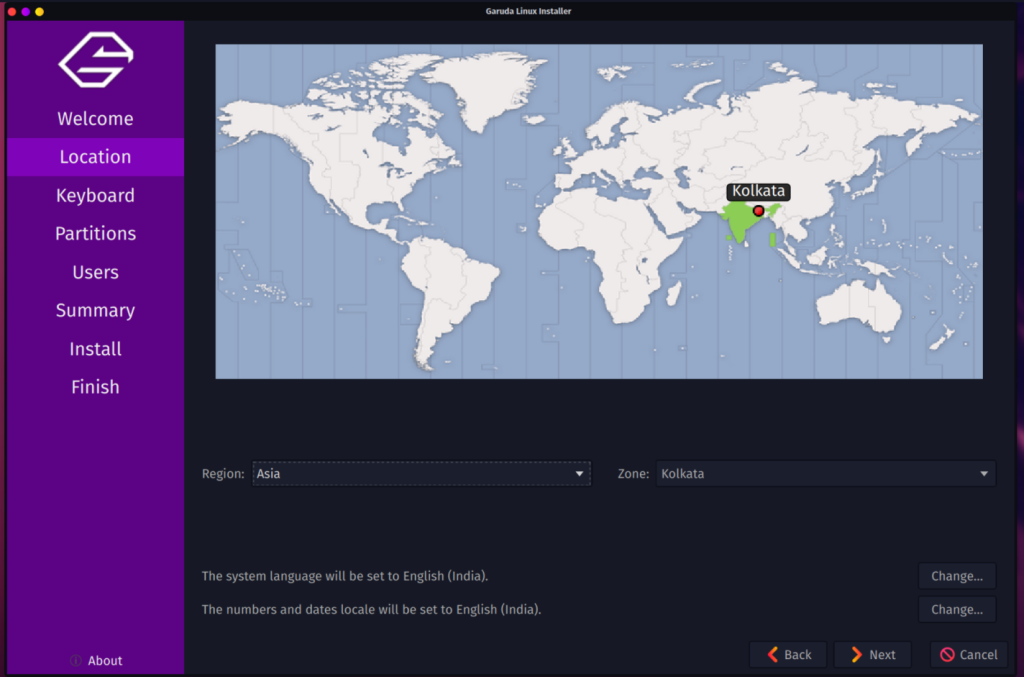
From here, you have to select your correct timezone so that your PC’s time gets updated normally.
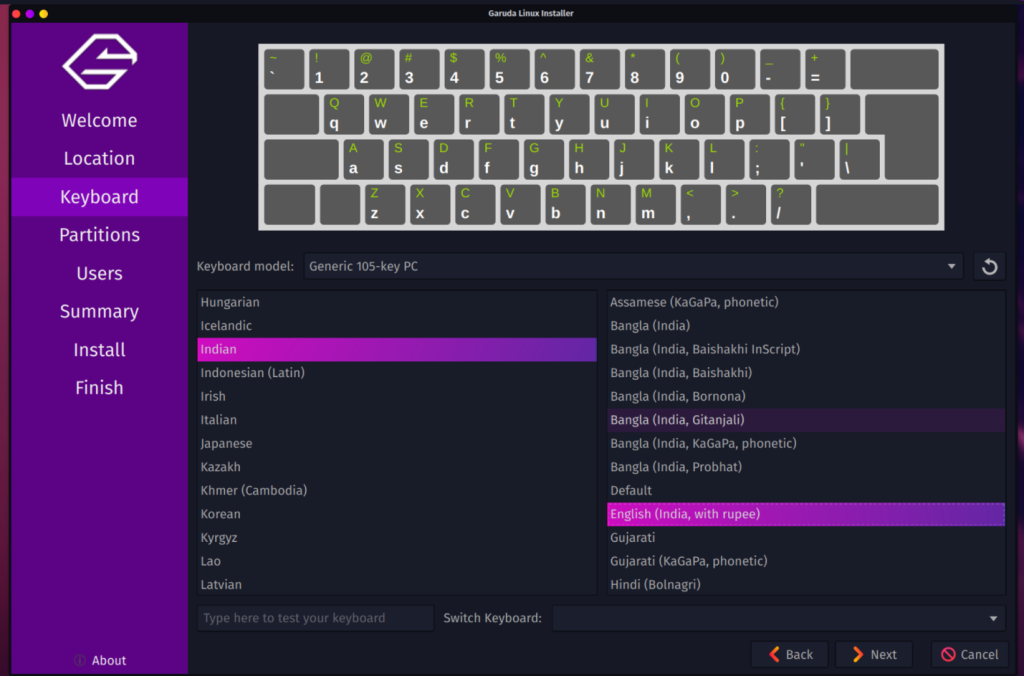
In the next step, you will have to select the correct keyboard layout of your laptop/PC. Hit next when you are done.
Now, This step is extremely important, you will have to create partitions on your SSD where Garuda Linux will be installed. Just select ‘erase drive’ which will automatically create partitions, however this will delete data from your SSD. You can also choose to dual boot your system by manually creating partitions, but that’s a story for another day.

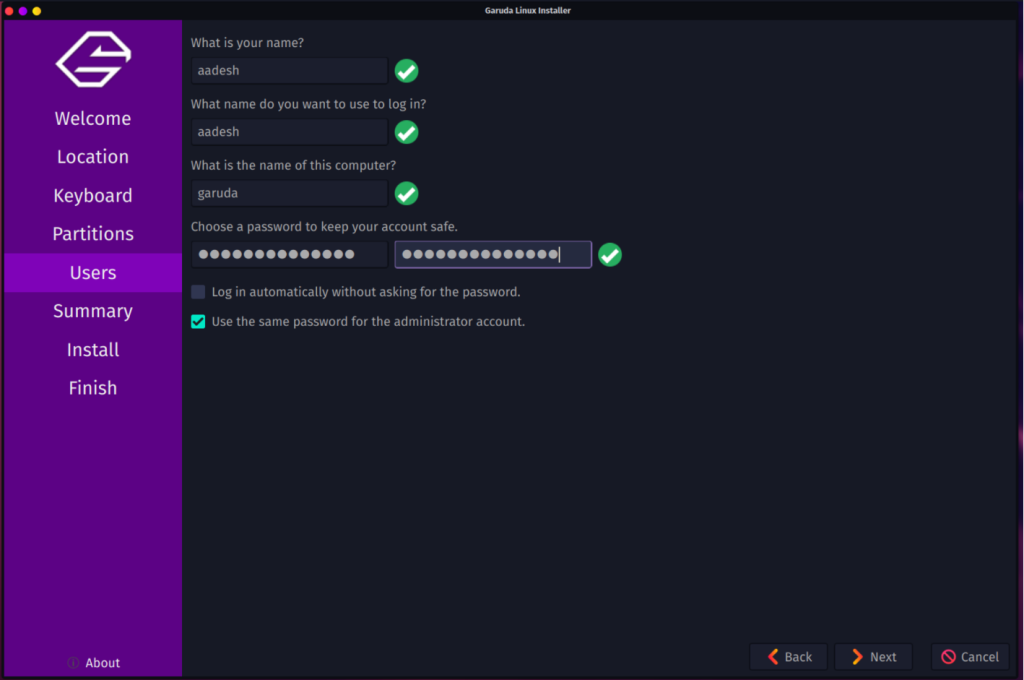
In the next step, you will have to set up your user ID and password, which you will use to log in every time your PC boots up. Enter a strong password then hit the next button.
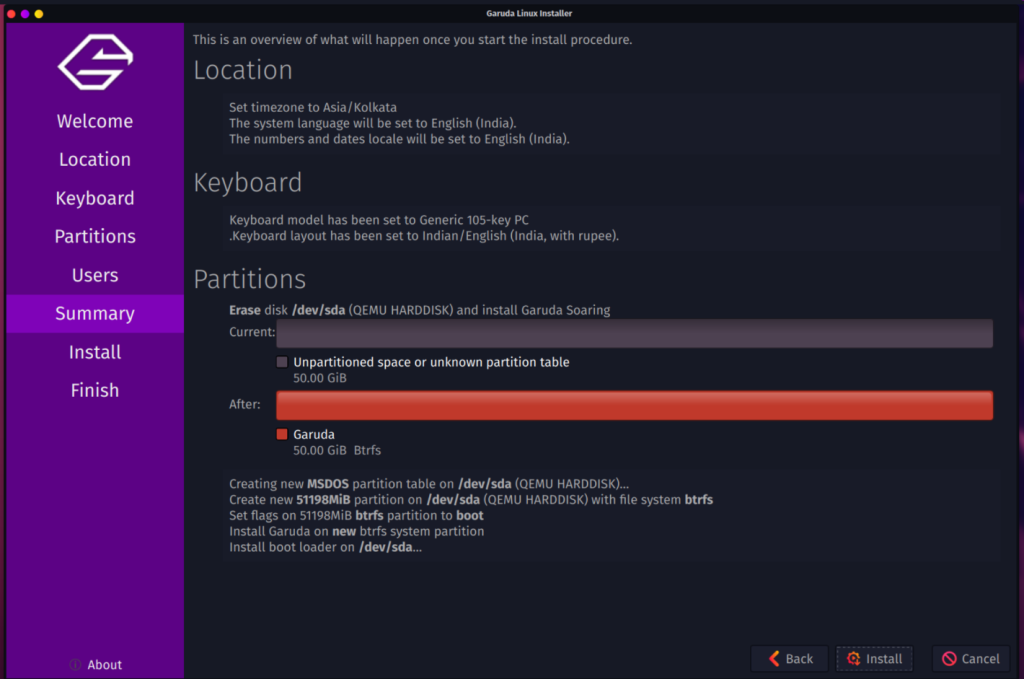
Finally, verify the summary and click on the install button if everything feels right to you. If something is off, then you can just go back and change the things you don’t like.
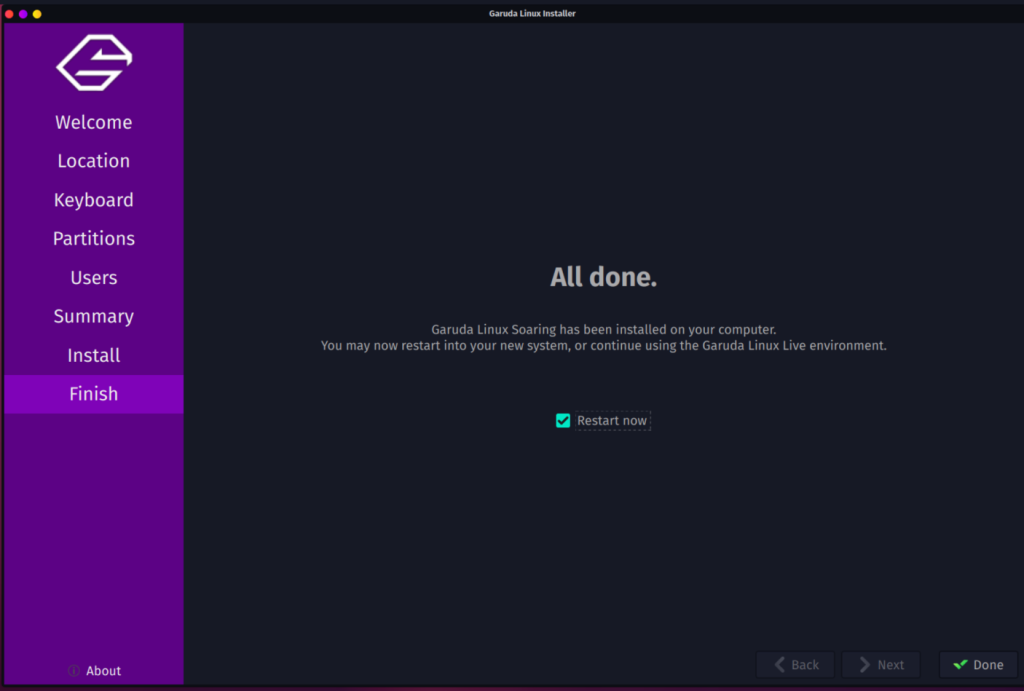
Once the system is installed, you will be asked to reboot your PC. Make sure to remove the USB drive once your PC is in the off condition.
Post-Installation Tweaks
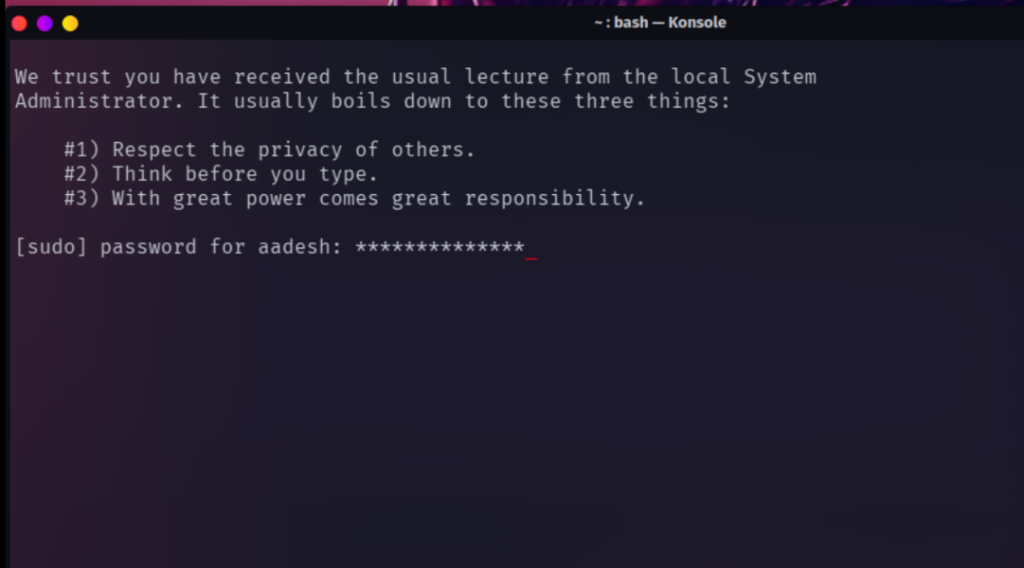
Once you get to the desktop interface upon reboot, you will be automatically asked to update your PC and you will have to enter your password to proceed.
Once your system is upgraded, it is recommended that you reboot your PC once again so that any new kernel installed in the update gets selected on Boot. Next, you can do various things from the Garuda Setup Assistant.
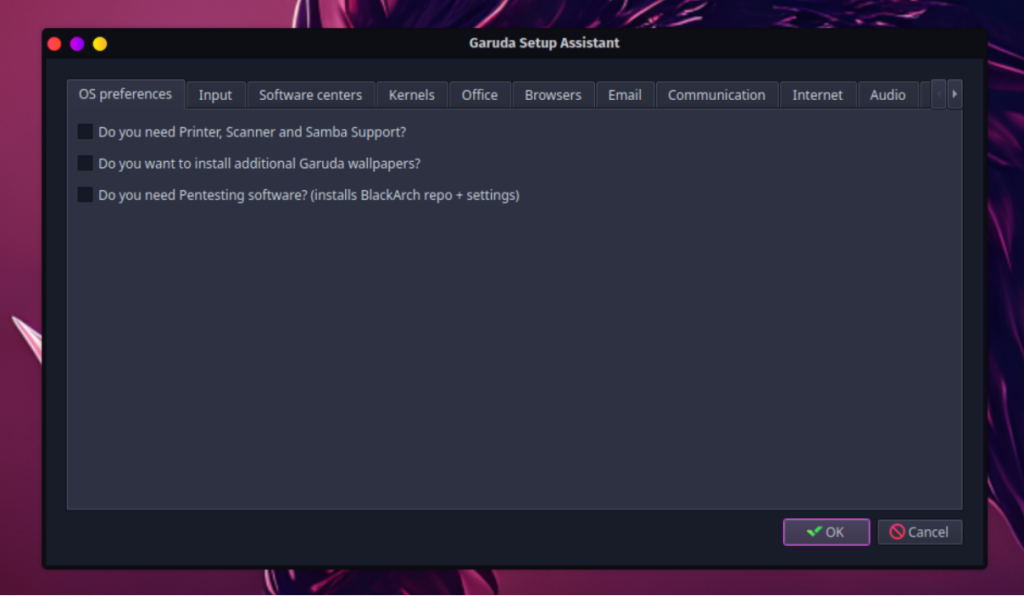
You can add Printer and Scanner support, additional wallpapers, as well as office suites and browsers from this menu itself. Just select what you need and hit OK, and then things will be installed on your PC.
Conclusion: A Good Distribution?
The amount of tools added in Garuda Linux really facilitates even a beginner to use Arch without involving any of its complexities. It seems to be a great distribution, and it looks and feel really snappy as well. It offers choice for the users as well in the form of Desktop environment (GNOME, KDE and Cinnamon) so you can also pick what you like.
You can also try out Endeavour OS if you prefer more of a stock appearance for all the desktop environments, however Garuda Linux seems to be an awesome distribution as well.