Hub is a Command line tool used to interact with GitHub-based features of a particular repository and is highly used with pull requests. This tool is designed to extend it with extra functionality to make it better when working with GitHub.
Most hub commands are supposed to be run in the context of an existing local git repository. Hub will automatically detect the GitHub repository that the current working directory belongs to by scanning its git remotes.
In case multiple git remotes are all pointing to GitHub, the hub assumes that the main one is named “upstream”, “GitHub”, or “origin”, in that order of preference.
When working with forks, it’s recommended that the git remote for your own fork is named “origin” and that the git remote for the upstream repository is named “upstream”. See https://help.github.com/articles/configuring-a-remote-for-a-fork/
The default branch (usually “master”) for the current repository is detected like so:
git symbolic-ref refs/remotes/origin/HEAD
Here, “origin” is the name of the remote git used for upstream repositories.
What features come with Hub?
Fetch Repositories: It gets easier to fetch repositories as it comes with the feature of the fasting searching method.
Navigation: It also navigates the project pages only when it is necessary for the developers to do so for the computer application needs.
Fork Repositories: It comes with a great feature of forking repositories, where it shares codes and visibility settings with the “Upstream” repository. It does not allow with the root privileges for using commands such as push/pull requests.
Submit Pull requests: It can pull requests easily to let you tell others about the changes you’ve pushed to a branch in a repository.
General features: The following general features are:
- It supports Automation of the tasks.
- It lists and also creates issues.
- It also creates GitHub releases that are only used when the product is designed to give the software production documentation before the given timeline.
- It makes it easy to clone or create repositories, browse project pages, ensure our local branches, update the branch, share logs and code snippets.
We will see how to do such functions after the installation process of Hub. So, let us get started.
How to Install Hub on Linux?
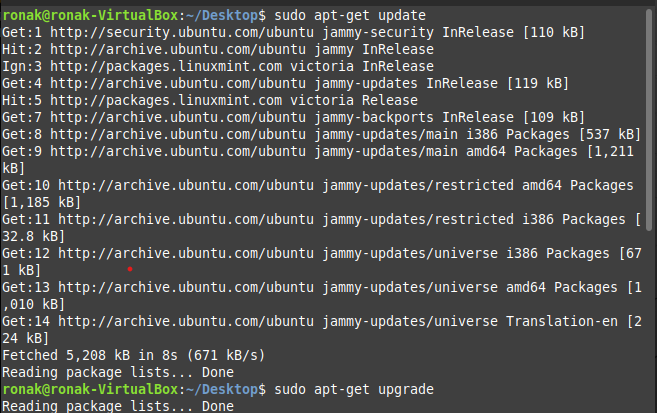
Before installing Hub on Linux, we must update and upgrade our repositories to get the latest version of all the software we need. To update and upgrade our repo, type:
sudo apt-get update
sudo apt-get upgrade

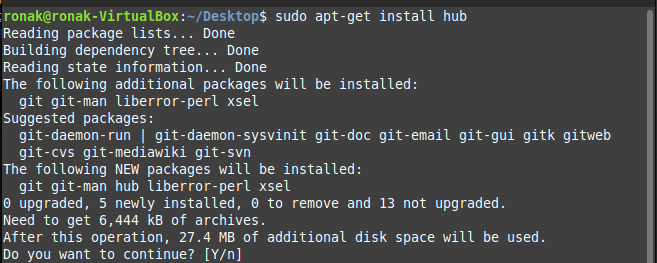
After this process is over, simply install the hub with the apt-get command.
sudo apt-get install hub

however, you can also install it using the zipper package installer:
sudo zypper install hub
You can also install using the Conda package installer. To download, type the following command:
sudo conda install -c conda-forge hub
Using the Hub command
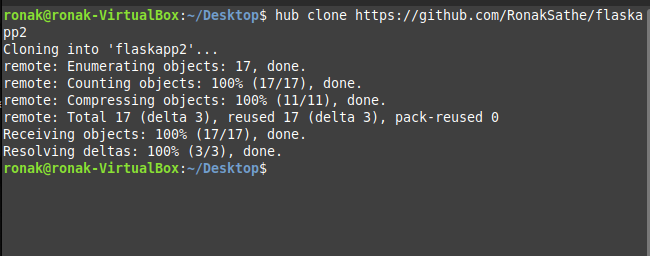
We can clone our project easily by using the following command:
hub clone yourfilename

To create a fork of the current repository under your GitHub Profile:
hub fork

To sync your repositories, to forward all local branches to match the latest states:
cd intoyouproject
hub sync
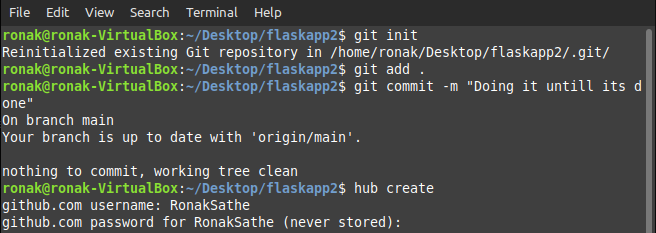
To start a new project, you can use the hub command. First, you have to create a repo to host a new project.
git init
git add .
git commit -m "Your Message !"
hub create

Summary
This is how you can Install Hub CLI on Linux. It connects local development tools to HubSpot. This allows developers to use version control, and web development technologies for various purposes for application. I hope you found this tutorial useful, if you have any doubts regarding this CLI tool, let me know in the comments down below.
Reference
To see more information, visit:https://github.com/mislav/hub#installation
To follow more tutorials, visit: https://www.linuxfordevices.com/


