
It is quite rare for a lot of things to be completely under our control. However, something that is extremely rare is an employer that is willing to give you the device that supports the platform you like. Especially as a Linux user, your options would be little to none as most of the companies prefer either windows or Mac (less likely still odds are more than Linux).
Now, the selection becomes even more challenging when you want to install a specific flavor of Linux say Centos.
Luckily enough we have OS virtualization technology available to us on all the platforms for the most part. OS virtualization technology is a type of virtualization technology that allows a single physical computer to run multiple operating systems simultaneously. This allows users to consolidate multiple computers onto a single physical machine, which can save both space and energy. In addition, OS virtualization can improve the security of a system by isolating each operating system from the others.
And one software that immediately pops into the mind while talking about operating system virtualization is Virtualbox.
VirtualBox is an open-source cross-platform virtualization application. Developed by Oracle in 2010, it allows you to run multiple guests operating systems on a single host computer. These guest operating systems can be used for development and testing purposes, or simply to try out new operating systems without the need for a physical machine.
Now, let’s learn how to set up and install Centos on Windows using Virtualbox. Virtualbox so far in my testing between various operating systems as well as with various versions seems to work fine without any issues.
In this example, I will be demonstrating how to download and install Centos in Virtualbox on Windows 10.
System Architecture Check
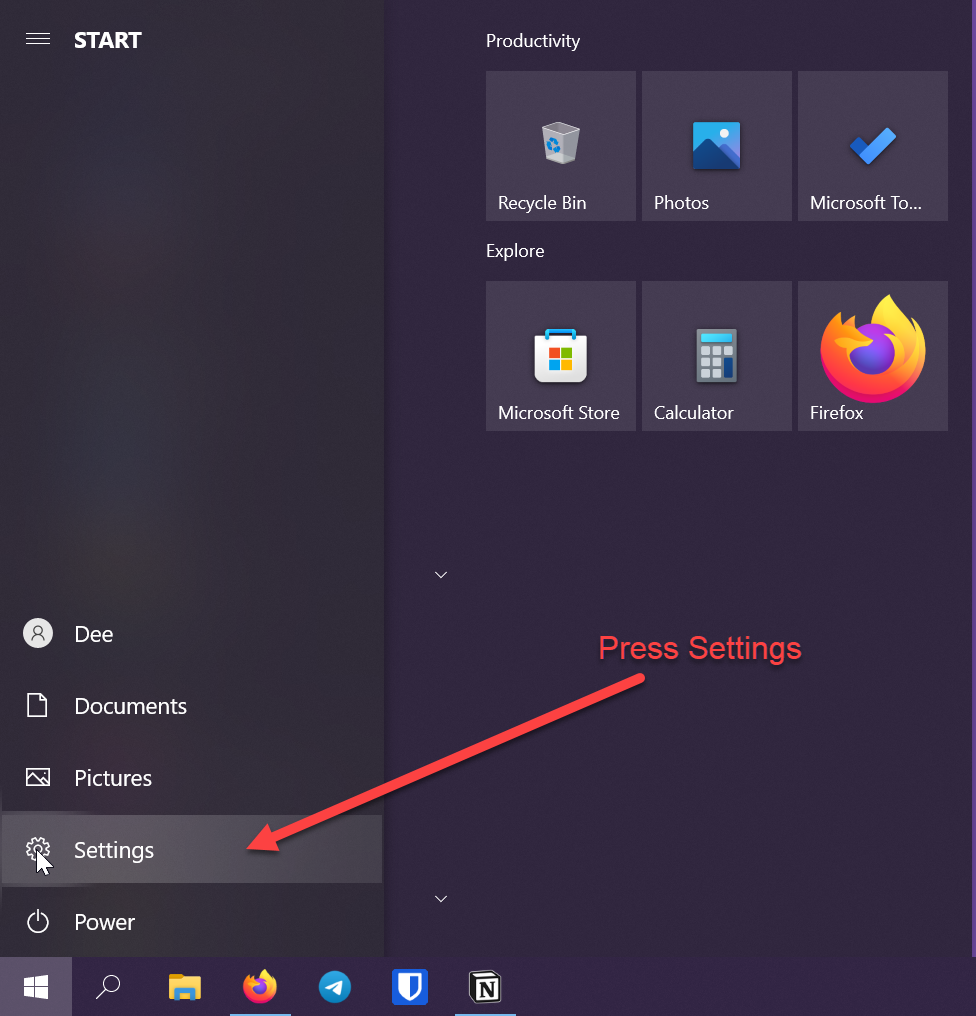
First, let us check the system architecture we are on, to do that in your windows machine. To do that Step 1. is to press the start button,

Step 2. Press the Setting button
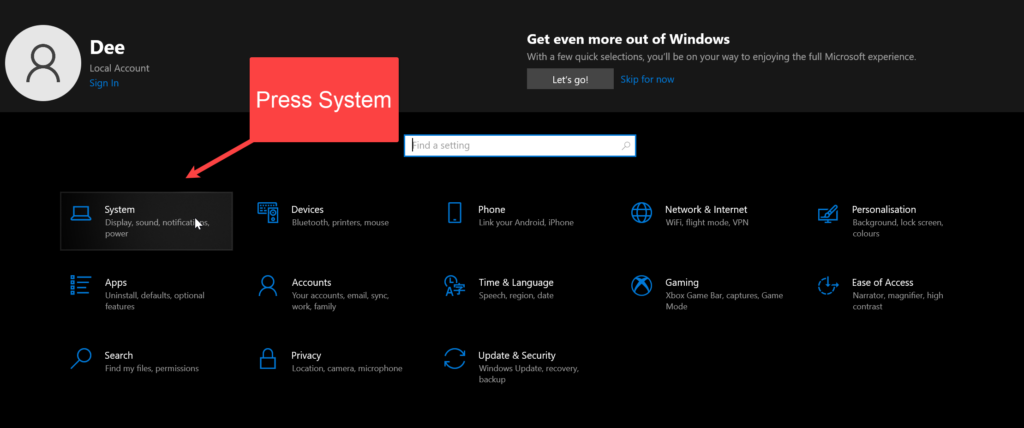
Step 3. In the setting page, press “System Options”,
Step 4. In the systems option press the About button,
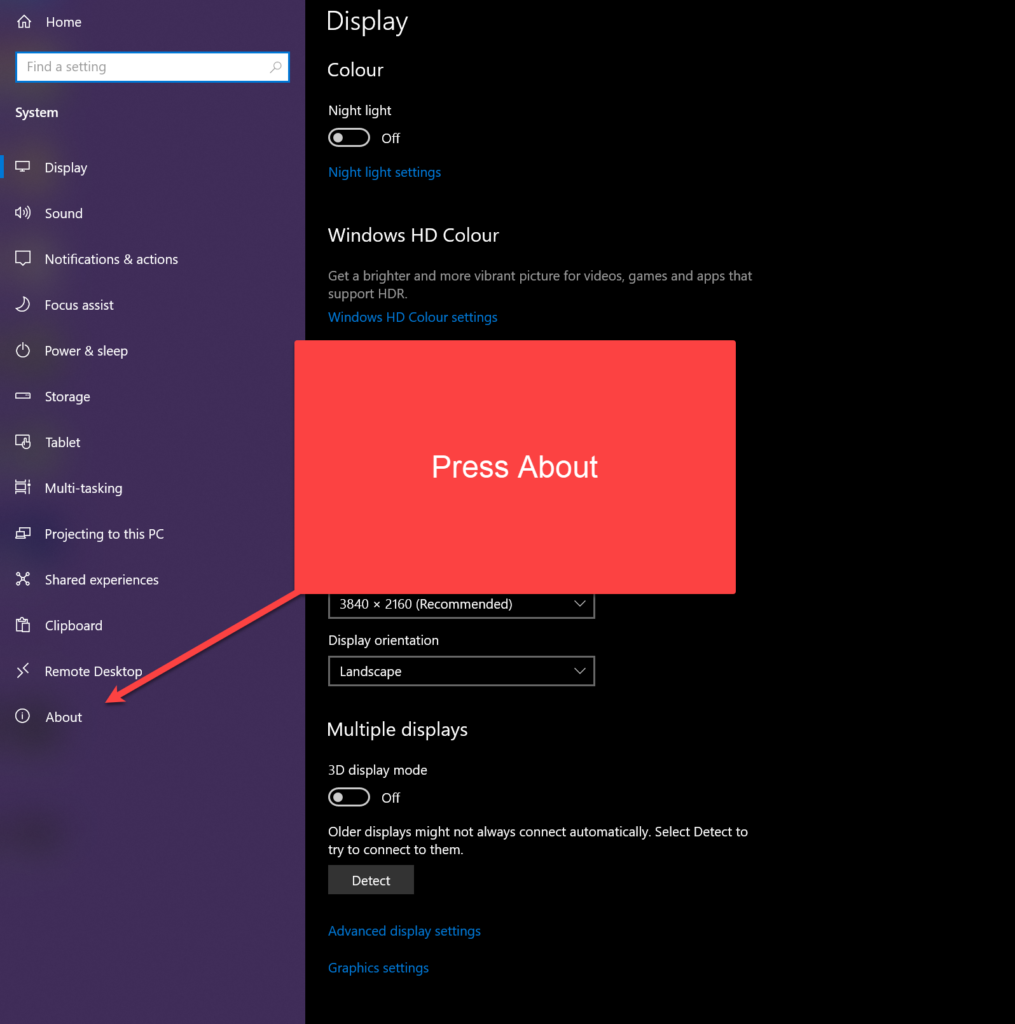
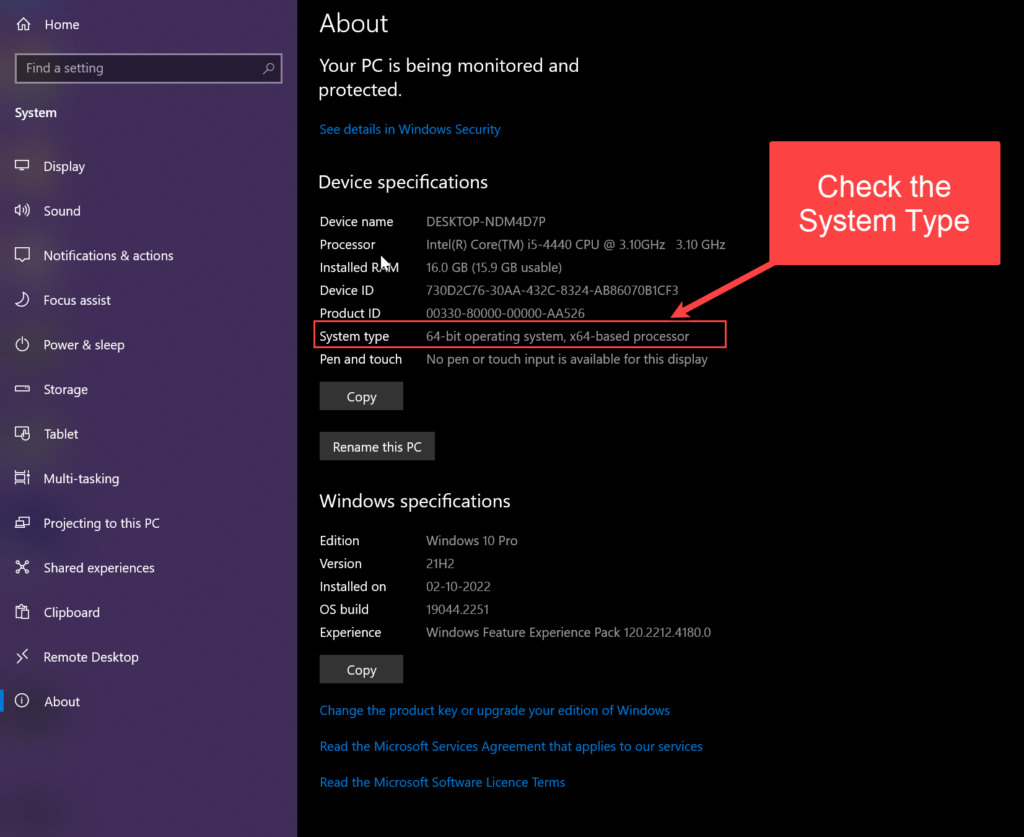
Step 5. Check the System Type in about panel
Note on System Type
Majority of the modern computing has shifted to 64-bit however there are certain devices that only support 32-bit operations. Be aware of this as it would be necessary while selecting the kind of Centos iso we would need to download.
Similarly, there are 3 different types of processors,
- x86
- x64
- arm
Most of our devices have now shifted over to x64 processors. However, older systems could have x86 processors. Newer arm processors such as apple silicon and Microsoft’s SQ series are included in some of the devices. In fact, Centos now supports arm processors and has a native arm build to run on arm processors.
Installing Virtualbox
Since we know the type of system we are running, let us now go ahead and download the VirtualBox application.
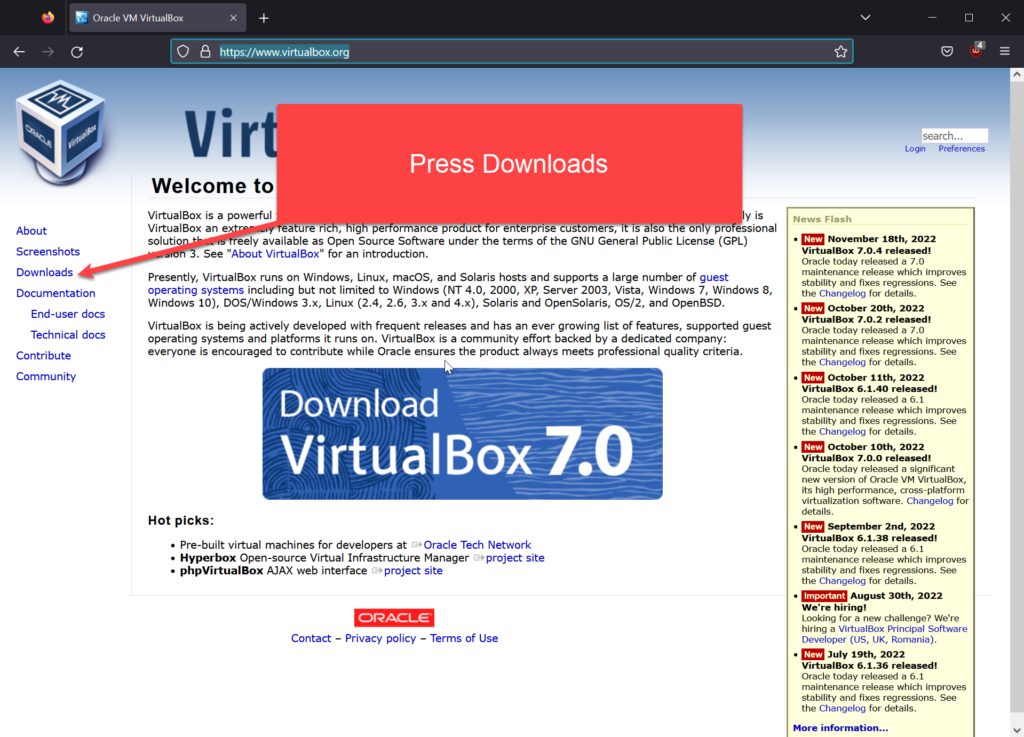
Step 1. Go to the Virtualbox Website and press the Download option.
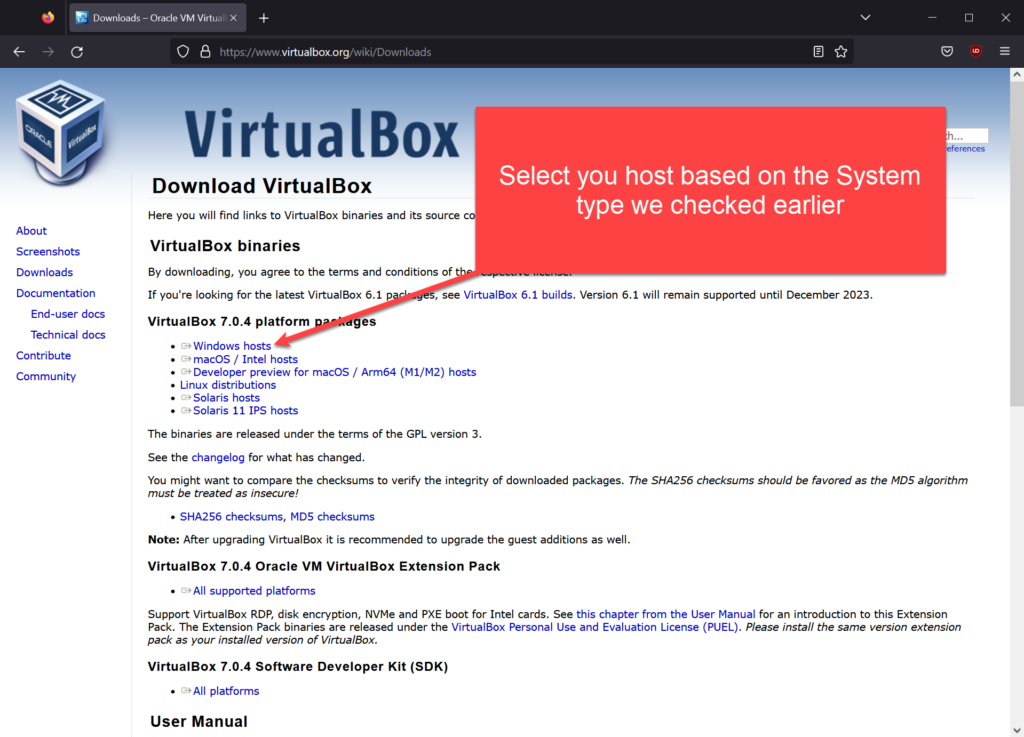
Step 2. Based on the System Type we checked earlier, let us select the appropriate host platform, in our case it’s Windows.
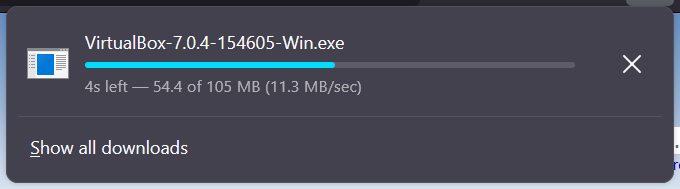
Step 4. Download the Application Executable
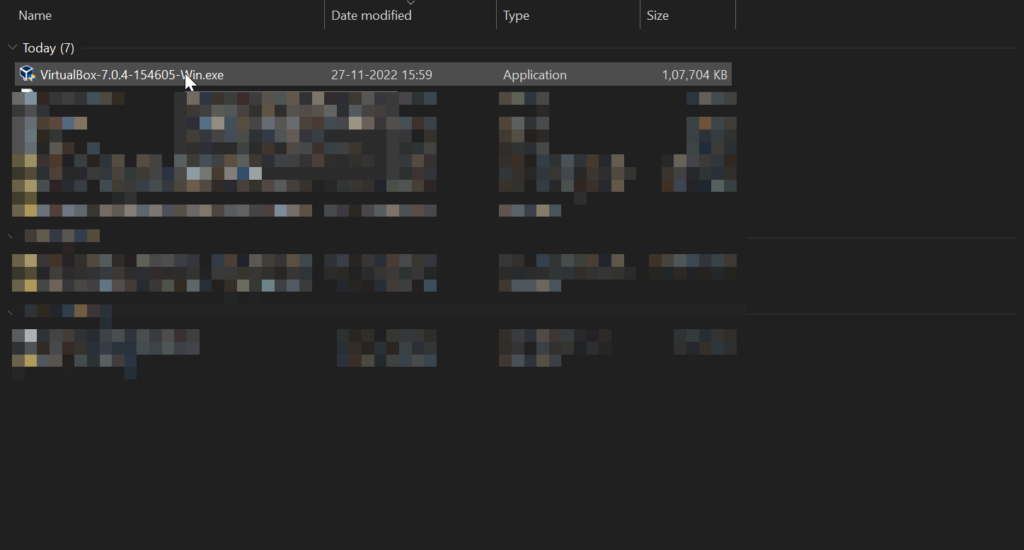
Step 5. To install Virtualbox, double-click on the downloaded executable
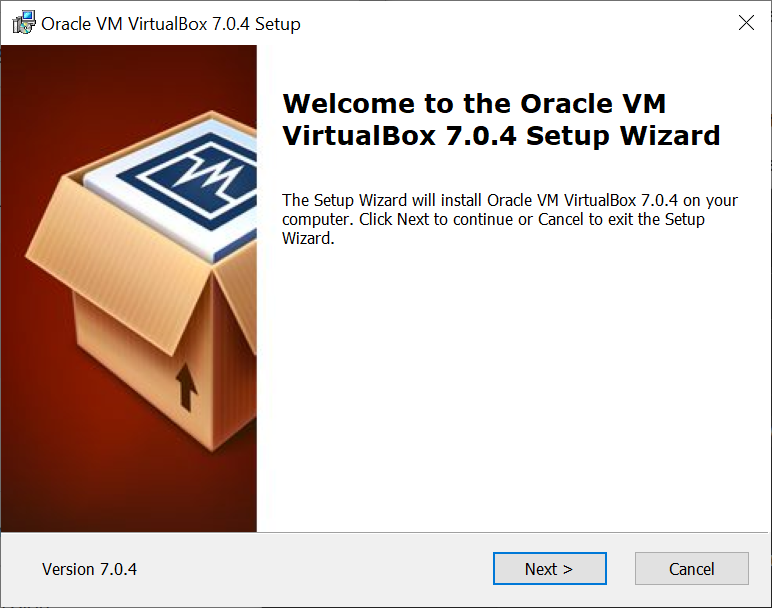
Step 6. Press next on the first Screen
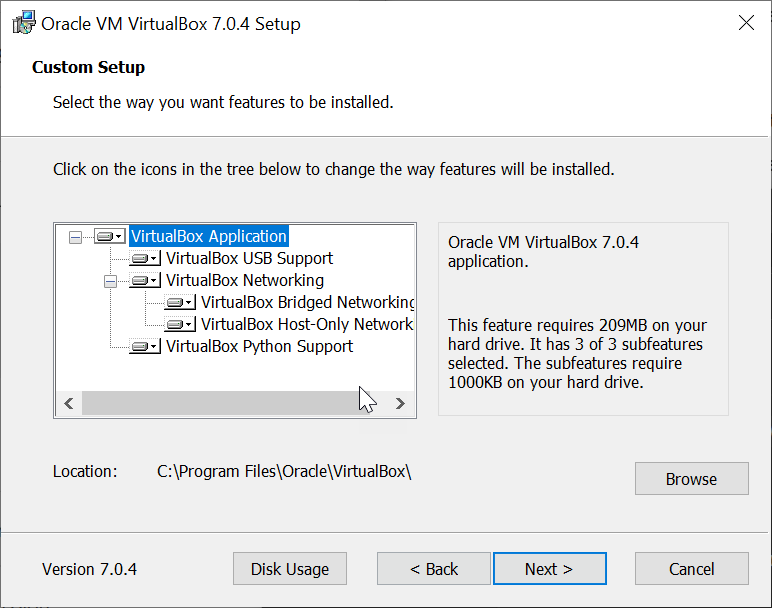
Step 7. Go through the Virtualbox components and press Next on the second screen,
Step 8. Proceed with the installation
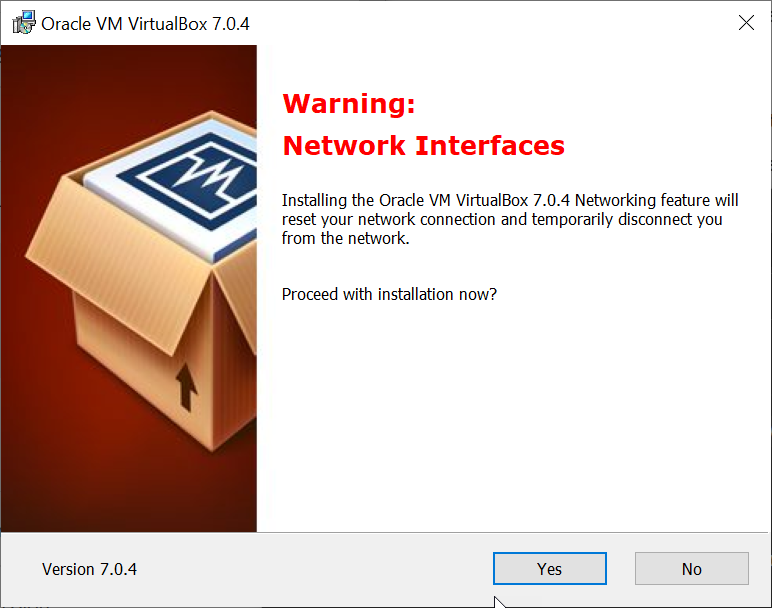
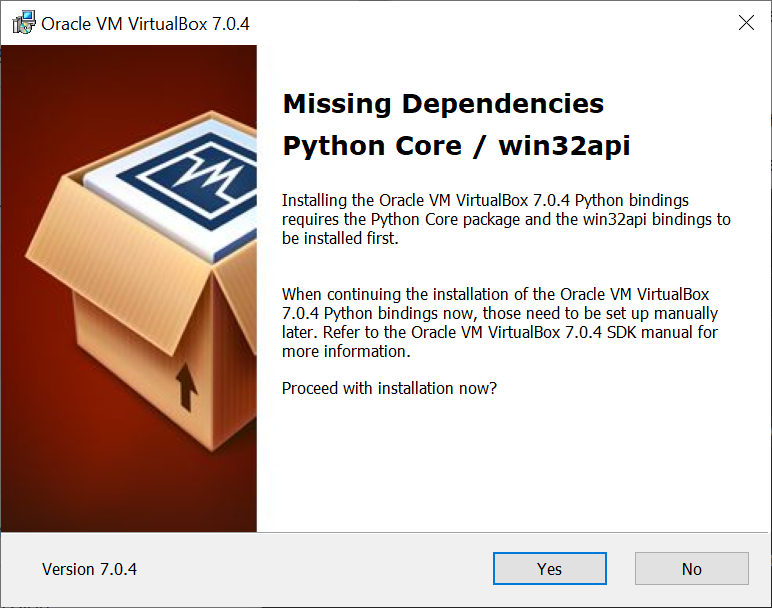
Step 9. Proceed to install the missing dependencies, Press yes
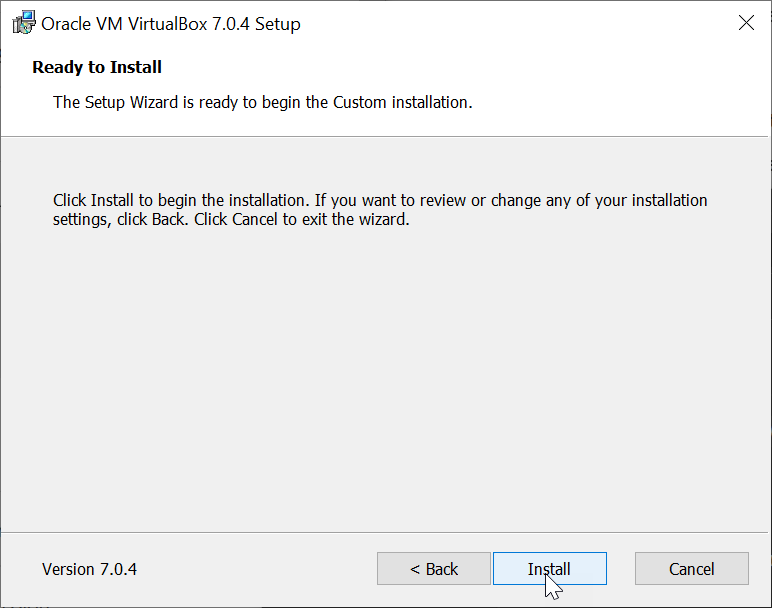
Step 10. Press Install to continue with the installation
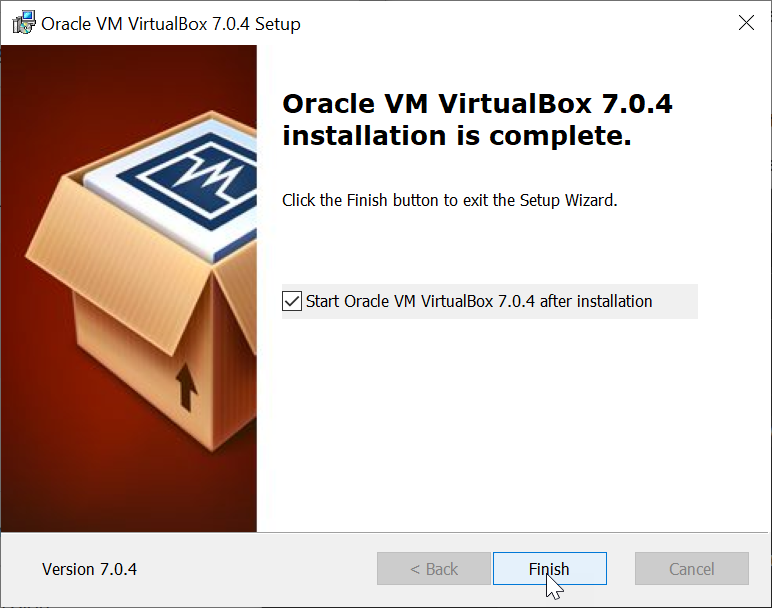
Step 11. Finishing the installation, should automatically launch the Virtualbox Application
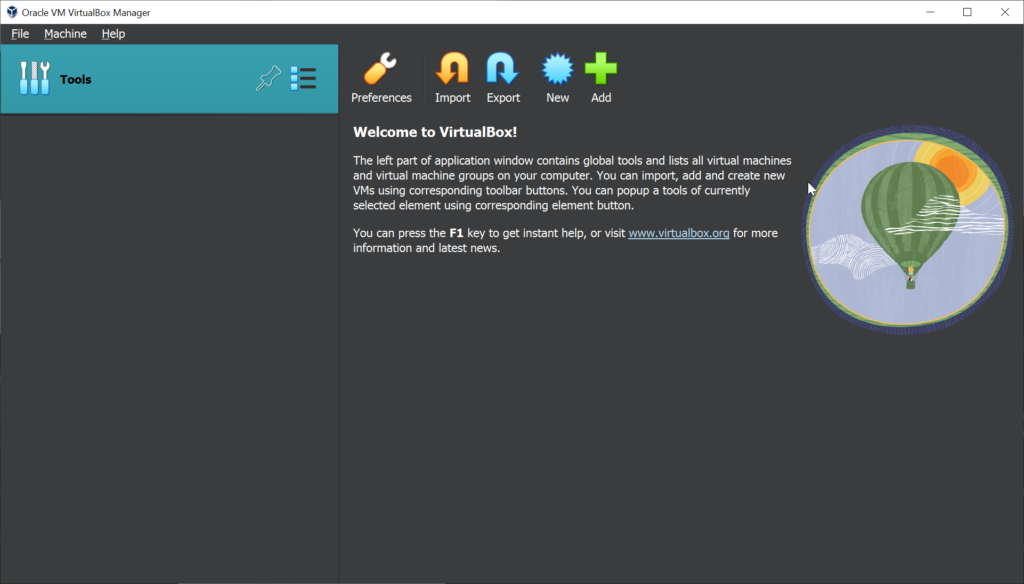
Step 12. We are greeted by the Virtualbox Home Screen
Downloading Centos
Now that we have installed Virtualbox, it’s time for us to download Centos to continue.
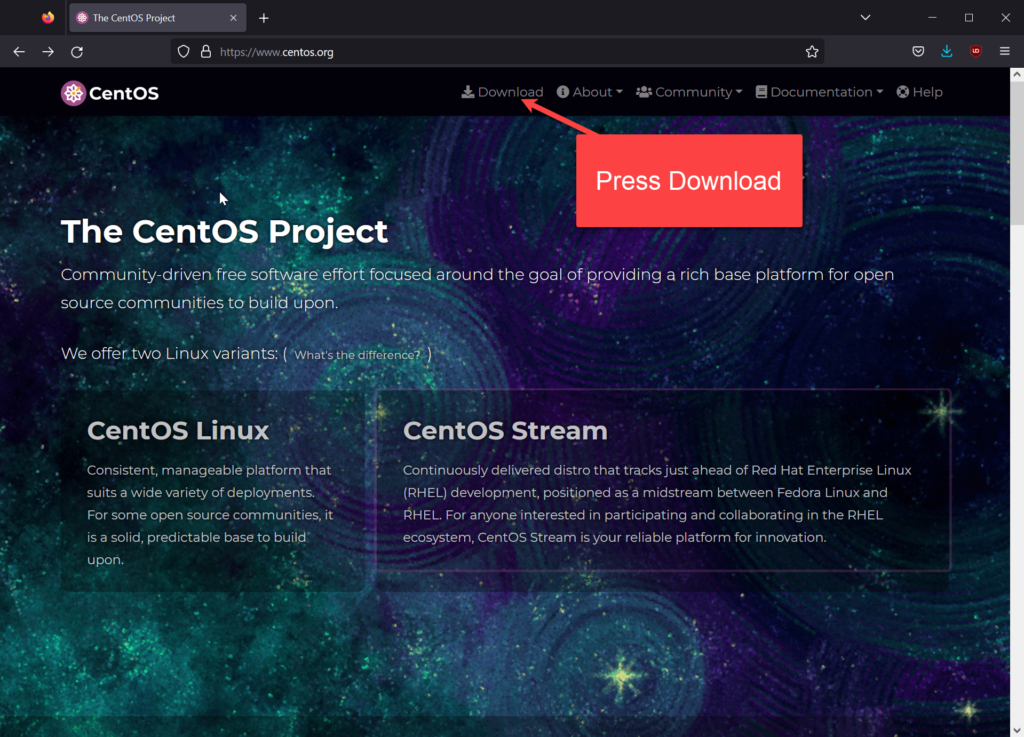
Step 1. Visit the Centos Website, Press Download button in the navigation bar
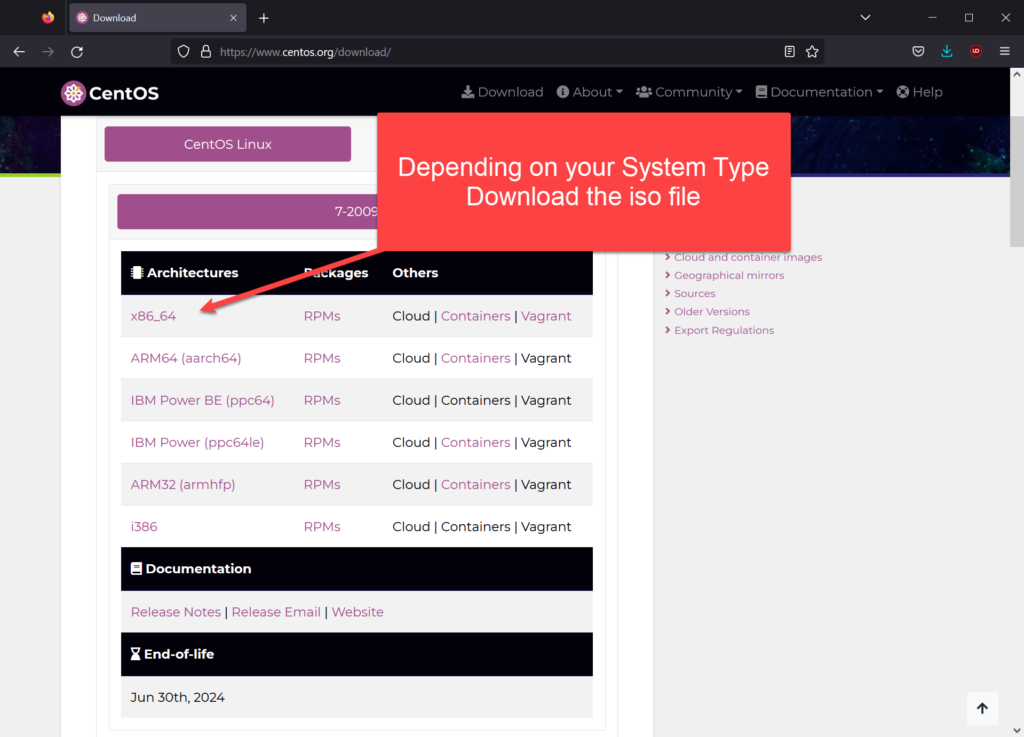
Setp 2. Based on your system type, download your iso. In our case it’s x86_x64
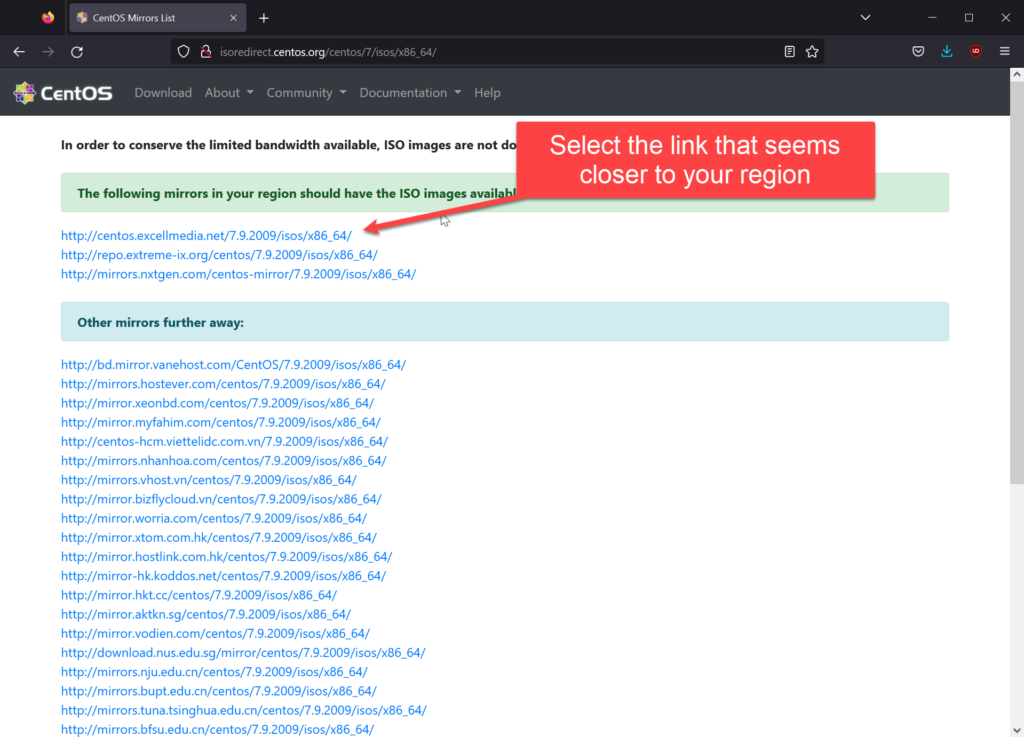
Step 3. Select the link that is closest to your region
Step 4. Downloading the Minimal variant of Centos 7 from the options
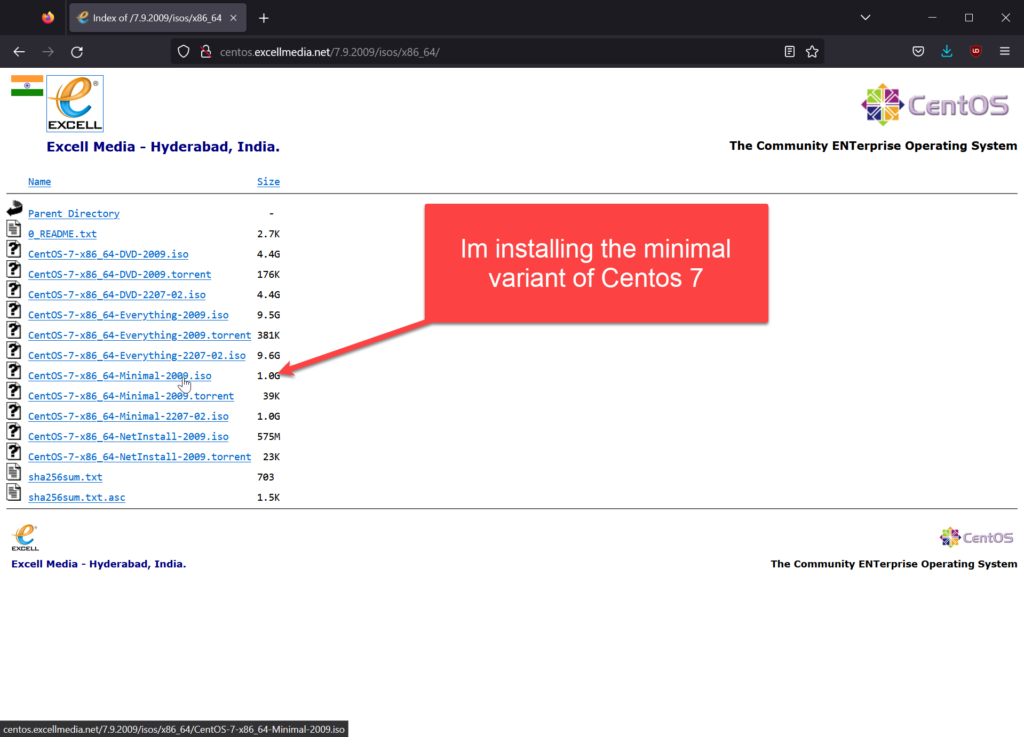
Step 5. Locate the Downloaded iso to run on Virtualbox

Setting us Virtualbox for running Centos 7
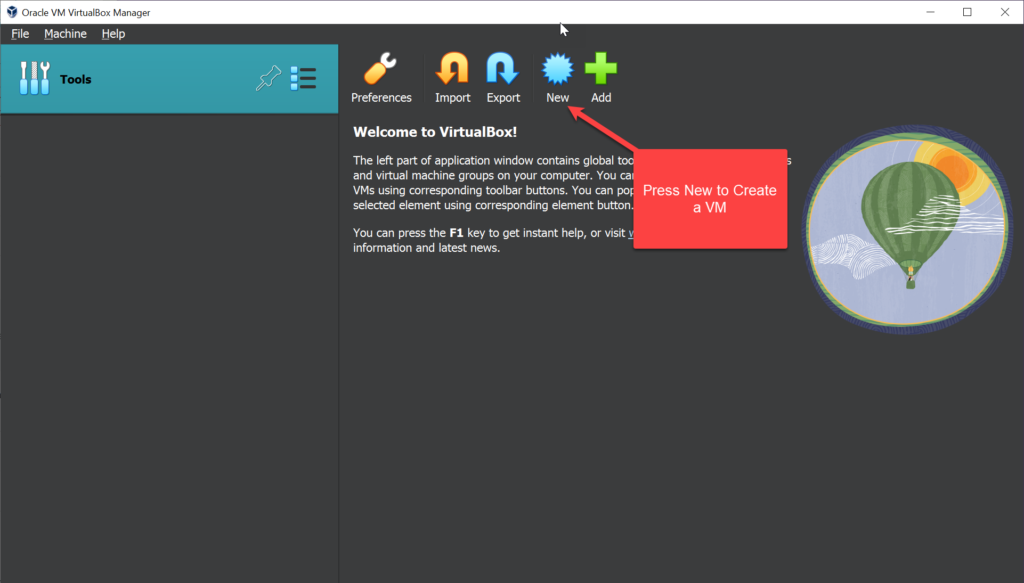
Step 1. Now, let us get started with the setup of Centos on Virtualbox. We need to press the New button to create a new Virtual Machine (VM)
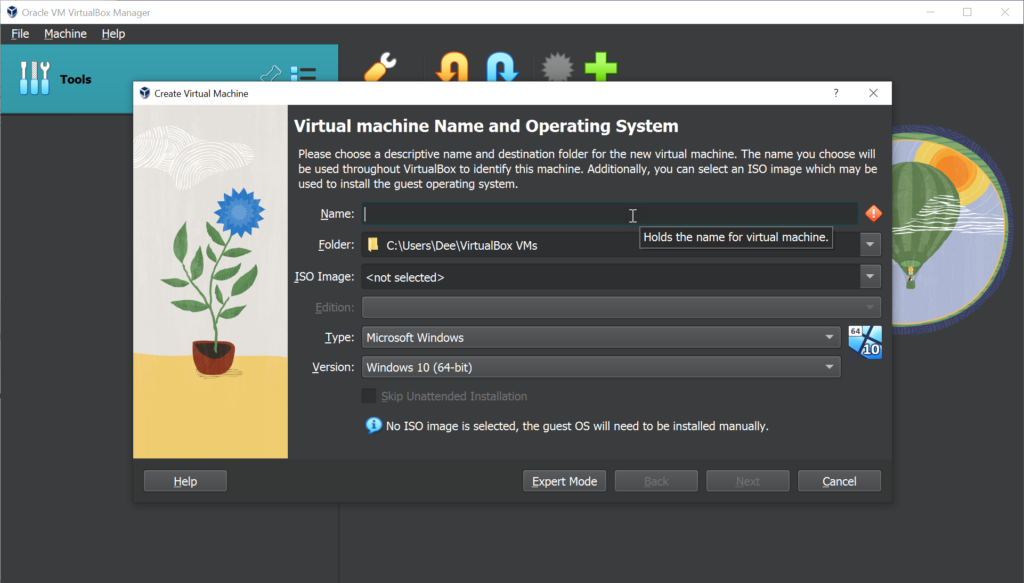
Step 2. This will give us a prompt to enter the name of the VM we are about to create. and the location of the iso file we downloaded. It will auto detect the Type and Version of the OS from the ISO once the iso has been detected successfully.
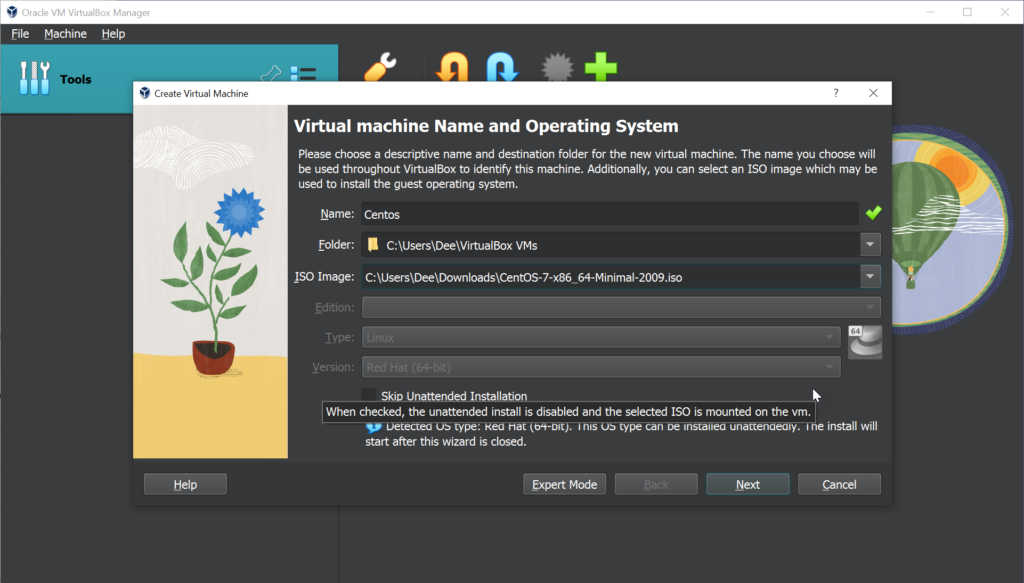
Step 3. Here I’m going to use the default name of the os I’m installing so that would be Centos, If you notice Virtualbox already auto-populated the OS Type and Version below.
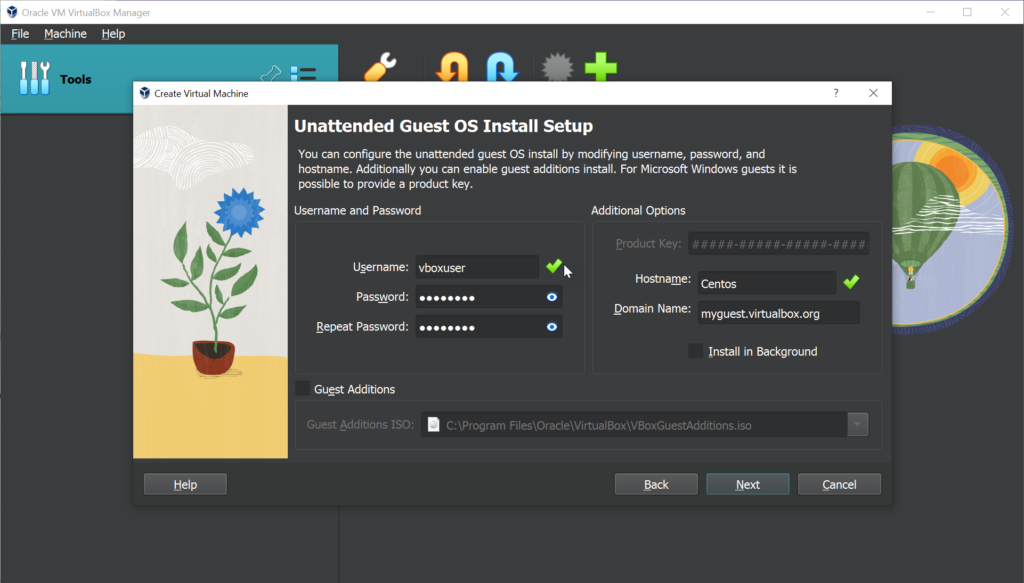
Step 4. Configuring the unattended guest OS install setup, by entering the username and password. That’s pretty much it unless you want to change the hostname and Domain Name. You can do this over here.
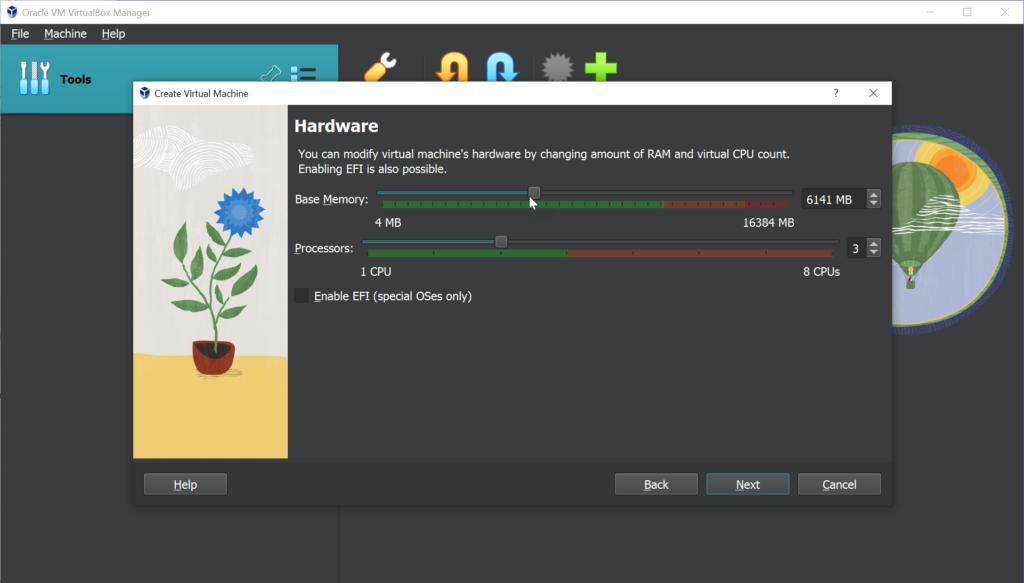
Step 5. This is one of the most important steps to be careful about. Make sure you save a good amount of resources for your host OS as well. If you are to dedicate more than the suggested green part of the resource. Your entire host OS could crash so make sure only a fraction of the entire available resource is given to the VM.

Step 6. Here I’m letting the Guest VM use 6 gigs of ram and 3 cores max.
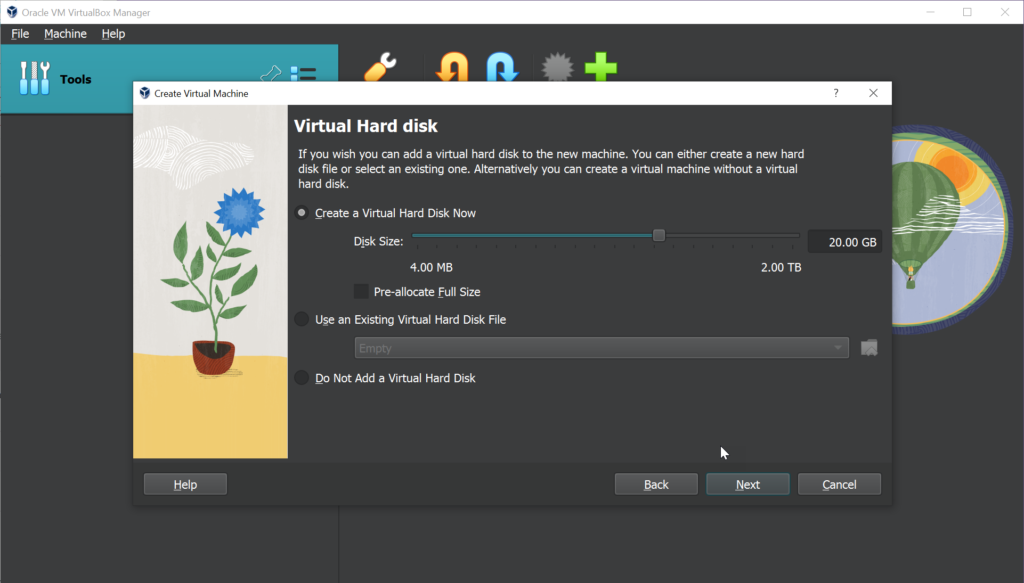
Step 7. Similarly, don’t go overboard with the storage allocation
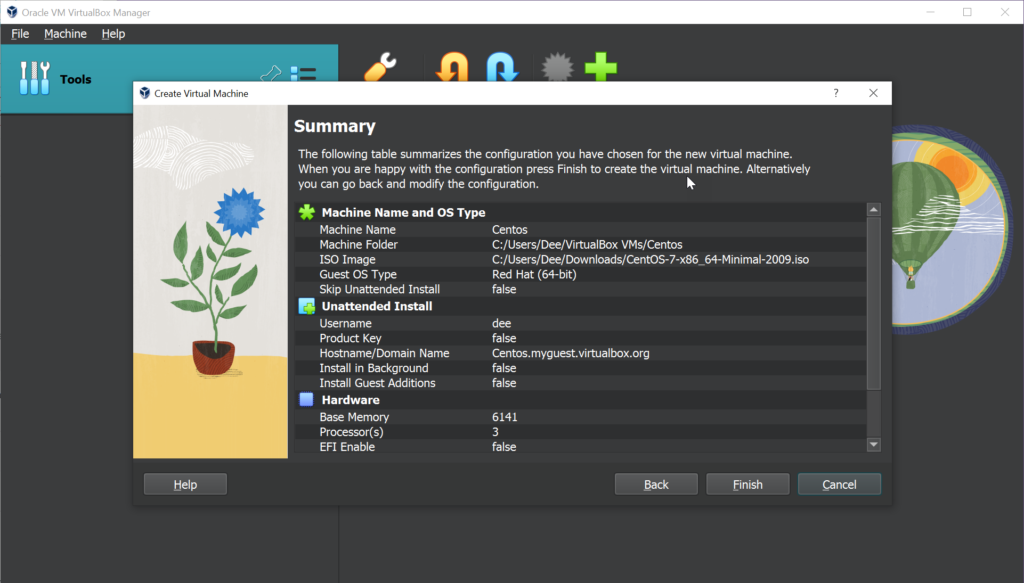
Step 8. Once done with the above steps Virtual box will provide us with the overall summary of the selections we made for this particular VM. Click on the Finish button to get done with the VM creation process.
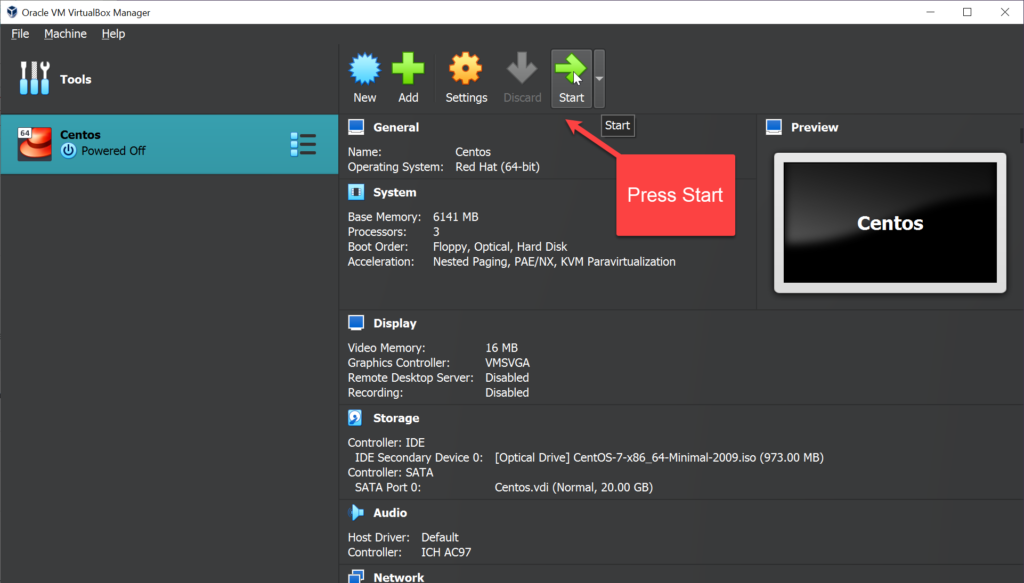
Step 9. Now we have the Centos VM ready to go on the home page of Virtualbox
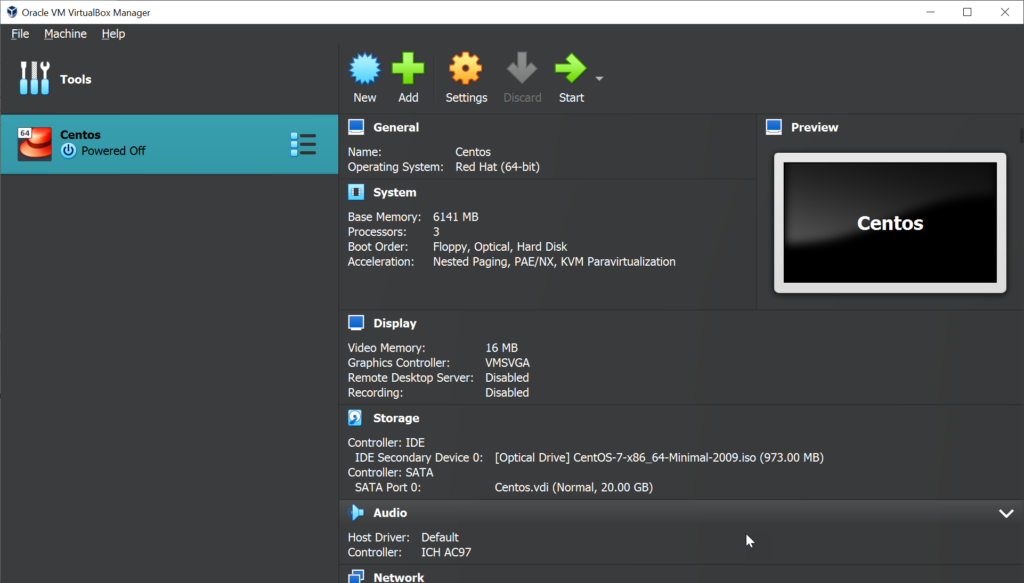
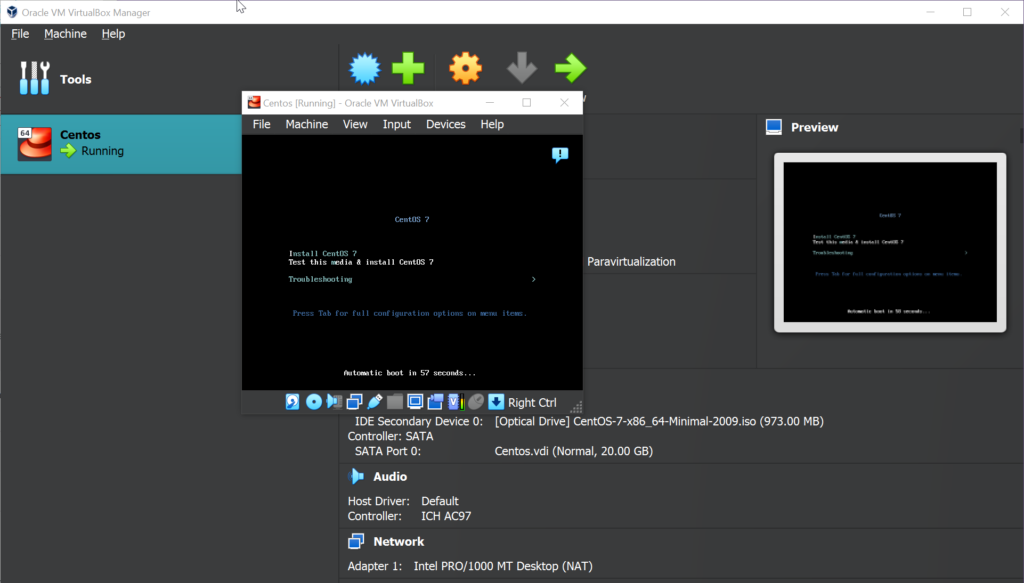
Step 10. Press the start icon to launch the Centos VM we created
Step 11. Centos 7 running successfully after pressing the start button
Summary
Following the above-outlined steps will help you to install Virtualbox, set up VirtualBox, download Centos, Setup Centos Virtual Machine on a Windows 10 Operating System successfully.