Fingerpaint is an open source application using which you can draw inside it using just your touchpad on laptops. Obviously, you won’t be able to do professional work accurately using this tool, but you can surely do minimal things like doodling or adding signatures to your documents or e-mail.
It launches a new window which lets you draw using your laptop’s touchpad, however, you won’t be able to use the cursor while the window will be active. You can use any external mouse for moving cursor while the window is active.
In this tutorial, I will show you how to install and use this terminal application on all the Linux distributions and also discuss the numerous features it offers.
Also Read: Install and Set up GIMP on your system
Features of Fingerpaint
This command line took offers the following features:
- You can immediately take out the output of your drawing in a PNG file.
- You can also set a custom line color and thickness of your doodles.
- A Dark mode is also available, and you can set it up using the
--darkflag. - A background color can also be set using the
--backgroundoption. - You can digitalize your signatures to sign a PDF using this application.
- Complex characters such as Math symbols and Asian scripts are also supported by this tool.
Note that the Wayland implementation is not perfect for this application unless you are using any Arch based distribution along with Wayland. There is no other way to install the Wayland version of this application for Fedora Workstation, and I had to use the X11 session to use this tool.
Installing Fingerpaint on Linux
Just open a Terminal window and type the following commands to install python packages first:
# On Debian and Ubuntu based distributions:
sudo apt install xinput python3-pip python3-tk

# On Fedora Workstation:
sudo dnf install xinput python3-pip python3-tkinter
Now, you can easily install the application by typing:
pip3 install fingerpaint
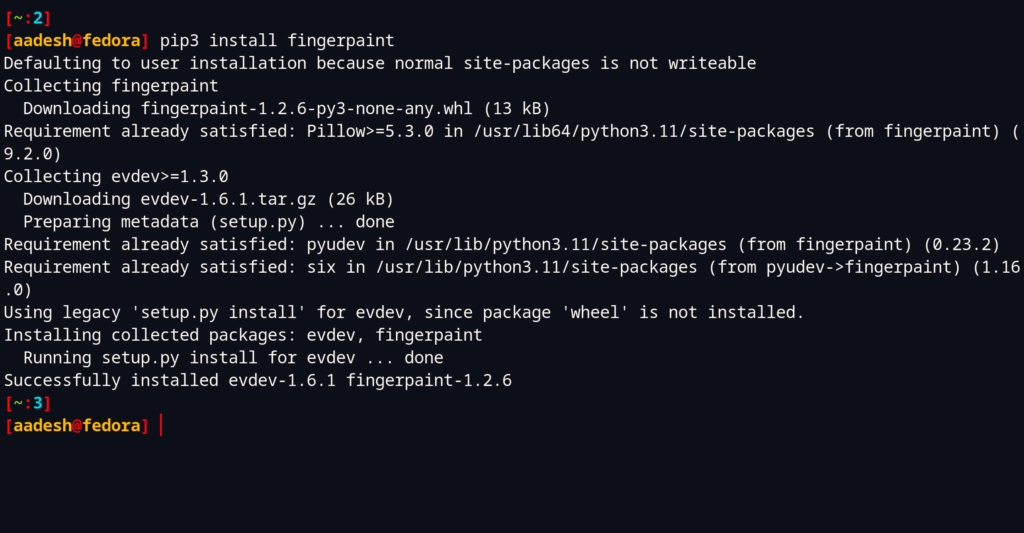
If you are using Arch Linux, then you can install this tool from the Arch User Repository (AUR) using your favorite AUR helper.
#If you are using X11 session then type:
yay -S fingerpaint

# If you are on a wayland session, then you can install:
yay -S fingerpaint-wayland
Also Read : Convert your PDF to Images in the Terminal
How to use Fingerpaint for Drawing on Linux
To use this tool, you can type the following commands in your Terminal:
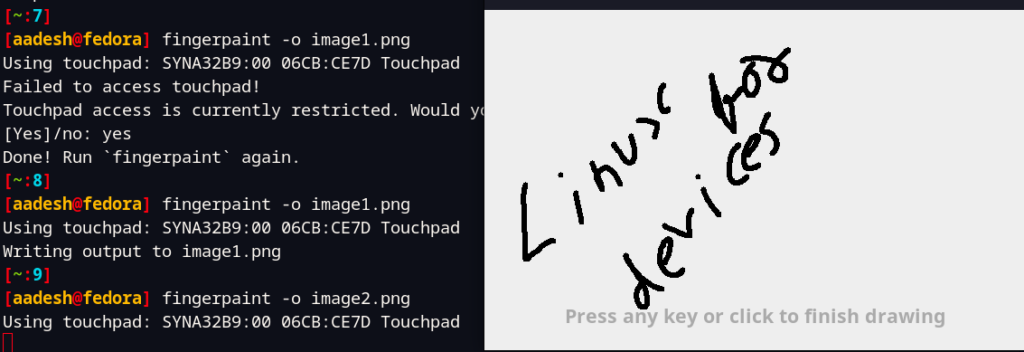
fingerpaint -o image1.png
When the first time you type the code, you will be required to give this application the access to your Touchpad. Just type ‘Yes’ and press enter.

Once you’re done, just type the same commands again, and you will see a new window, your touchpad will be locked for now, and you will have to use your external mouse to navigate.
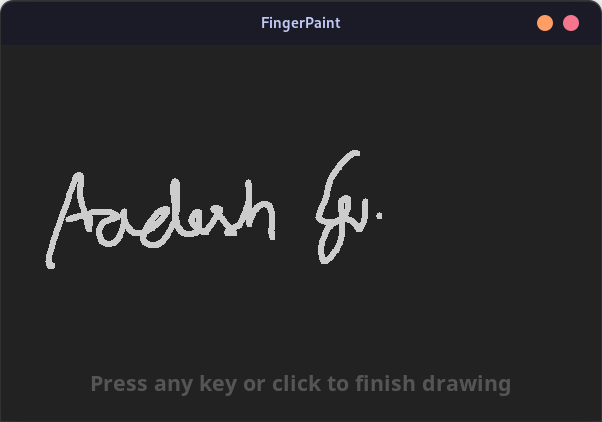
To use this application in the Dark Mode, you can just use the --dark flag like this:
fingerpaint --dark -o doodle.png
To change the color of lines, you can use the –line-color flag like this:
fingerpaint --line-color cyan -o cyan.png
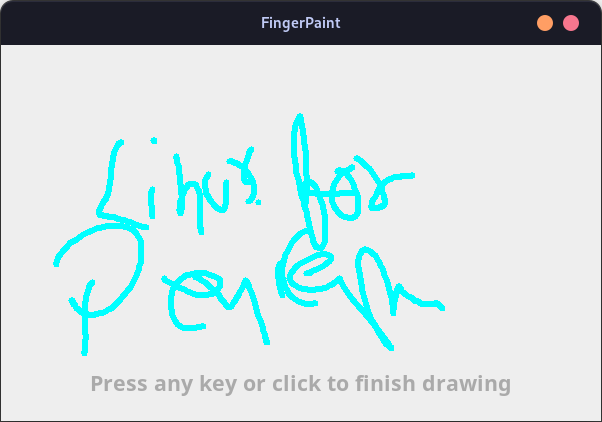
To adjust the thickness of your line, you can use the --line-thickness flag along with a numerical value of 1-6.
fingerpaint --line-thickness 4 -o line.png

Summary
As mentioned earlier, this tool lacks a proper Wayland implementation and still uses the now out of date X11 display server, which can make this application essentially useless for some users. However, if you are okay to use this application under the X11 session by switching back and forth, then you are good to go. It is a simple and lightweight application with only a few dependencies.
References
Official GitHub page of Fingerpaint
