If you are using any Linux distribution which uses GNOME as its desktop environment, then you should probably use extensions to make your desktop look better or just improve its functionality. We have already discussed the Graphical method through which you can install extensions on your GNOME desktop environment.
However, the GUI method requires you to open a web browser and install a browser extension. Which although is easy, but it requires a middle step. And therefore, in this tutorial, I will show you how to install the GNOME extensions and set it up directly from the Terminal using a command line application called gnome-extensions-cli. We will also be discussing all the features of this tool. Note that this is an unofficial application, but it does the job really well.
Features of GNOME extensions CLI
This command line tool has the following features:
- It can install any extension that is available on the GNOME extensions website.
- It uses DBus to communicate with GNOME shell, just like the Firefox extension does. But it can also support Non-DBus installations if needed.
- It is also able to either install it directly using the interactive prompts or just extracting the extensions in the
~/.local/share/gnome-shell/extensions/directory. - You will also be able to search the extensions if you do not know the name.
- It will automatically select the correct version of the extension depending upon the version of your GNOME shell.
- It will also be able to update all your GNOME extensions from the command line.
- It does have a limitation that you cannot use it over SSH.
Installing GNOME Extensions CLI
It is available as a python package and hence you can install it using the PyPI, but the PipX is the recommended method. To do that, you can install it on your system by typing the following command, depending upon your Linux distribution:
# On Debian and Ubuntu based distributions:
sudo apt install pipx

# On Fedora Workstation
sudo dnf install pipx

# On Arch Linux based distributions
sudo pacman -S python-pipx
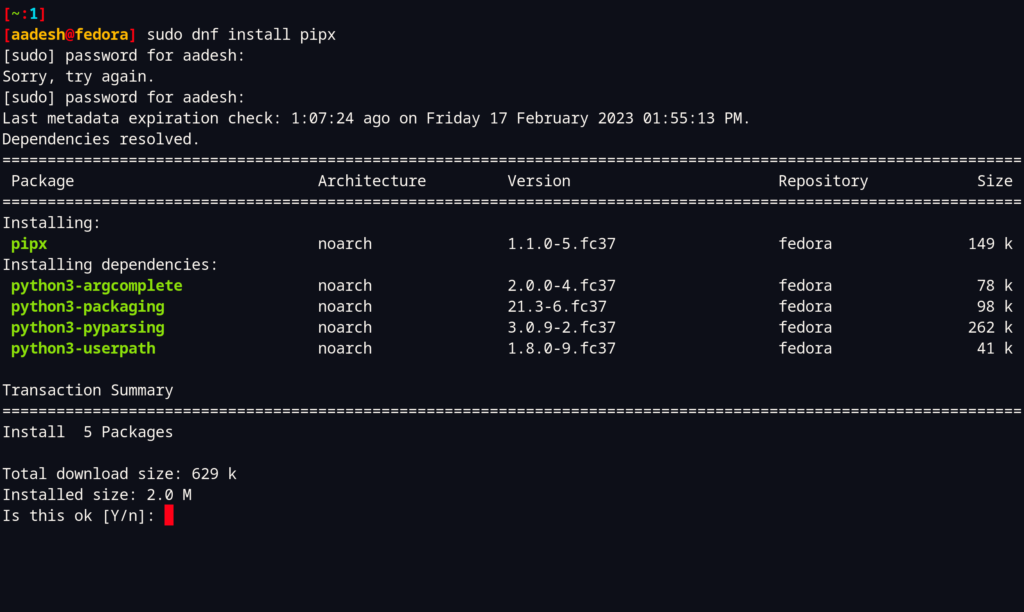
Once PipX is installed, you can now proceed with the installation of gnome-extensions-cli.
pipx install gnome-extensions-cli --system-site-packages

Usage of GNOME Extensions CLI
To use this CLI tool, you can either use the gnome-extensions-cli or getext commands. To list all the installed extensions, you can type the following command:
gnome-extensions-cli list

In order to search new extensions, you can use the gnome-extensions-cli command with the search command. Note that, you should use this command.
gnome-extensions-cli search dash to panel | more
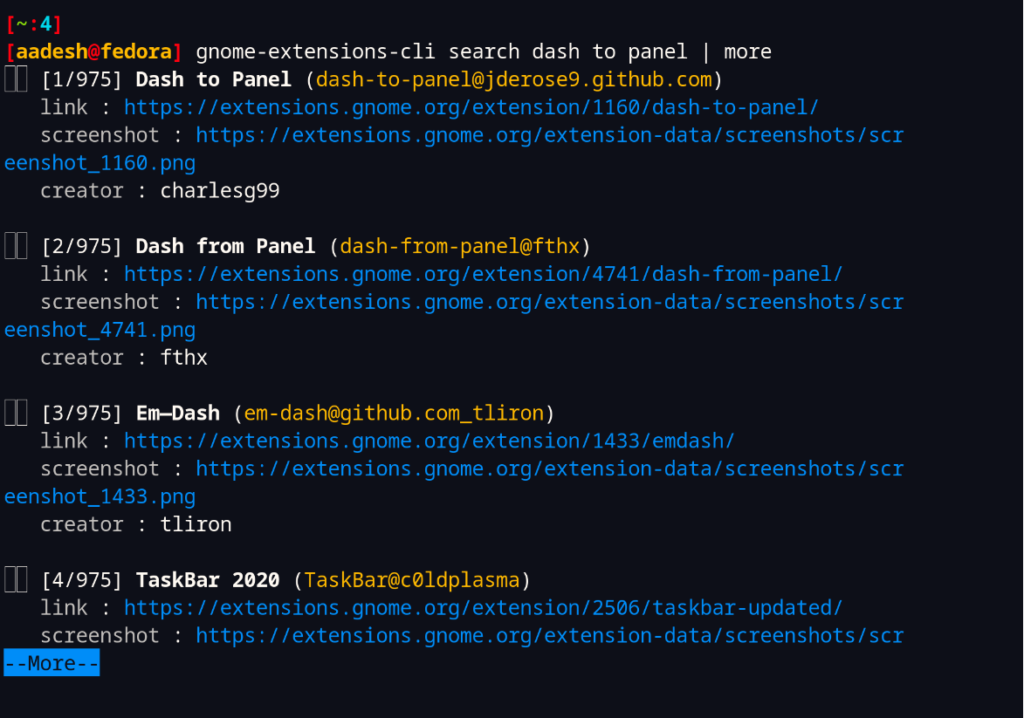
If you want to install the extension, then simply type the following command:
gnome-extensions-cli install dash-to-panel@jderose9.github.com
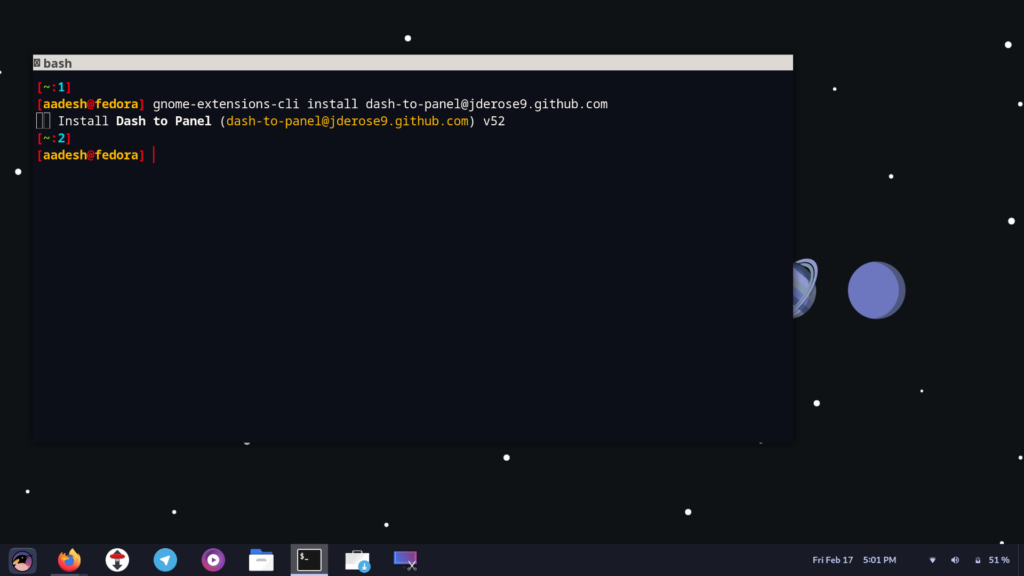
If you want to disable or enable the extension, you can do that by using the disable or enable flags respectively along with the gnome-extensions-cli like this:
gnome-extensions-cli disable dash-to-panel@jderose9.github.com
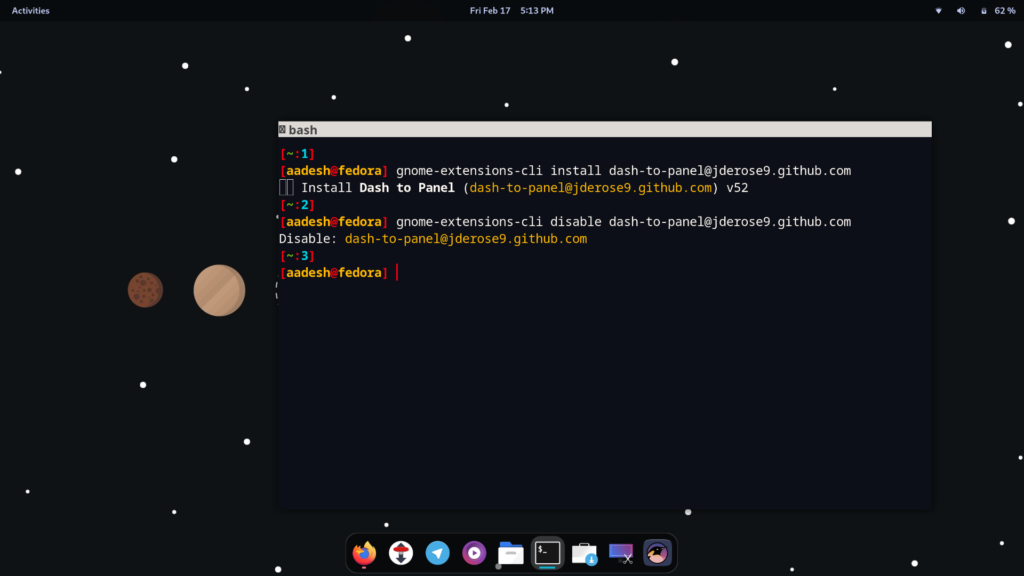
If you want to open the configuration window of an extension, you can do that by using the ‘preferences’ flag along with the gnome extensions CLI command like this:
gnome-extensions-cli preferences dash-to-dock
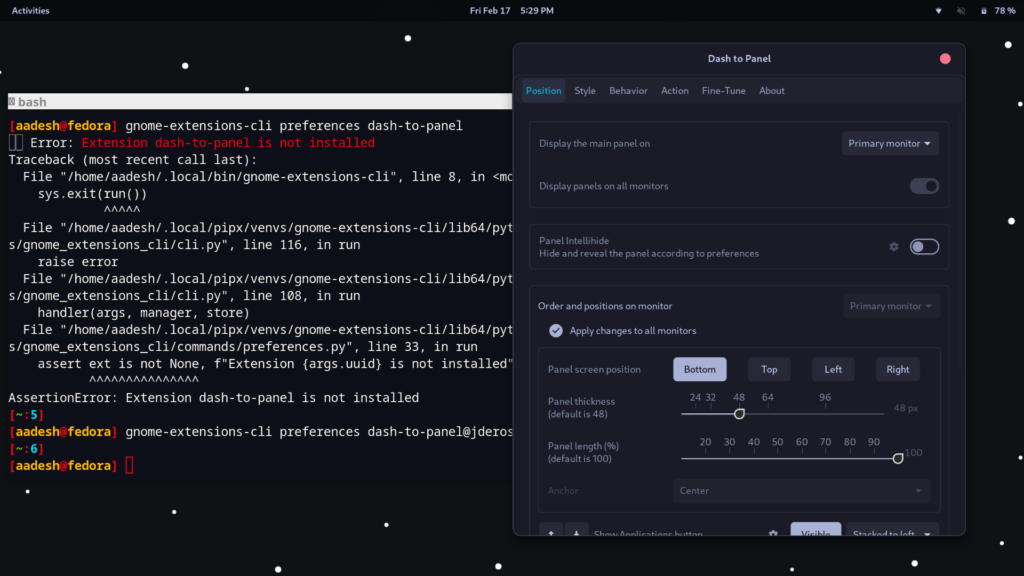
If you want to show more details about how this command works and learn about all the available options, then you can do that by using the help flag.
gnome-extensions-flag -h
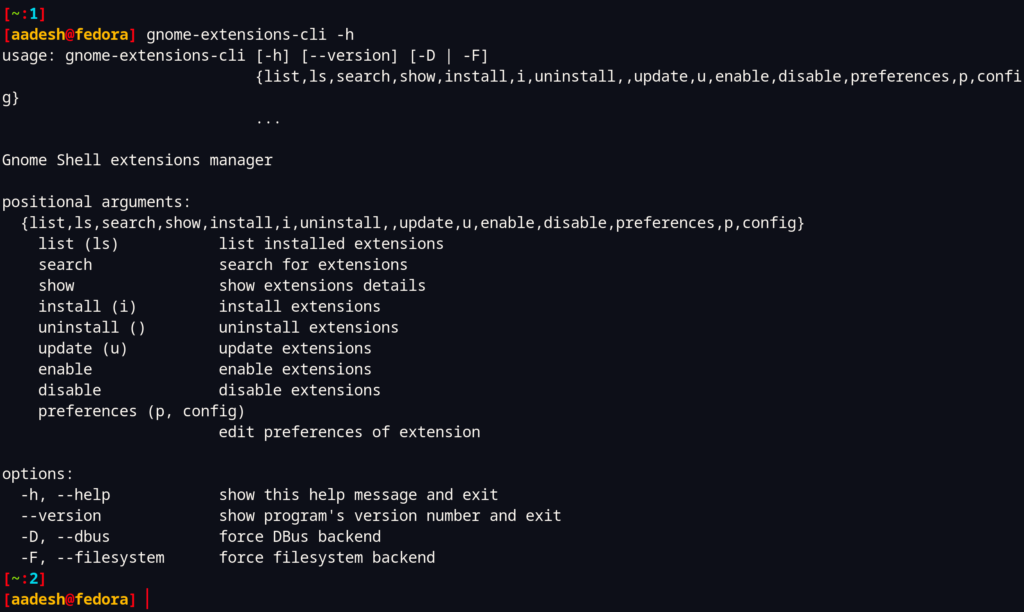
Similarly, if you want to update the extension from the command line, you can update them by using the update -a flag along with the command.
Summary
Overall, Gnome Extensions CLI is a great hassle-free command line tool which you can use to manage your installed extension as well as install new ones. There is only one thing which I found a bit less polished was the search flag, because it would give all the output (which was in hundreds) in one go and I had to scroll up to get the desired result. This can be easily solved using the ‘more’ or ‘less’ command with the GNOME extensions CLI command as a workaround.
