The terminal is the tool you can use to control anything inside any Linux distribution. However, there are always things to do for fun in the Terminal. There’s Neofetch, a tool to display information about your operating system with a cool ASCII art of your distribution. But, what if I tell you that there’s a way through which you can create ASCII art with your own image? In this article, we are going to discuss exactly that. But first, let’s learn about ASCII.
What’s ASCII?
ASCII is the short form of the American Standard Code for Information Interexchange. It is basically a standard that assigns letters, numbers, and other characters in the 256 slots available in the 8-bit code. And ASCII art is created with the help of printable ASCII characters.
ASCII Image Converter
It is an open-source tool developed just to create ASCII art out of random images. The installation is really simple in Debian/Ubuntu and its derivatives operating systems and Arch Linux, but a little tricky in other distributions (you have to install it from the source). It supports most of the famous image formats such as JPG/JPEG, BMP, PNG, WEBP, and TIFF/TIF. Let’s see the installation process real quick. Open a Terminal and type the following commands, depending upon your Linux Distribution :
In Debian and Ubuntu Based Distributions
Add the repository in your apt sources file :
echo 'deb [trusted=yes] https://apt.fury.io/ascii-image-converter/ /' | sudo tee /etc/apt/sources.list.d/ascii-image-converter.list
sudo apt update
And then install the package using :
sudo apt install -y ascii-image-converter
In Arch and Arch-Based Distributions
It is available in the Arch User Repository (AUR), so if you have an AUR helper installed such as yay or paru, you can install it by typing the following commands :
<aur-helper> -S ascii-image-converter-git
You can also compile from source using the following commands if you have git and make installed :
git clone https://aur.archlinux.org/ascii-image-converter-git.git && cd ascii-image-converter-git/
Now, start compiling using :
makepkg -si
It should not take a long time to install on your system.
Any Other Distribution
To install this package on any other distribution such as Fedora or OpenSUSE, you should first download the tarball from the GitHub releases section. Download the amd_64 version if you have a BIOS system, otherwise simply download the i386 version. Now, open a terminal and type the following commands to extract the compressed file :
tar -xvzf ~/Downloads/ascii-image-converter_Linux_amd64_64bit.tar.gz

And then open the extracted directory and then copy the ascii-image-converter file into the /usr/bin directory :
sudo cp ascii-image-converter /usr/local/bin/
Using the Image to ASCII Converter
To use this tool, we simply have to write the following commands in the Terminal specifying the path where our image is stored (specify the URL if the image you’re trying to convert is somewhere online) :
ascii-image-converter path_to_image
For example :
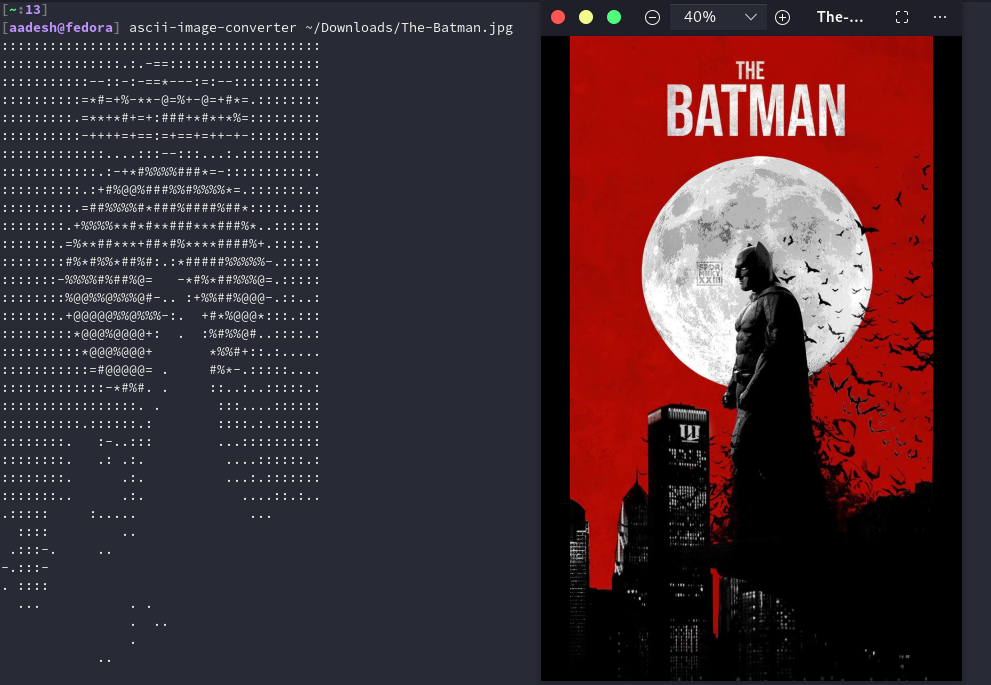
ascii-image-converter ~/Downloads/The-Batman.jpg
On my PC gives the following output (the actual image for reference) :

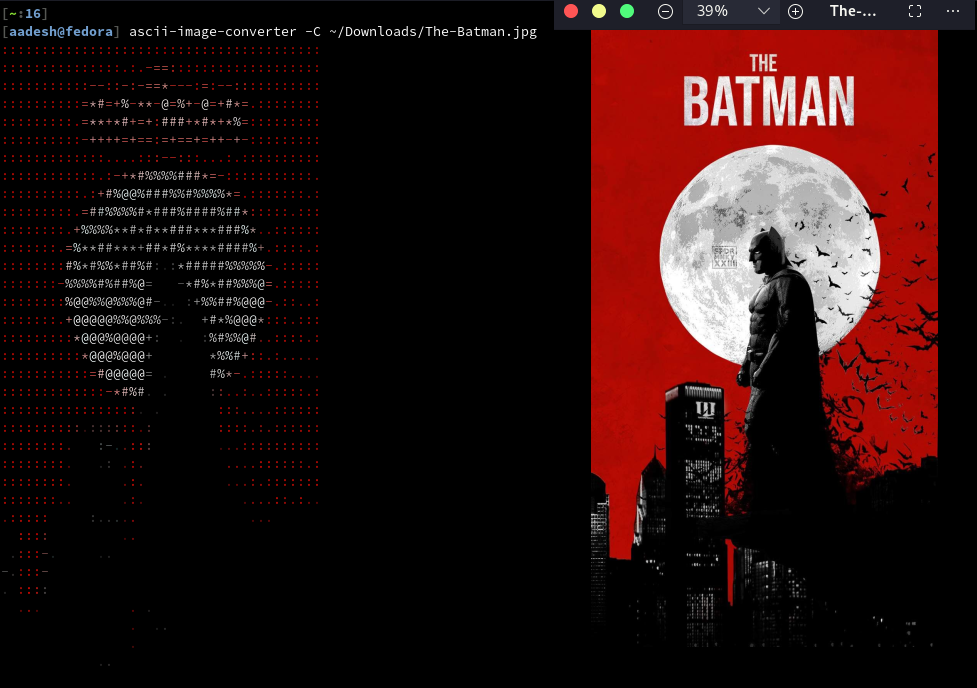
You can also colorize the output by using a -C option :
ascii-image-converter -C path_to_image

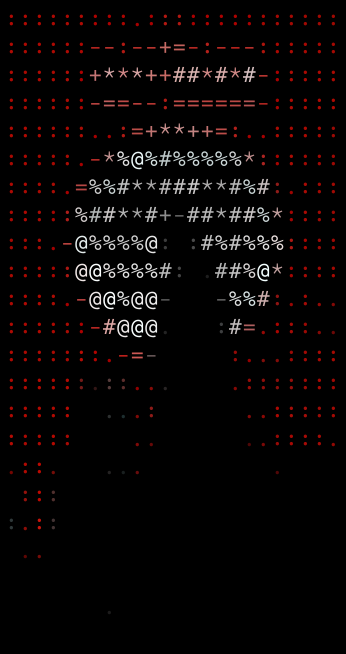
You can even save the ASCII output art in the form of a PNG image with the following commands :
ascii-image-converter path_to_image -s .

Summary
There are even more options to play with here, you can read more about it on the project’s GitHub page. This is a really cool project, and you can play with this tool all day long. It can be even useful to generate an ASCII art of your new Linux distribution if you decide to make it from scratch.


