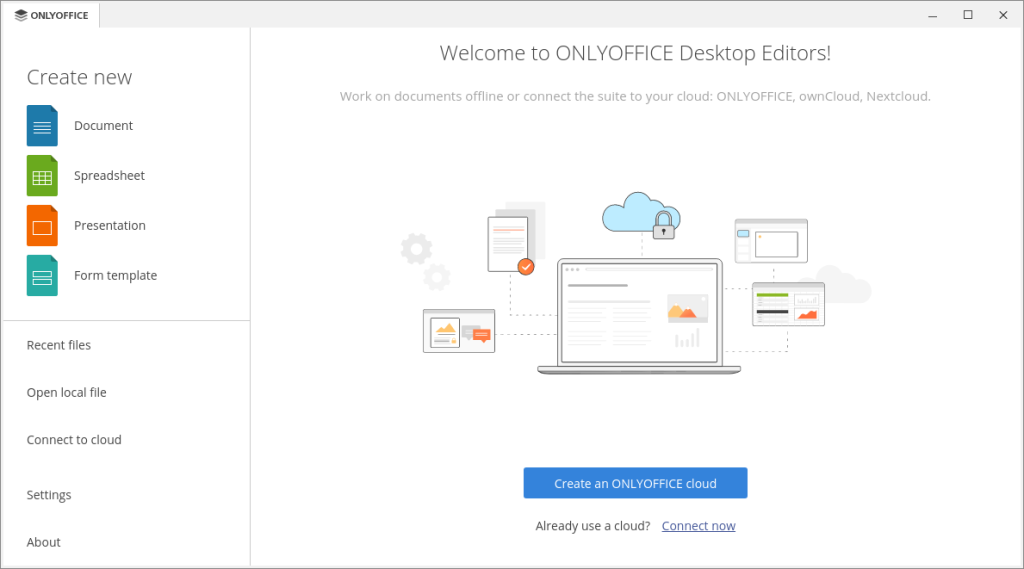
OnlyOffice is among the top alternatives for Microsoft Office suite which are available on Linux desktop. It is open-source and free to use at an individual level. This application is very similar to Microsoft Office in terms of looks, so if you are migrating from a Windows environment then this will suit you more than LibreOffice.

In this tutorial, I will show you the Installation process of OnlyOffice on every major Linux distribution.
Installing OnlyOffice
Depending upon your Linux Distribution, you can follow these steps to install the software on your PC :
On Debian and Ubuntu-based distributions:

Visit the official download page of the application and download the DEB package available for Debian 8+ and Ubuntu 14.04+, now open a terminal and type the following commands after the download is finished :
cd ~/Downloads/
sudo dpkg -i Application_name.deb
On Fedora Workstation
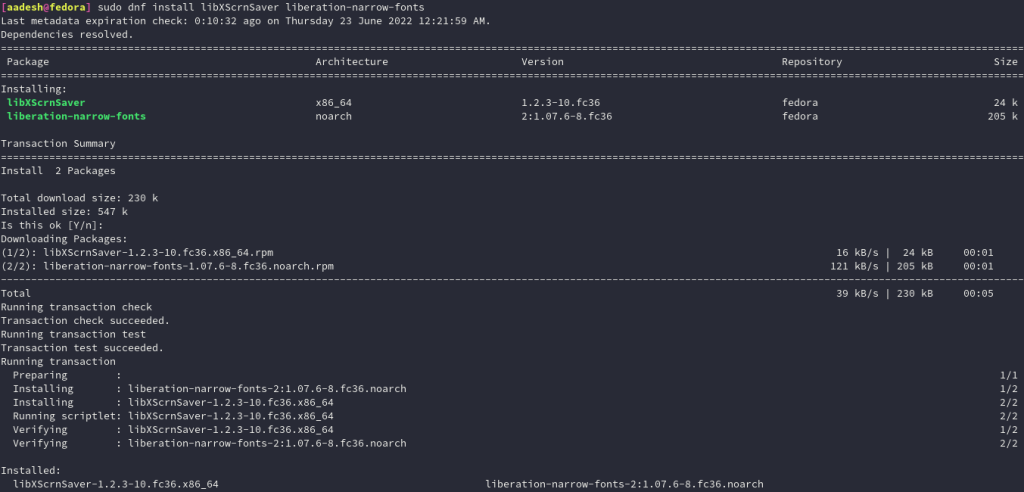
Similarly, from the download page, install the RPM package file, but before installing it, let’s first install all the dependencies required by this application :
sudo dnf install libXScrnSaver liberation-narrow-fonts

Now, we’re ready to install the application, just navigate to the Downloads directory and install the application by typing :
cd ~/Downloads/
sudo rpm -i Package_name.rpm

On Arch Linux and Arch-based distributions
The application is available in the AUR (Arch User Repository) so you must have an AUR helper installed such as yay or paru. You can install OnlyOffice by typing the following command:
# For yay users :
yay -S onlyoffice-desktopeditors

# Or for Paru users, type :
yay -S onlyoffice-desktopeditors
Summary
OnlyOffice although promising is not the first choice of many users because usually LibreOffice is already installed by default on many distributions. But, I think you should try it out since there is no harm in trying. The application is already available in online mode, but the tutorial I gave here is for the offline application.


