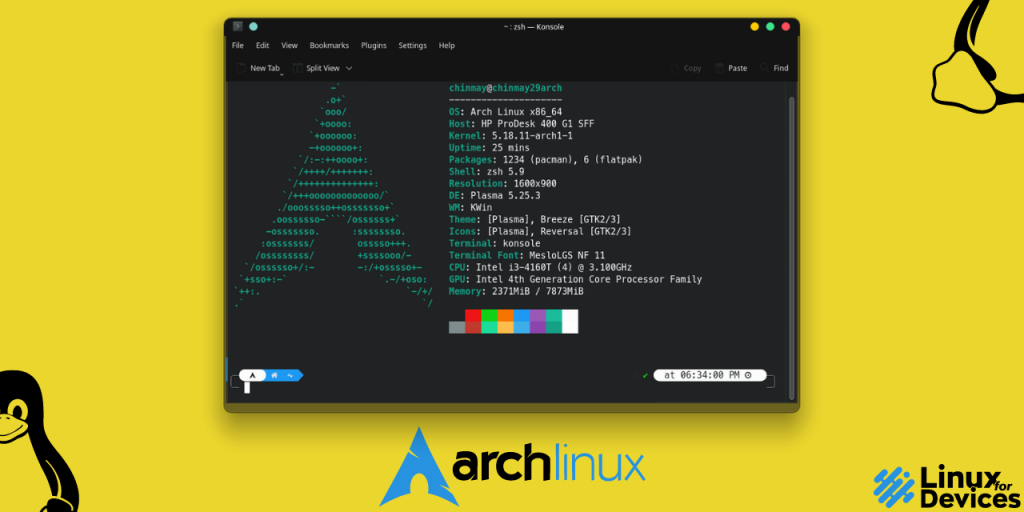
Linux terminal is a very powerful tool provided in every Linux distribution. You can control the whole system with the terminal interface. Being a Linux user you have to use the terminal every now and then. In this tutorial, we will make tweak our terminal with the latest features.
The tutorial follows for arch Linux users, you can try it on other distributions but some commands may differ.
Installing Dependencies
Before we move ahead, it is necessary to update your system. Launch the terminal and start hitting the following commands –
sudo pacman -SyuIt will update the packages list and install the required packages.
You will need git to clone repositories on your system –
sudo pacman -S gitInstalling Zsh
Zsh is a shell in Linux/Unix operating systems. The default shell i.e bash is provided by default. But zsh is more efficient and customisable than other shells. It also has all the capabilities of shells like bash, ksh and tcsh.
Install Zsh using the following command –
sudo pacman -S zshAfter installation, we need to change to shell to Zsh as the default shell is still Bash, you can see below –
echo $SHELL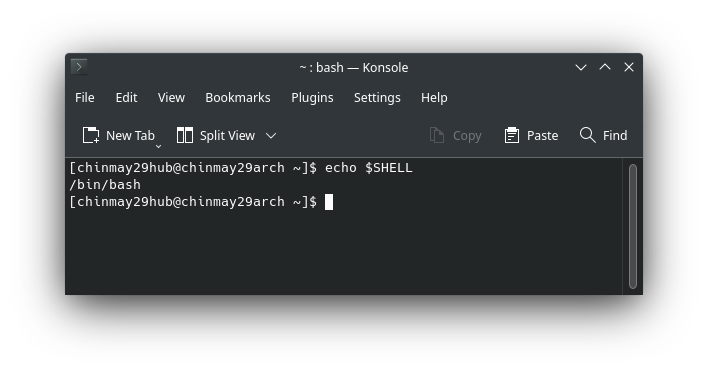
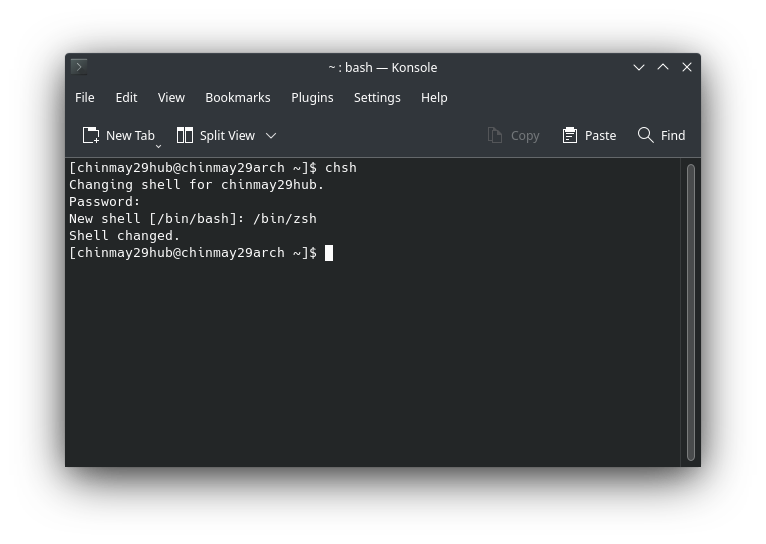
For changing the default shell you need to run the following command –
chshIf prompted for a password type the password and hit enter. Then it will ask for the path of the new shell. Just give the path as /bin/zsh. By default this is the path, but if you have installed Zsh on another location specify that path accordingly.
You can refer to the below image:
Now, you will log out from this session and log in again to see the changes. After logging in again run the echo command again to see if the shell has changed to Zsh:
echo $SHELL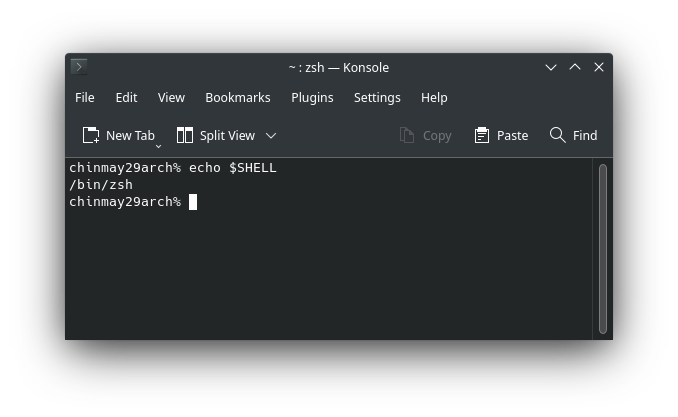
If you still see Bash as output, it is better to reboot your system to see the changes.
Installing Nerd Fonts
The powerlevel10k theme that we will be installing contains lots of cool icons. For example: if you have an Arch Linux system, the logo of Arch will be rendered in the terminal. Therefore in order to render this type of icon, we need a specific font from the Nerd Fonts family.
MesloLGS NF works best with our theme. Download the required fonts from below –
Download all the four files and navigate to the Downloads directory using a file manager like Dolphin in your Arch system. Right-click on each file and Actions > Install the fonts.
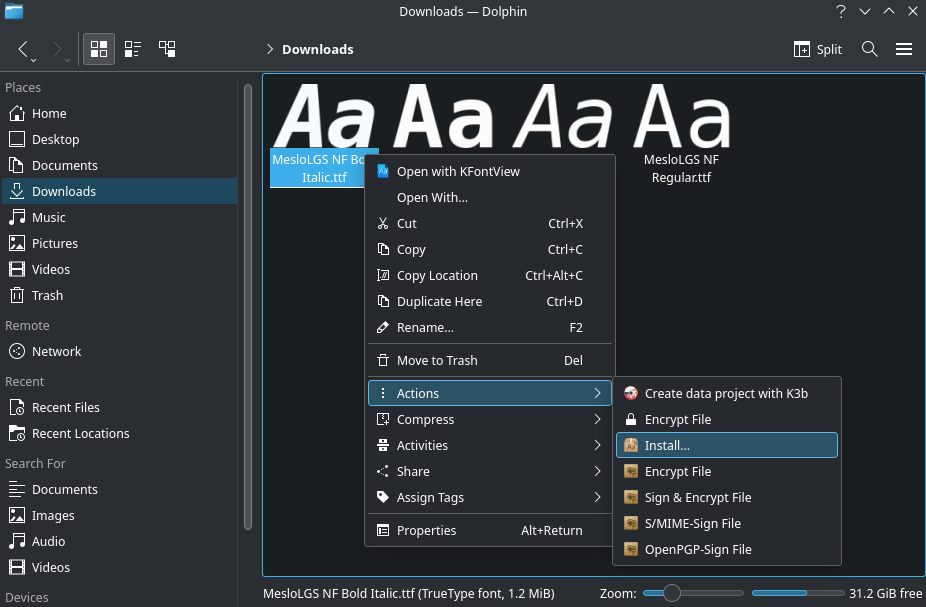
Setting Up Oh My Zsh
There is no need to configure Zsh manually as there is already an open source tool for that – Oh My Zsh. It contains various features that let you install themes and plugins, etc.
Install Oh-My-Zsh with help of the following command –
Via Curl –
sh -c "$(curl -fsSL https://raw.github.com/ohmyzsh/ohmyzsh/master/tools/install.sh)"Via Wget –
sh -c "$(wget https://raw.github.com/ohmyzsh/ohmyzsh/master/tools/install.sh -O -)"After successful installation, your terminal prompt will now look something like this –
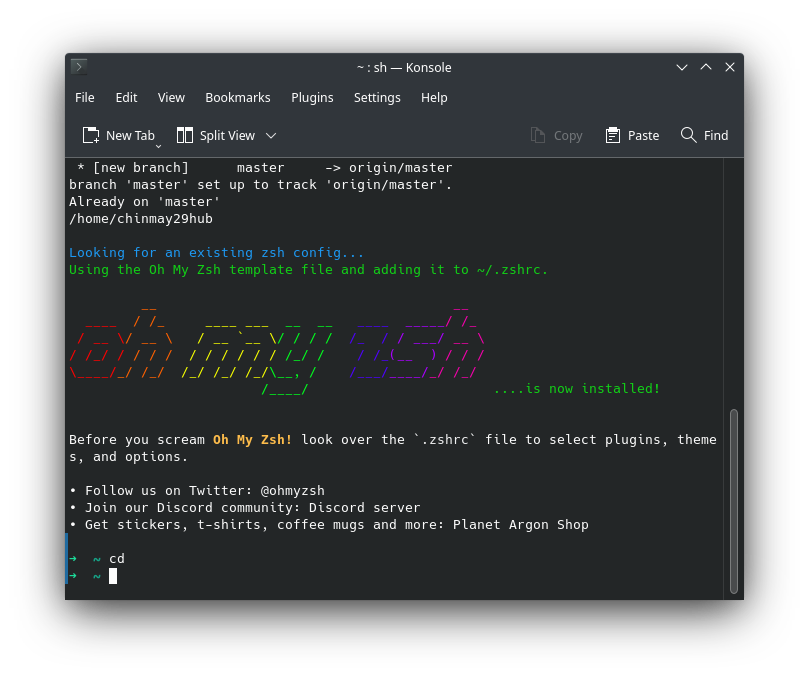
Make sure to hit the cd command to make sure you are in the root directory using the cd command –
cdInstalling Terminal Theme
Now it’s time to install our awesome terminal theme – powerlevel10k. This is a very popular theme for Zsh.
Hit the following command to clone the theme –
git clone --depth=1 https://github.com/romkatv/powerlevel10k.git ${ZSH_CUSTOM:-$HOME/.oh-my-zsh/custom}/themes/powerlevel10kThe above command will just clone the theme. In order to take effect, we will need to edit the Zsh config file. Open your favourite text editor and edit the .zshrc file.
I am using gedit text editor –
sudo pacman -S geditgedit .zshrcIn the file, search for “ZSH_THEME” (Mostly on line 11). The default value is "robbyrussell“, change it to "powerlevel10k/powerlevel10k". Press CTRL+S and close the file. Close the terminal and launch a new terminal.
If you see the below screen and the icons are clearly visible after launching the terminal you have followed the tutorial correctly –
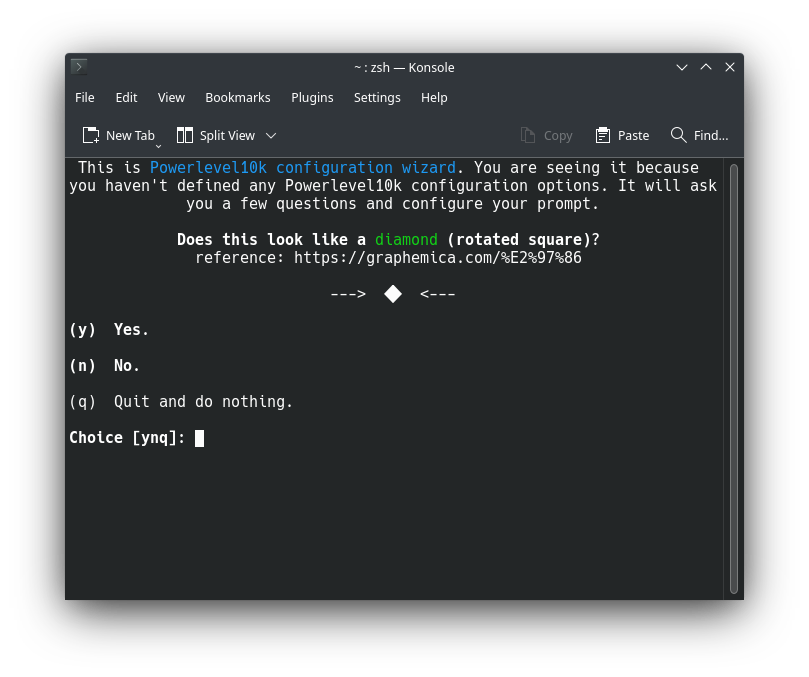
Type y if you see the icons clearly.
When you reach the following screen, it is asking you how you want your terminal to look –
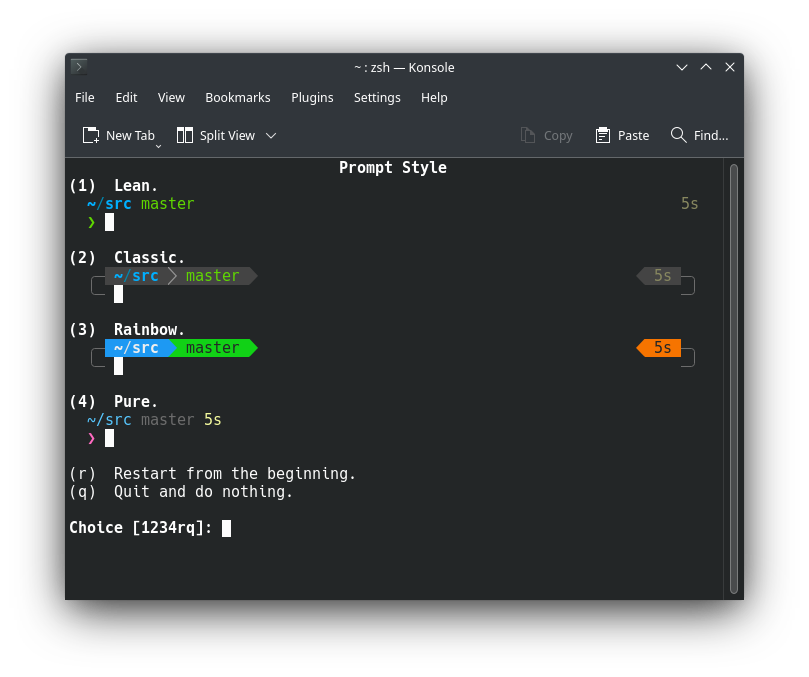
You can choose the way you want but if you want your terminal to look the same as mine type the following sequence-
3→1→3→4→1→5→2→1→4→1→2→2→2→y→1→y
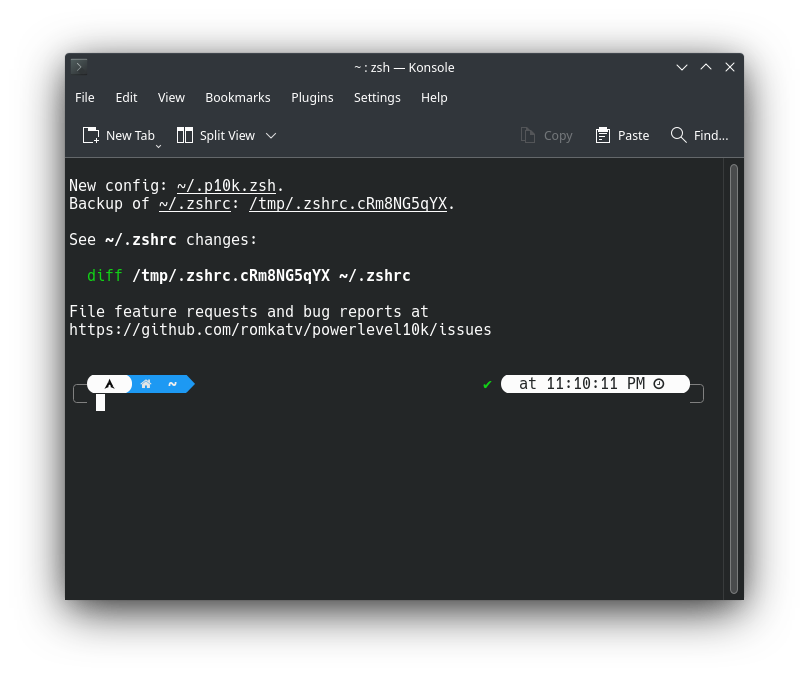
You have successfully installed the terminal theme on your Arch system. Looks cool right? –
Installing Plugins
Oh My Zsh has plenty of plugins to increase your work productivity. But today we will see some important plugins and how to install them.
1) Zsh Autosuggestion
It auto-suggests commands as you type.
Installation –
git clone https://github.com/zsh-users/zsh-autosuggestions.git $ZSH_CUSTOM/plugins/zsh-autosuggestions2) Zsh Syntax Highlighting
It highlights words just like a text editor in the terminal
Installation –
git clone https://github.com/zsh-users/zsh-syntax-highlighting.git $ZSH_CUSTOM/plugins/zsh-syntax-highlightingAfter installation, you will need to edit the .zshrc config file for changes to take effect.
gedit .zshrcInside the file search for “plugins=(git)” and change it like below-
plugins=(git zsh-autosuggestions zsh-syntax-highlighting)You will need to follow the same procedure for installing other plugins. Just clone and edit the config file.
3) Bonus Tip: Enable Autocorrection
In the same file search for the line “#ENABLE_CORRECTION=”true” and just uncomment the line like below –
ENABLE_CORRECTION="trueSave the file and exit.
Neofetch When Launching Terminal
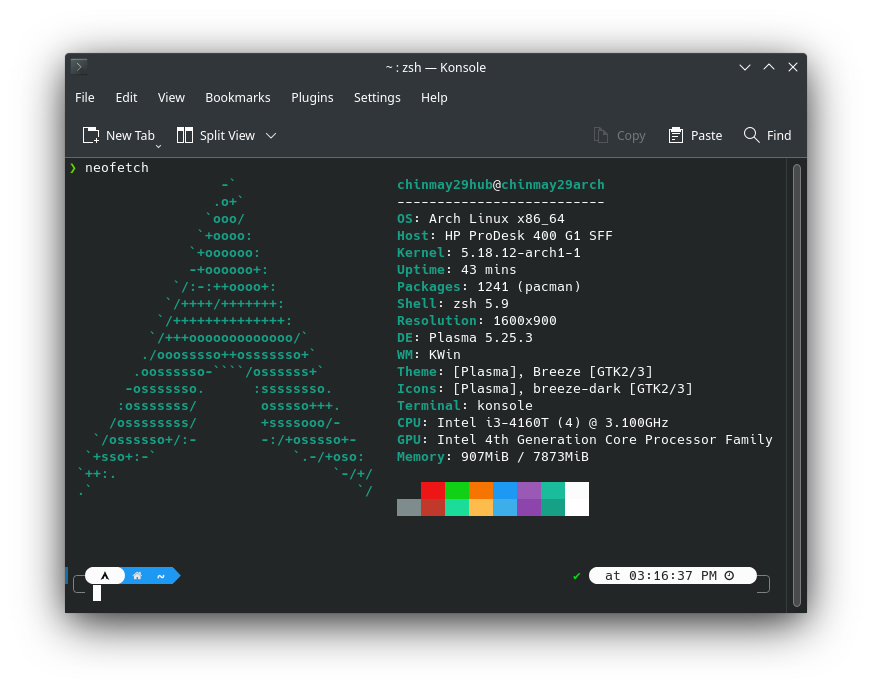
Neofetch is a command line tool that fetches system information of the system like operating system, hardware, graphics etc. and presents it to the user in a beautiful manner.
Refer below –
Installation –
sudo pacman -S neofetchYou can run it manually with the help of the following command –
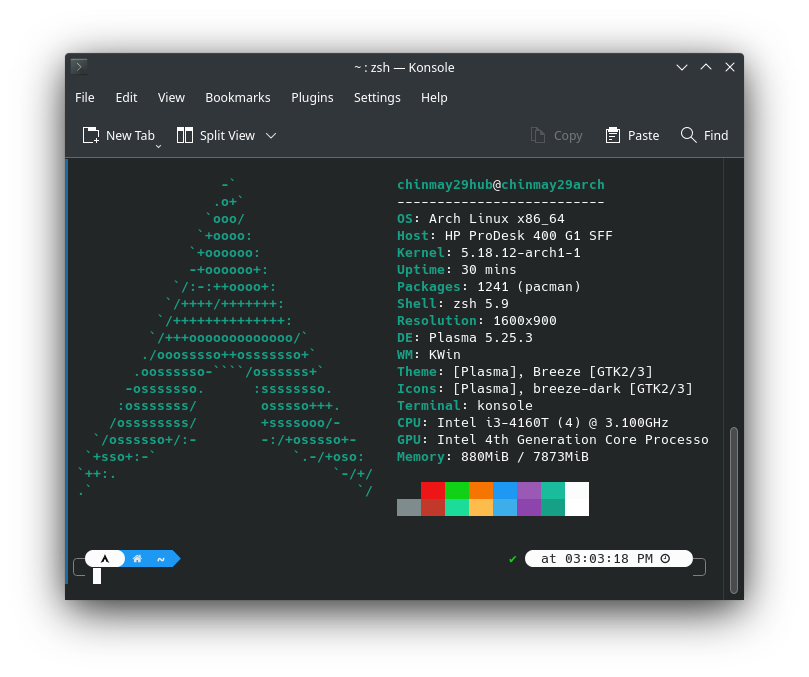
neofetchBut let’s tweak Zsh in such a way that, neofetch runs automatically when you launch a new terminal instance –
gedit .zshrcAt the end of the file add neofetch on a new line. Save the file and exit. Close the terminal and launch a new terminal –
Summary
Now work on Arch Linux system with the cool terminal interface. Oh My Zsh has more capabilities than you can imagine. There are many more themes other than powerlevel10k available for Zsh. Plugins make your job easier while working on the command line.
Further Reading
- Installing Microsoft VS Code on Arch Linux
- How to install Microsoft Teams on any Linux Distribution?
- How to install Docker on Arch Linux in 4 easy steps!
