Android is arguably the most popular Operating System in the world. It uses the Linux kernel and hence could be considered a Linux based distribution (Although, it is not GNU/Linux based). Different vendors ship different versions of the Linux Kernel with their smartphones with heavy customization and since the Linux Kernel is under the GPL V2 license, they have to open source the modifications. Some vendors try to delay sharing their modifications as to discourage the production of custom ROMs for their smartphones. This brings up the question, why use a custom ROM for your Smartphone?
In this tutorial, we will try to answer this question and also take a look at the OpenAndroidInstaller tool for Linux, which allows us to easily install custom ROMs to several supported devices in just a few clicks.
Why use Custom ROMs?
Choosing to install a custom ROM on your smartphone will allow you to do several things which you wouldn’t be able to do with the stock ROM that the smartphone shipped with. Some of them are listed below:
- Important for Security: The Operating System vendors ship with your smartphone usually have a support life and beyond that time, your personal phone becomes unsecure as it stops receiving the new security updates. The only ‘non-technical’ option you have left after the ending of the support cycle is to buy a new smartphone, which can be financially challenging. Some new Flagship phones like Google’s Pixel and Samsung’s S23 have promised that they will support the phones for 7 years, but this has yet to become an industry standard yet.
- Breathe a new life to your Phone: Usually with custom ROMs, you will be able to run the latest and greatest software on your device (let’s say Android 14) even if the Vendor software only ships an Older version of Android in the phone (say Android 12). This allows you to enjoy modern features on your old phone, which may have been started to feel old because of an older OS.
- Customization: Custom AOSP (Android Open Source Project) based ROMs tend to provide heavy customization when compared to the OS which is shipped with the phone. These may include custom Icon packs, customizability of the Quick Settings Tile etc.
- A Lightweight Experience: Usually, the OS which are shipped by the vendors in their Phones consists of a lot of Bloatware which may or may not be needed by the user, but it is preinstalled. Sometimes, these bloatware applications are installed on a system level and hence cannot even be uninstalled (for example Samsung Pay, Wallet etc.). Custom ROMs do not ship with bloatware and some even do not ship with the Google Application Suite as well, therefore reducing the utilized storage space of your Phone and reduce system resource usage.
- Less/No Telemetry: Stock ROMs have many services running in the background, which may send your device’s usage data to the companies’ servers. Xiaomi Devices has a service named ‘MSA’ which does exactly that. With Custom ROMs, you can be tension free about the background services, as the developers are extremely open about the optional telemetry.
The Disadvantages
Of course, there are some disadvantages of installing a custom ROM instead of the one shipped with your phone. Some of them are listed below:
- Installing custom ROMs require you to unlock the bootloader of your phone. Almost all device manufacturers (except for Google Pixel Devices) have it in their Terms of Service that unlocking the bootloader of your device will void your warranty.
- Play Integrity will not be certified: Google will detect that the device has an unlocked bootloader, and thus the Play Store integrity will not be certified. What this means is that Streaming Applications like Netflix or Amazon Prime Video won’t play movies in HD on your device.
- If you are on a Samsung Device with an Unlocked Bootloader, every time you reboot your device, you will have to press the Power button additional times in order to skip past the annoying prompts.
- If you decide to root your device, which unlocks several features of Android, the safety net of the device will also fail, which will result in failure of working of banking applications.
Why use OpenAndroidInstaller?
So the thing about installing Custom ROM is that you will have to go through several hoops in order to install it on your Device. These steps include Enabling Developer Mode, Allowing OEM unlocking from Developer Settings, then unlocking the Bootloader from Fastboot, and then again Enabling Dev Mode and allowing OEM unlocking. And then finally you will be allowed to flash a custom recovery and then flash a ROM from the custom Recovery.
As you can probably tell, this gets exhausting. OpenAndroidInstaller tries to automate at least most part of this exhausting process and only require human input at a few steps. It boasts support for 83 devices, with an easy extension system for others, and therefore is a viable alternative to the manual process. You can also use an image of any OS to flash it to your phone in the automated process.
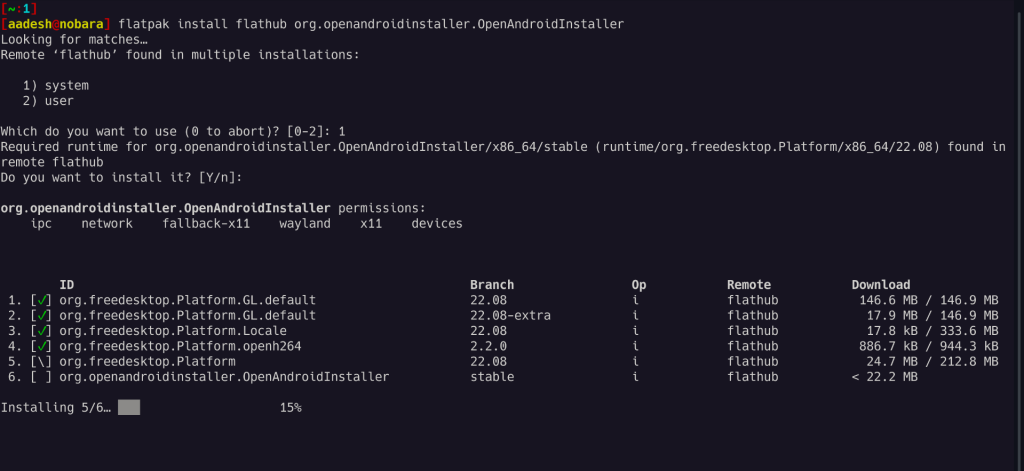
The application is available on Flathub and hence can be installed on any Linux distribution just by typing the following command:
flatpak install flathub org.openandroidinstaller.OpenAndroidInstaller
Trying out OpenAndroidInstaller
Here, the developer has listed a Visual guide for installing LineageOS on a Google Pixel 3a but, I have a Redmi 9 ‘lancelot’ device which is listed under the supported devices section on their website (although marked untested) with an unlocked bootloader, so I’m going to try and Flash CrDroid on my devices using this application.
Note that I mentioned Unlocked bootloader, to achieve this, enable developer option on your device and then allow OEM unlocking and then enable USB debugging on your phone and then connect it to your PC and then launch the app. This tool is capable of unlocking the bootloader of certain devices as well.
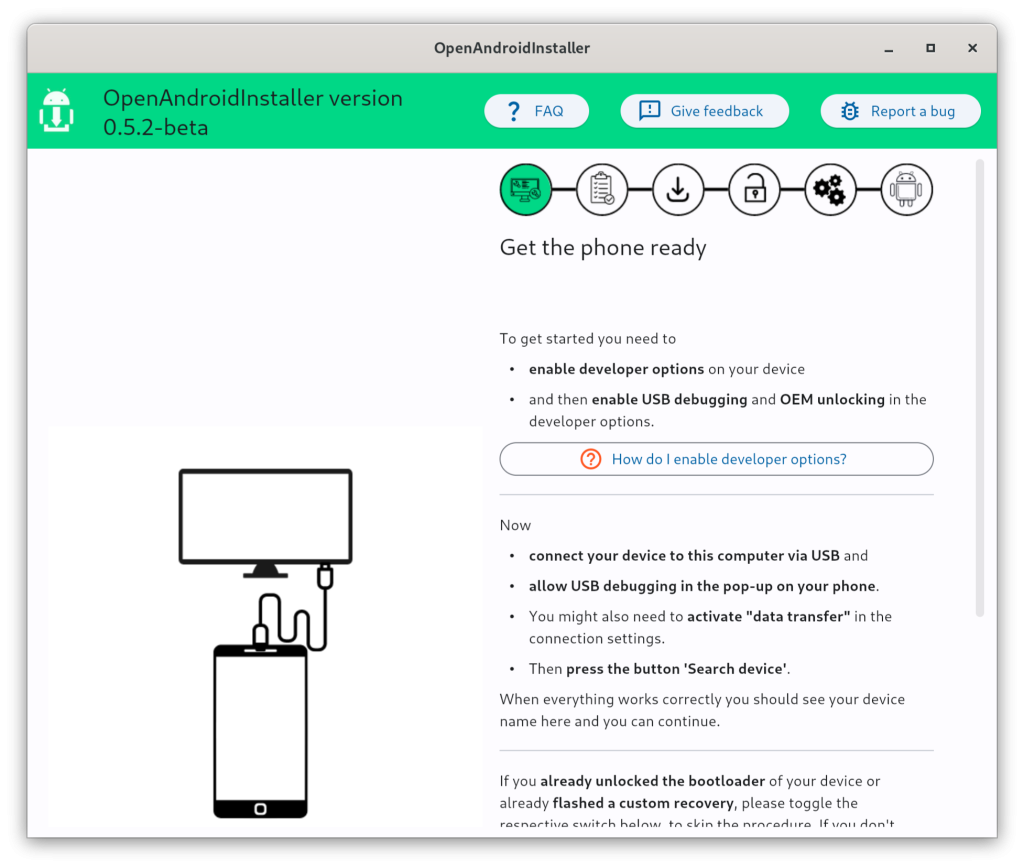
Now, I connected my device and then hit the ‘Search for Devices’ button.
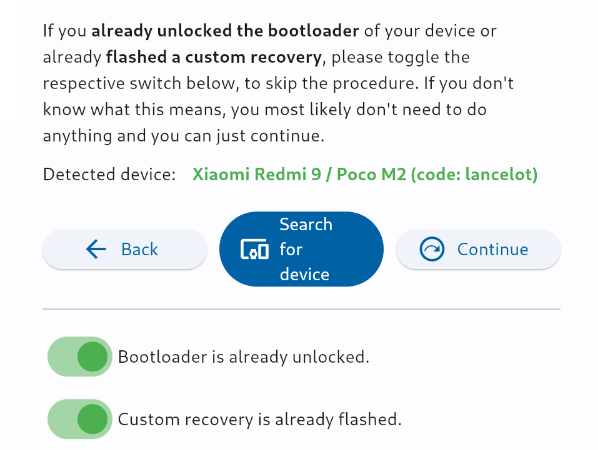
As you can see, my device is detected properly, and since I have a custom Recovery Installed (LineageOS recovery), I just hit the checkboxes and then clicked on the ‘Continue’ button. However, If you don’t know what this means, then ignore the switches and proceed to the next step.
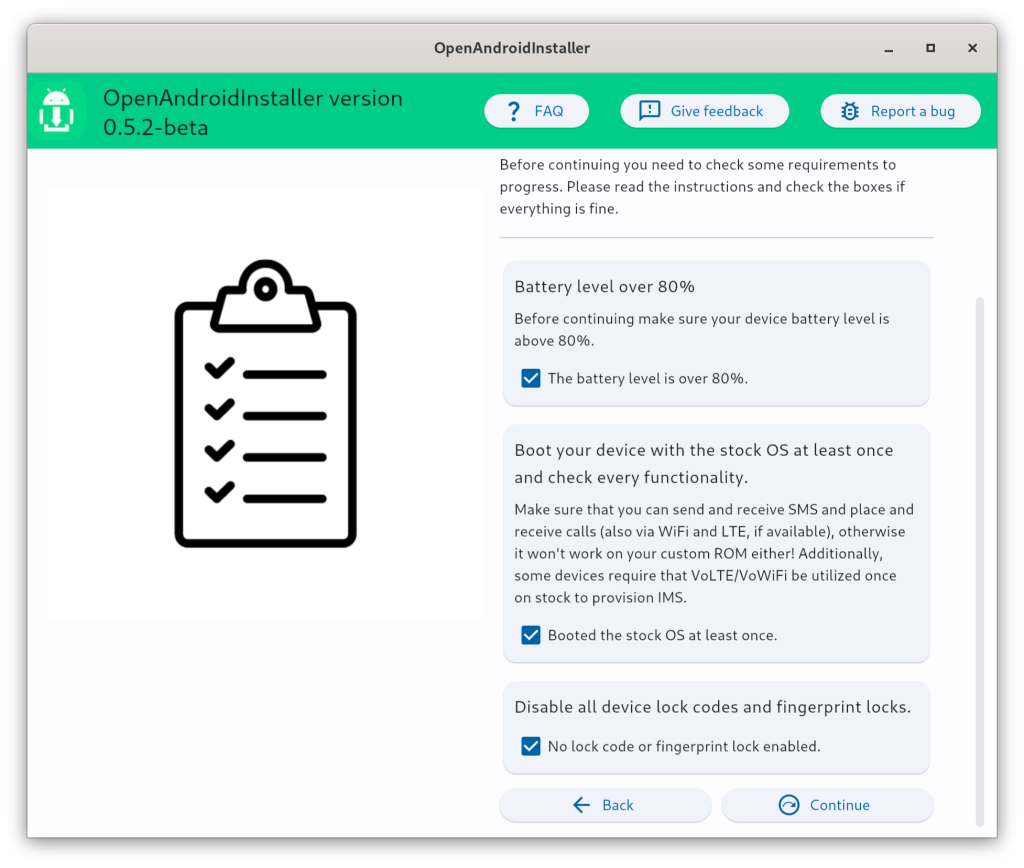
Now, make sure you fulfill all the requirements and then proceed to the next step. Here, you will pick any OS image or just use LineageOS.
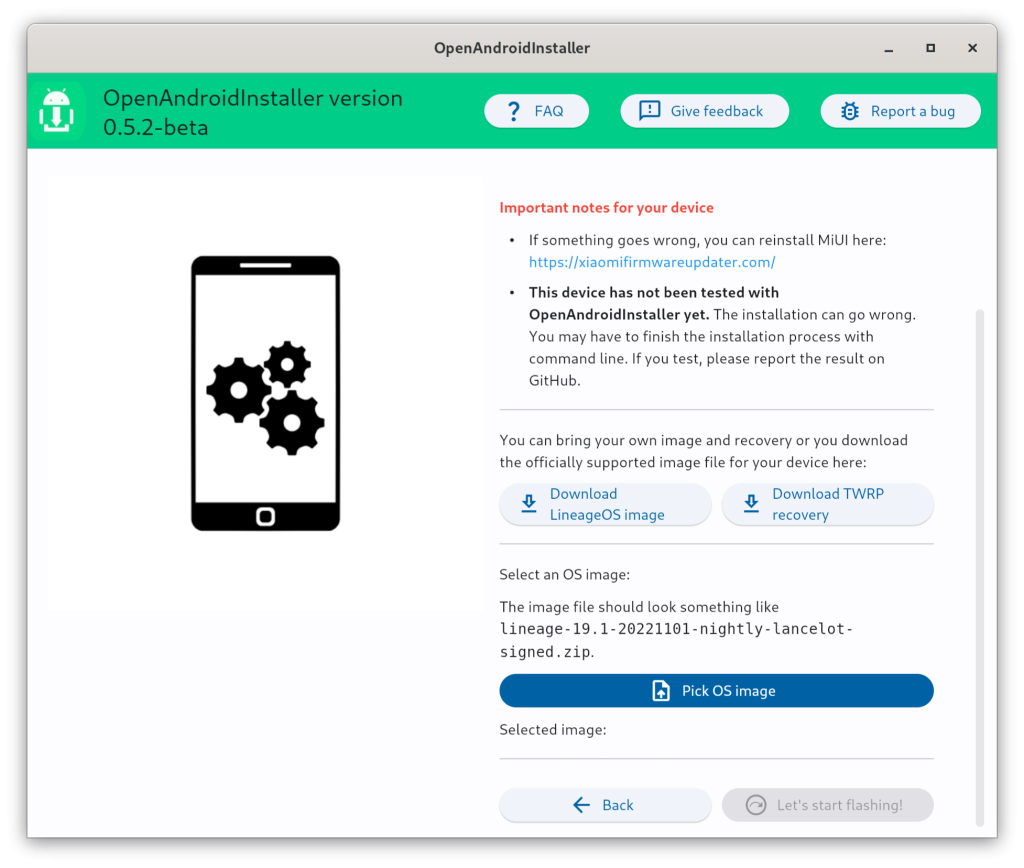
You can also flash GAPPS (Google Applications) or MicroG if the OS supports signature spoofing. However, OpenAndroidInstaller recommends the OSes which ship GAPPS or MicroG within the Image file. Pick and image file and then hit on the ‘Let’s start Flashing’ button.
Wrapping Up
Overall, OpenAndroidInstaller is an extremely nice free and open source application which automates the tedious tasks and only require very less human interaction. It ships with tools like Heimdiall (which is necessary for Samsung Devices) and ADB (Android Debug Bridge) so you will not face any problem with most of the supported devices. Do note that unlocking the bootloader will result in formatting the device, and hence you should take a backup of your data before proceeding with any step.
Also Read
BlissOS – Run Android on your PC

