

The Linux kernel on any distribution is the core part of the OS. The maintainers of any distribution such as Ubuntu or Fedora give regular update to the Kernel as well as ship newer kernel as to fix various issues and provide support to new hardware as well. However, every new kernel shipped to the OS will result in a new entry added in the GRUB menu.
Now this isn’t necessarily a bad thing because if you encounter any issue with the newer Kernel after the update, you can just reboot your device and use the older Linux kernel from the GRUB menu. However, if everything works well, you will have to press the ‘Enter’ key on your keyboard or wait for an extra 5 seconds so that the kernel gets selected every time you boot your PC.
In this tutorial, we will learn how to remove the extra kernels from a Fedora based systems, as well as configure DNF so that it will automatically remove the older Kernel after a newer one gets installed on the system.
Why do you need a Newer Kernel?
For most of the people? You don’t. New kernels usually add support for new hardware (such as Graphics card) or usually fix some vulnerabilities in the software. If you are not using the latest hardware, then you don’t have to worry about the update. But, sometimes the developers of hardware manufactures (such as AMD) fix drivers for older hardware which results in improved performance and breathes new life in your old PC however, those cases are rare. Vulnerabilities usually affect the servers which are running Linux, rather than the Desktop Operating systems. However, it is considered a good practice to fix those vulnerabilities nonetheless and update to the latest Kernel as the older ones reach their end of life.
Why should you keep older kernels installed?
I usually do very basic things on my PC, usually web browsing, offline Music and Movie playback and rarely playing some games on Steam. These tasks do not get affected much by the version of Kernel I am using (mind you, I have an AMD GPU), however, if you are using an NVIDIA GPU on your PC or Laptop the version of Kernel and driver do affect your PC performance. If you feel that using the new kernel results in glitches while using your PC, having an older kernel installed will always give you a backup plan to fall back on. Simply reboot your PC and use the older Kernel.
Checking how many Kernels are installed
In order to check how many Linux kernels are installed on our Fedora system, we can take advantage of the dnf list command along with grep by piping the two commands as shown below:
dnf list installed | grep kernel
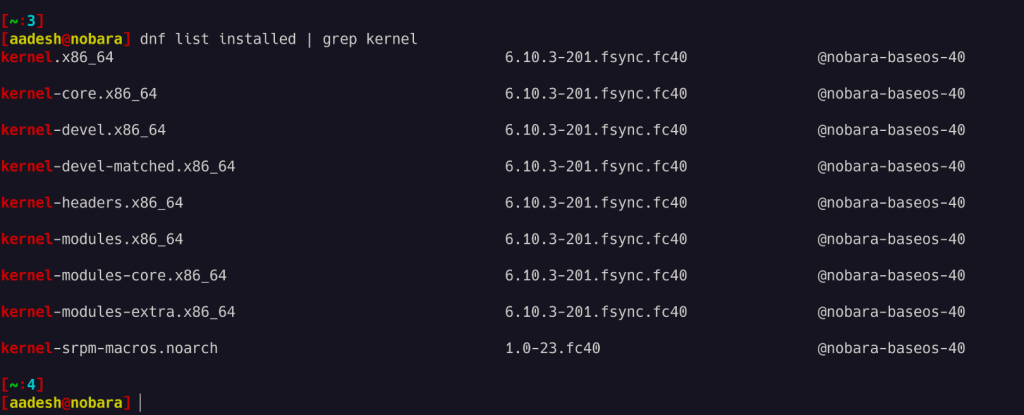
As you can see, all the packages which has ‘Kernel’ in their names get listed automatically along with the repositories from where they are installed (I’m using Nobara Linux which is based on Fedora, on your PC, the repository column should mention Fedora)
Method 1: Removing Old kernels
You can proceed with the uninstallation of a kernel by typing the following command:
sudo dnf remove kernel-core.x86_64-FULL_VERSION_HERE
Don’t forget to change the version of the Kernel you are trying to uninstall in the above command, and leave out at least one kernel-core package so that your system boots up. Do not try to uninstall any Kernel modules or other packages, as it may result in breaking your system.
Method 2: Removing every old Linux Kernel
There is also one single line command which can automatically remove older kernels from your Fedora system. But this command doesn’t leave out any single old Kernel, therefore I will not recommend it to you if you are dependent on PC for your work. The command looks something like this:
sudo dnf remove --oldinstallonly
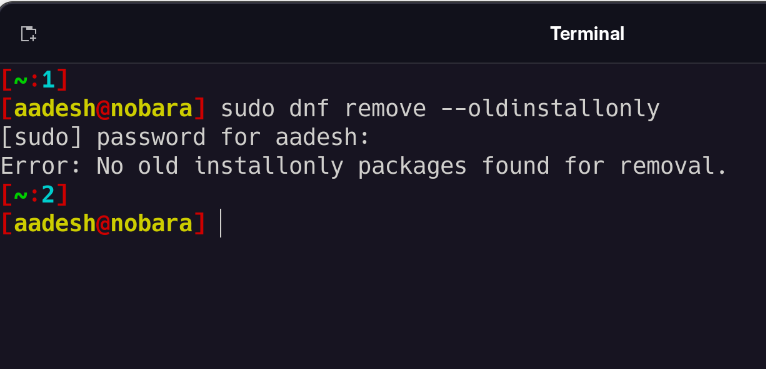
Make sure that you are booted into the newest Kernel from the GRUB menu before running this command.
Configuring the maximum installed Kernels
On Fedora, you can edit the dnf.conf file located in the /etc/dnf directory and specify how many kernels you need installed on your PC at a given time. By Default, I think it’s three, but you can reduce it to two or one if you wish. Open the file with admin privileges by using any text editor such as Vim or nano.
# For Vim users
sudo vim /etc/dnf/dnf.conf

# If you are using Nano
sudo nano /etc/dnf/dnf.conf
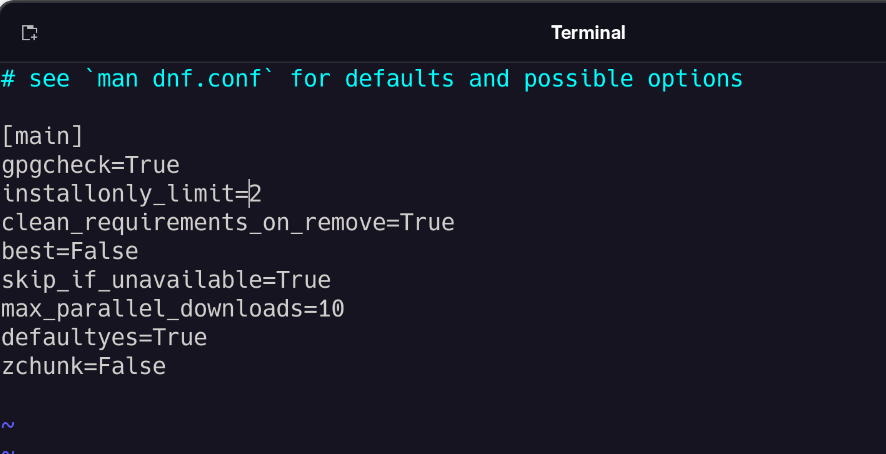
Go to the line installonly_limit and, after the equals sign, change the number as per your wish. Here, I have set it to 2 just to be on the safe side. Save the file by pressing Ctrl+O and Ctrl+X on your Keyboard if you are using the nano editor, Vim users can press Escape to exit the editing mode and then press :wq to save and exit the file.
Wrapping Up
Well, that’s about it! We hope you were able to de-bloat your Fedora system up to a certain bit using this tutorial. Old kernels are necessary for a stable system, but pressing Enter every time you boot your system does get annoying after a while, people who dual-boot Windows along with Linux know.
References
DNF configuration file official documentation