Installing AMD graphics drivers on Linux is pretty straightforward. The open-source drivers that come with the Linux kernel work great for most things, including gaming and 3D rendering. But for some advanced features like ray tracing, you’ll want AMD’s proprietary “PRO” drivers.
The PRO drivers give you access to AMD’s AMF and better OpenCL and ray tracing support. In this tutorial, I’ll show you real quick how to install them on Ubuntu or Ubuntu-based distros like Mint, Pop!_OS, or Zorin. It’s a pretty painless process and just takes a few quick terminal commands. Then you’ll be all set to enable those extra graphics capabilities!
Step 1: Download the AMD PRO Drivers
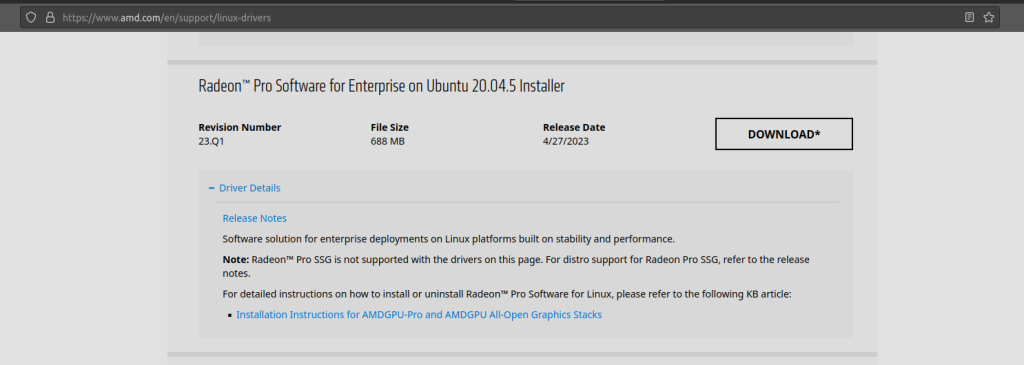
Visit the official AMD website and download the ‘PRO’ AMD drivers from the website for the latest Ubuntu version (22.04 as of the writing of this article).
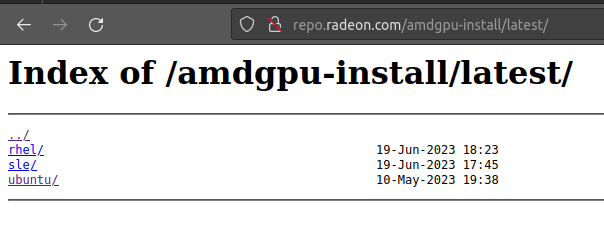
Now, what I noticed is that this FTP server hosted by AMD has more up-to-date drivers than the website, you can check and download whichever one is the latest.
Once the application is downloaded, we are ready to install it. The installation is as simple as installing any DEB file.
Step 2: Install the Driver Installer
Let’s get started with installing the driver using the installer. We’ll cover two methods.
The GUI Method
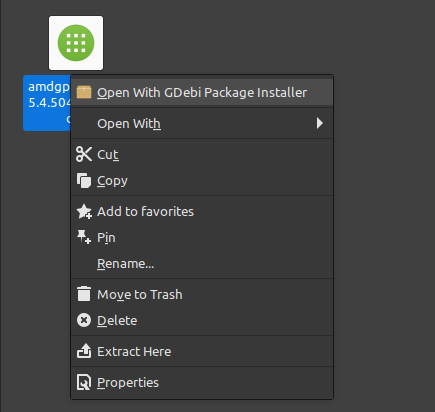
The installation is as simple as installing a DEB file on Debian-based distributions, but I will first show you first how to install the driver on Linux Mint first because it’s comparatively easier on Linux Mint (If you are using any other distro, switch to Command Line Method). Just open the ‘Downloads’ directory, right-click on the downloaded ‘amdgpu-install-xxx’ driver, and then select ‘Open with GDebi Package Installer’.
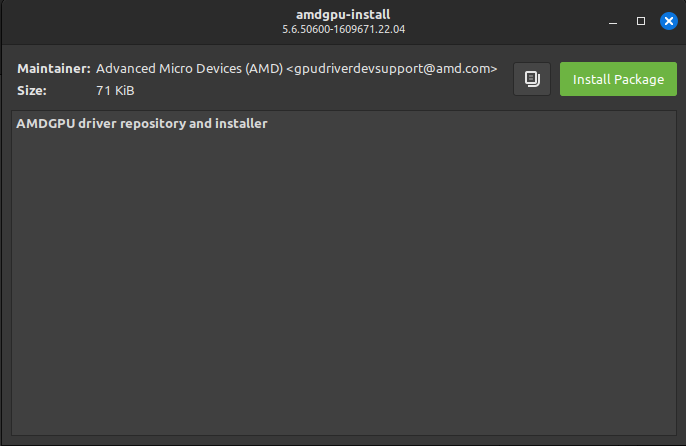
Once opened, you will see the details of the package you are going to install. Just click on the ‘Install Package’ button and then type your administrator packages.
When the installation is finished, proceed to step 3.
The Command Line Method
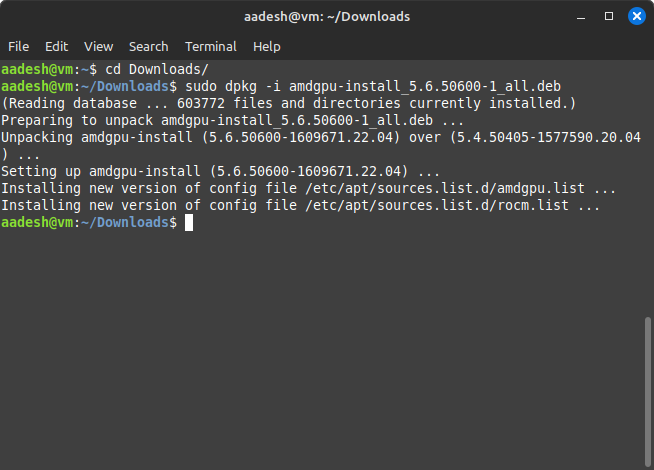
To install the DEB package from the command line, open a Terminal window and navigate to the Downloads directory with the cd command.
cd ~/Downloads
Now, install the DEB package on your system by typing the following command:
sudo dpkg -i amdgpu-install-xxxx
Step 3: Installing Pro Drivers
Open a Terminal window and then type the following command:
amdgpu-install --vulkan=amdvlk,pro --opencl=rocr
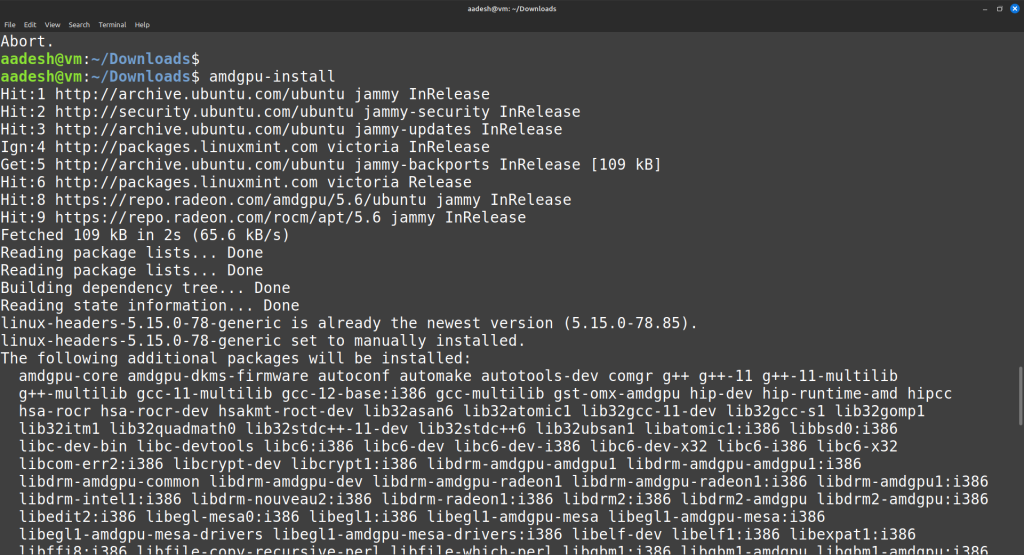
Now, I’ve made an error while taking the screenshot, but I did run the correct command later on. If you’ve correctly typed the mentioned installer command, then you will see an EULA, just scroll down with the help of your arrow keys to proceed further with the installation.
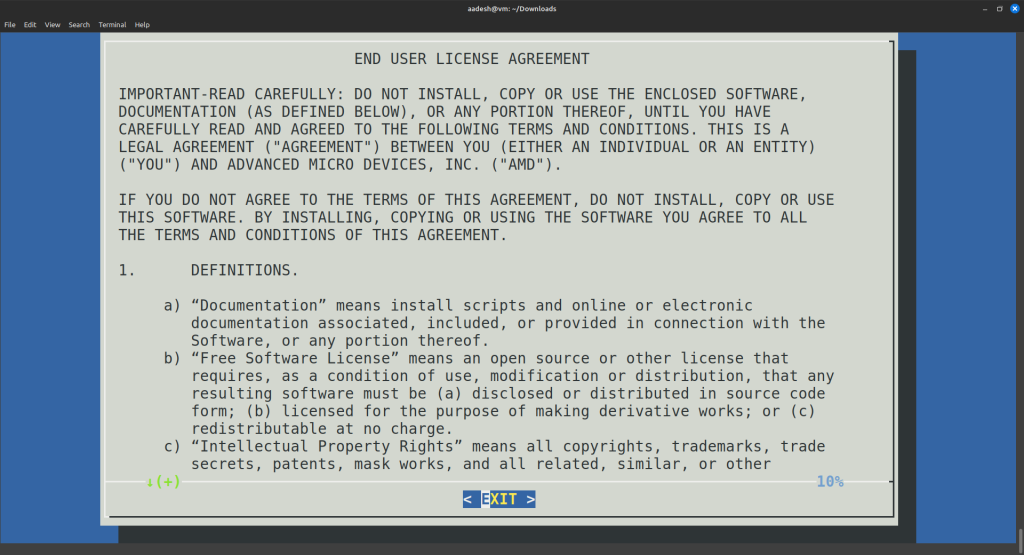
Once the installation is finished, simply reboot your system!
Type the following command to verify whether the drivers you are running are open-source or proprietary.
glxinfo | grep "OpenGL vendor string" | cut -f2 -d":" | xargs
If it says AMD, then you are running the open-source drivers, and if it says Advanced Micro Devices (AMD), then you are running the proprietary drivers.
Wrapping Up
I’d suggest just sticking with the open-source AMD drivers on Linux. They work great for most people! The proprietary AMD drivers can sometimes cause crashes and other issues, so they’re really only recommended for advanced users who know what they’re doing. Even AMD’s own website says the non-open source drivers may not be stable.
The open-source drivers are easy to use and super reliable in my experience. Unless you have a specific need for the proprietary drivers, I’d avoid messing with them. The open-source drivers support nearly all the same features anyway. But if you do decide to install the AMD PRO drivers, hopefully this tutorial helped walk you through the process on your Ubuntu-based distro. Let me know if you have any other questions! I’m always happy to chat more about getting the right graphics drivers installed.


