In this tutorial, we are going to discuss how to install Apache Kafka on Ubuntu.
What is Apache Kafka?
Apache Kafka is an open-source stream-processing software platform developed by LinkedIn and donated to Apache Software Foundation, written in Scala and Java. In simple terms, Kafka is a messaging system that is designed to be fast, scalable and durable.
Why it is called as streaming-platform?
It is called as streaming-platform because of its following features:
- Publish and subscribe to the stream of records
- Store streams of records in a fault-tolerant way
- Process streams of records as they occur.
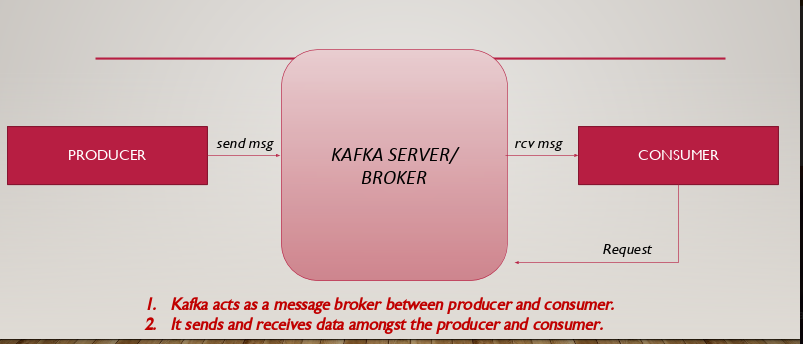
Kafka acts as a message broker between producer and consumer. It sends and receives data from the producer and consumer. It is a distributed system that runs on a cluster of computers.
Steps to install Apache Kafka on Ubuntu
Now we’ll go over the steps that are required to install apache Kafka on Ubuntu and get it up and running. Since Kakfa runs on Java, it’s necessary for you to have Java installed on your system. If you don’t know how to do it, here’s a tutorial on how to install java on Ubuntu that you can follow.
Step 1. Downloading and Extracting the Kafka file
The basic requirement is the tar file of Kafka. You can also download it from this link: Apache Kafka Download Link.
You can either download the file using wget or curl as shown below:
wget -c https://www.apache.org/dyn/closer.cgi?path=/kafka/2.4.0/kafka_2.11-2.4.0.tgz
To extract the Kafka tar file, use the following command:
$ tar –xvzf kafka_2.12-1.1.0.tgz
Once the file is extracted, cd into that directory.
$ cd kafka_2.12-1.1.0.
Step 2. Start the Server
Let us first understand the Zookeeper. It is a service that Kafka uses to manage its cluster state and configurations. In simple words, Zookeeper is like a guard in the society who knows the address of each flat owner. The producer sends the message without knowing the identity of the consumer. Zookeeper directs the message to the particular consumer.
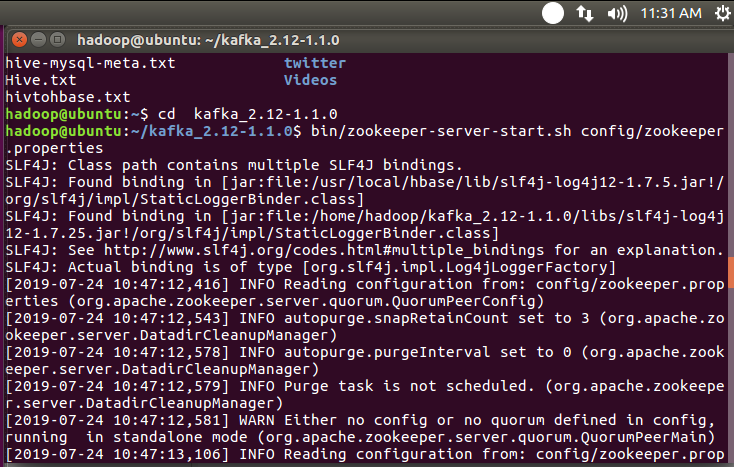
To start the zookeeper, the syntax is as follows:
$ bin/zookeeper-server-start.sh config/zookeeper.properties
Step 3. Start the Kafka Server
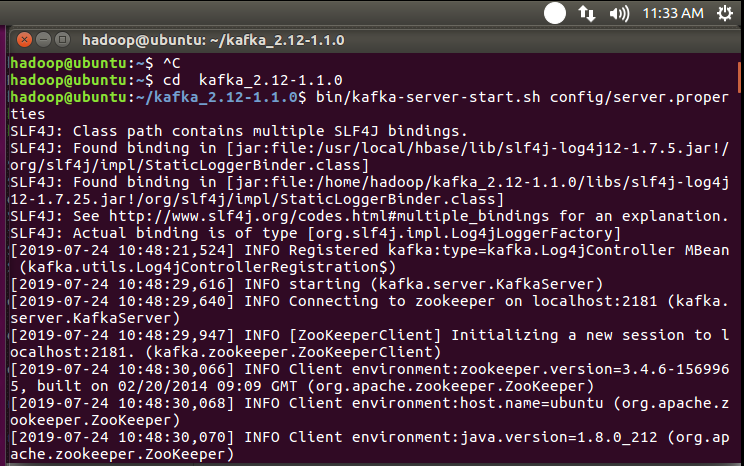
The next step is to start the Kafka server, which can be done through the following command.
$ bin/kafka-server-start.sh config/server.properties
Step 4. How to create a topic?
Kafka works as a message broker between producer and consumer. It sends and receives the data amongst producer and consumer as shown in the figure below.
In the below figure, the producer sends the message to the broker. Broker creates the topics, assigns it a partition number and sends it to the consumer.

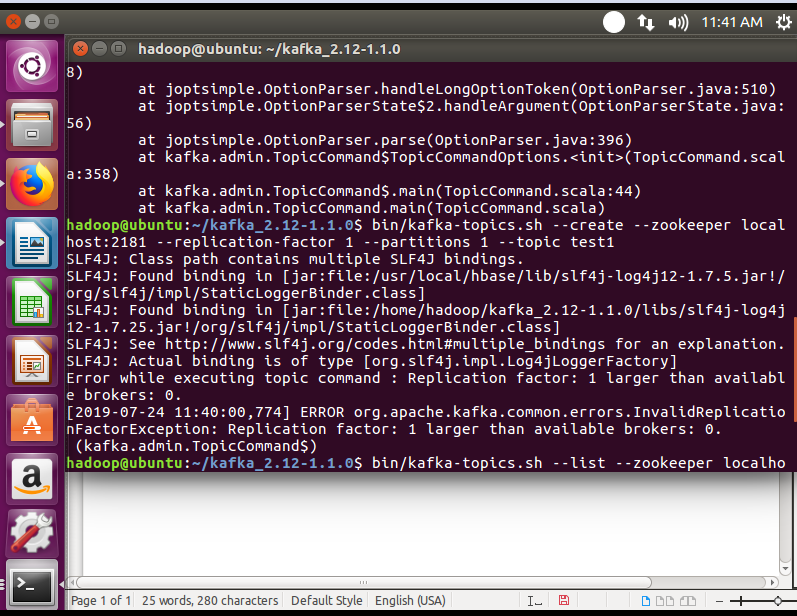
The syntax to create topic is as follows:
$ bin/kafka-topics.sh --create --zookeeper localhost:2181 --replication-factor 1 --partitions 1 --topic test1
Step 5. To check the list of topics
After creating the topics, if you want to check the list of topics we use the following command:
$ bin/kafka-topics.sh --list --zookeeper localhost:2181
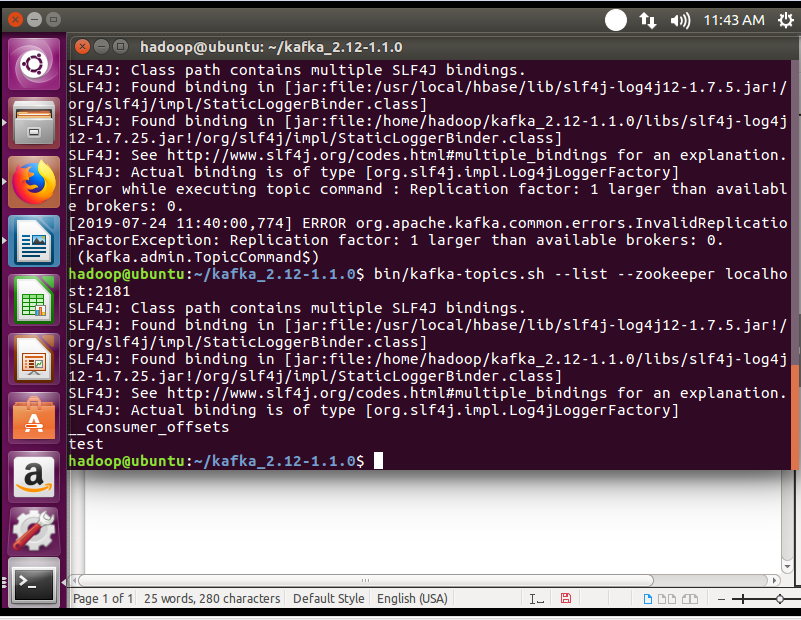
This following command shows the list of topics created.
Step 6. To create a connection between producer and consumer
The producer sends a message to the consumer through the Kafka server. So, it’s important to set a connection between producer and consumer.
After setting up the connection, you will see the message printed on both sides i.e. producer and consumer.
$ bin/kafka-console-producer.sh --broker-list localhost:9092 --topic test
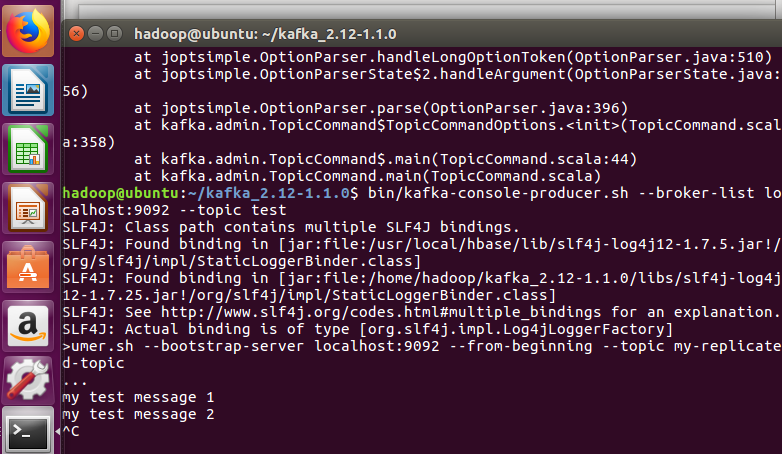
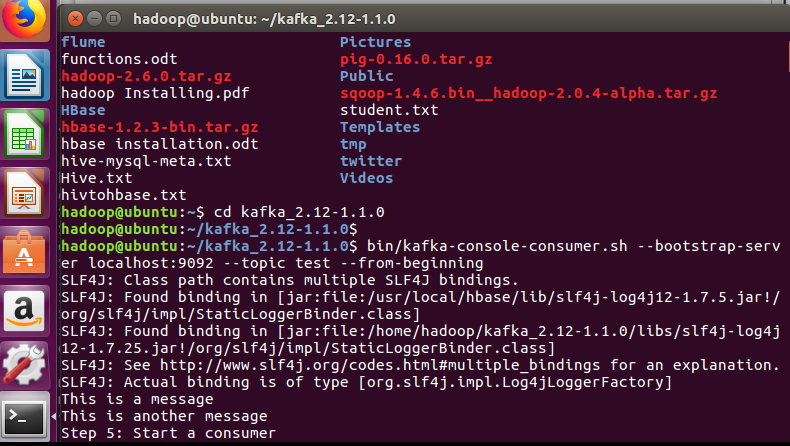
Don’t forget to start the consumer. The syntax to start the consumer is as follows:
$ bin/kafka-console-consumer.sh –bootstrap-server localhost:9092 –topic test –from -beginning
Step 7. Producer-Consumer connection
After setting up the connection between producer and consumer, we can send the message and it will be received at the consumer end. Let’s have a look.
At Producer site
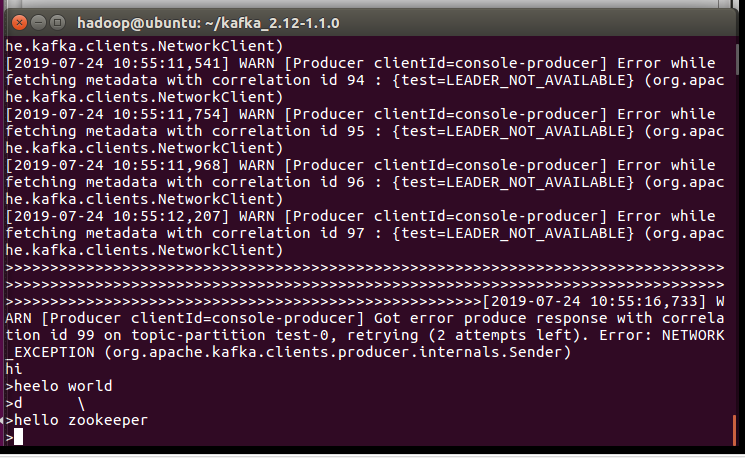
At consumer site
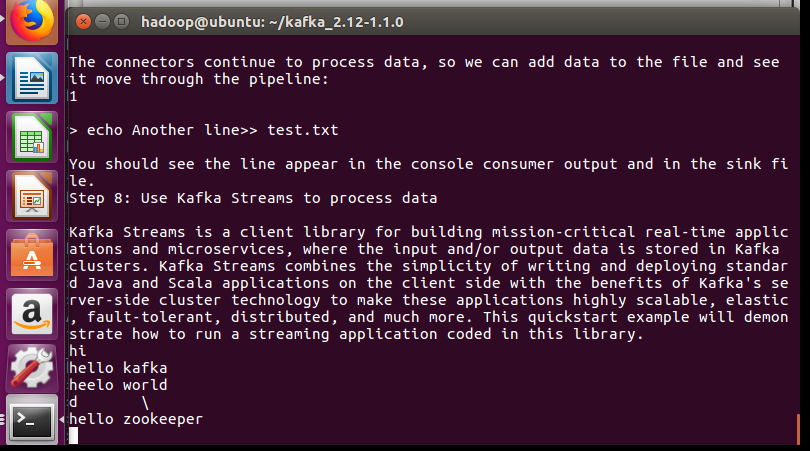
Here, you can see the messages on both sides i.e. producer and consumer.
Conclusion
In this tutorial, we’ve gone over how to install Apache Kafka in ubuntu. We hope that you now know how to use the command efficiently. If you have any questions, do let us know in the comments.


