In this article, we will discuss various ways by which we can install and set up Chromium on our Ubuntu system.
Chromium the open-source version of Google Chrome, is preferred by many developers and Linux users because of more privacy than Chrome as it collects and sends lesser information than Google Chrome and also because it’s Open Source.
Also read: How to install Google Chrome on Linux?
Install Chromium on Linux with the Software Center
In this step, we will discuss how we can install Chromium with GUI. We will be installing the Chromium snap package via Ubuntu Software Center.
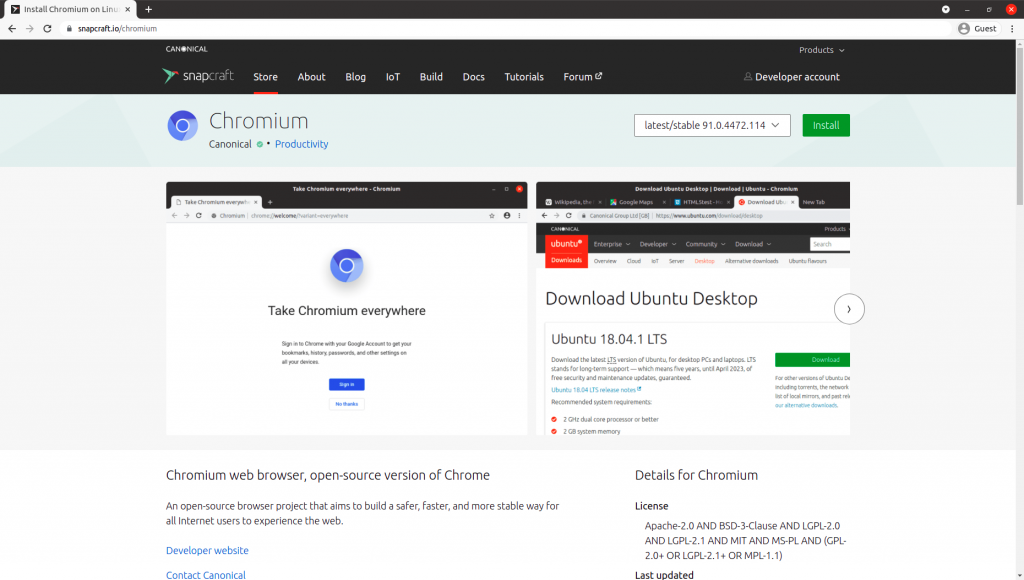
Firstly, open the Chromium Snapcraft page by heading here and you will get a screen like the below image.
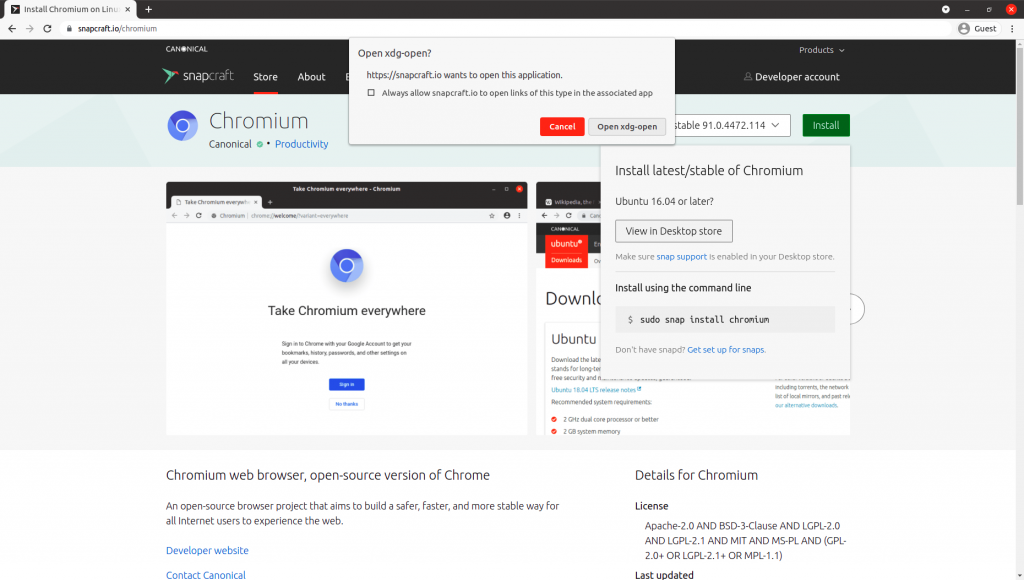
Now Click on Install > View in Desktop Store and a popup will appear, choose “open xdg-open” here and it will redirect you to the Ubuntu Software Center.
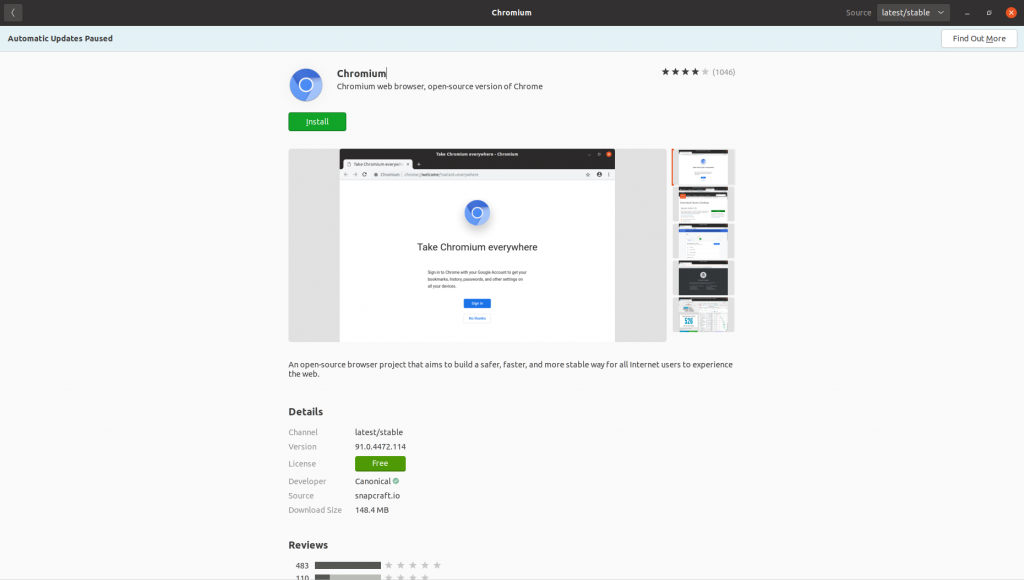
On the Chromium installation page in Ubuntu Software Center, click on install to begin the installation.
After hitting Install, it will ask for your root password to gain root privileges to install the Chromium snap package.
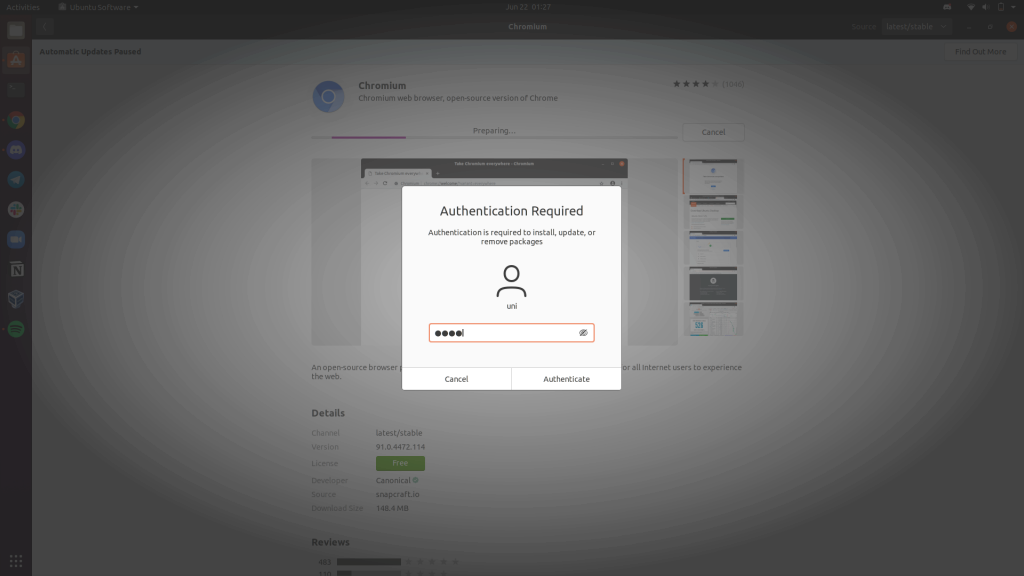
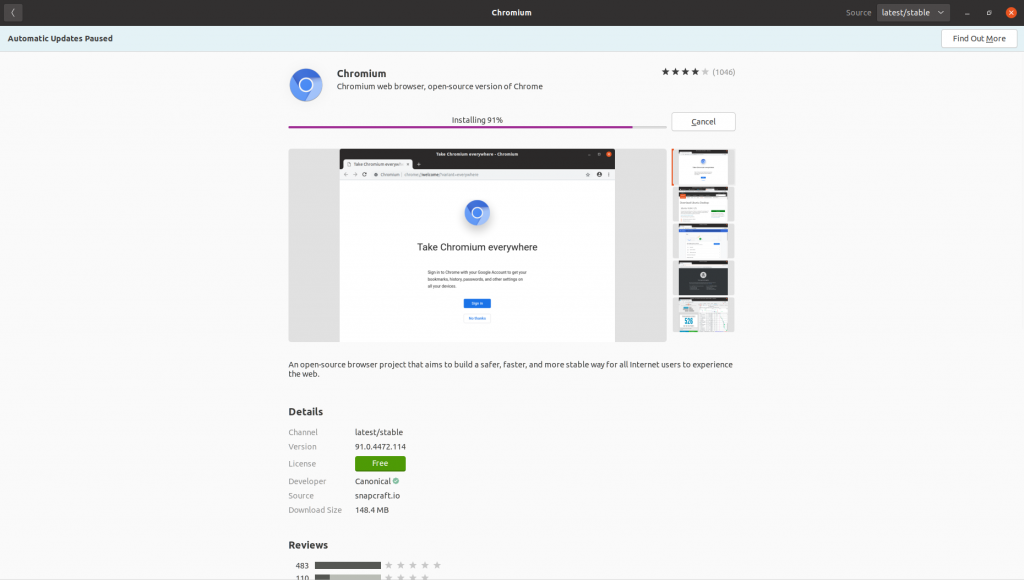
After providing root privileges, your installation will begin. Wait for a moment till the installation finishes.
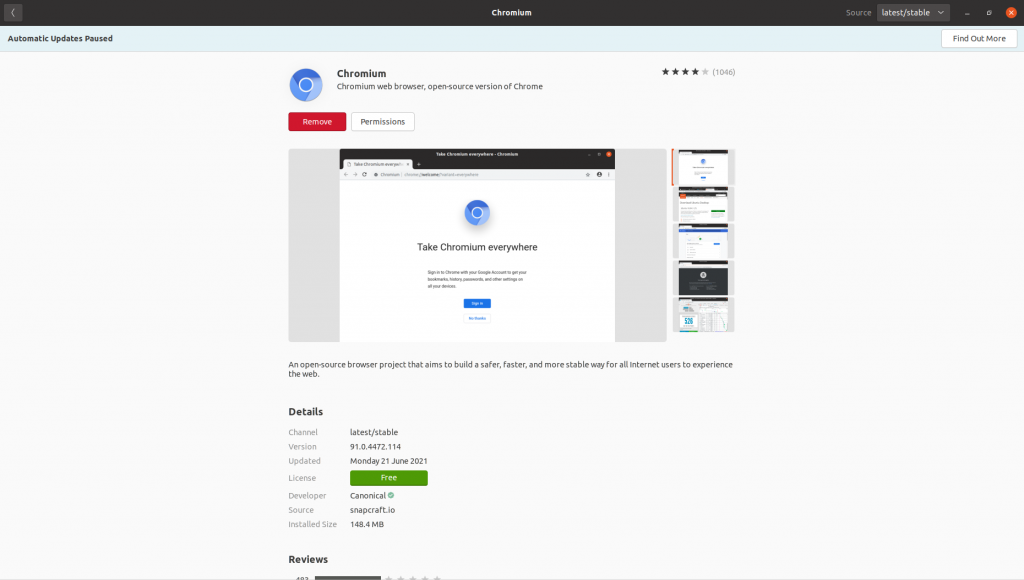
Once the installation finishes, you will see a Remove button. It means that your installation is completed and Chromium is now ready to be used in your Ubuntu machine.
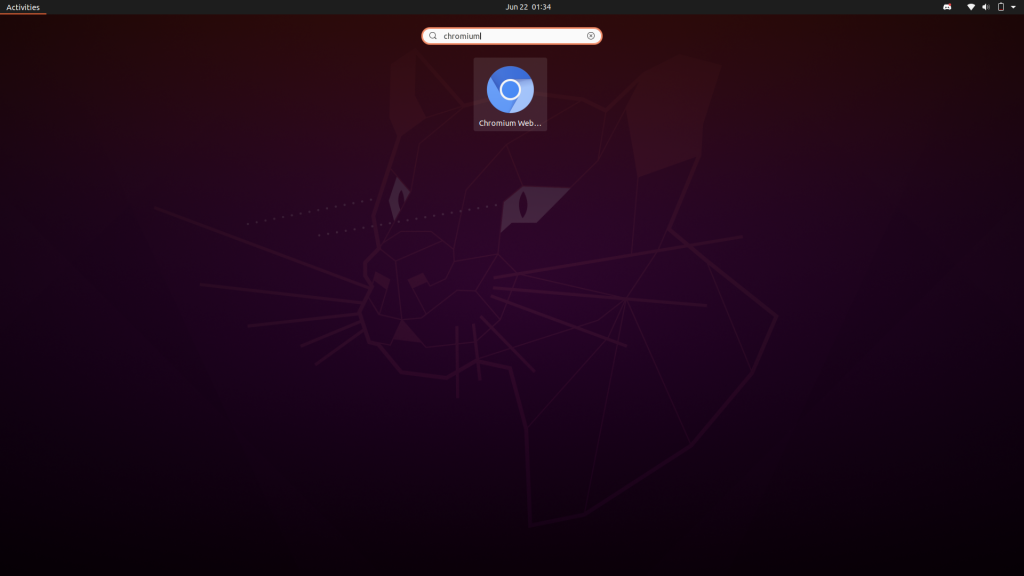
To open Chromium, go to your Applications pane and search Chromium in the search bar.
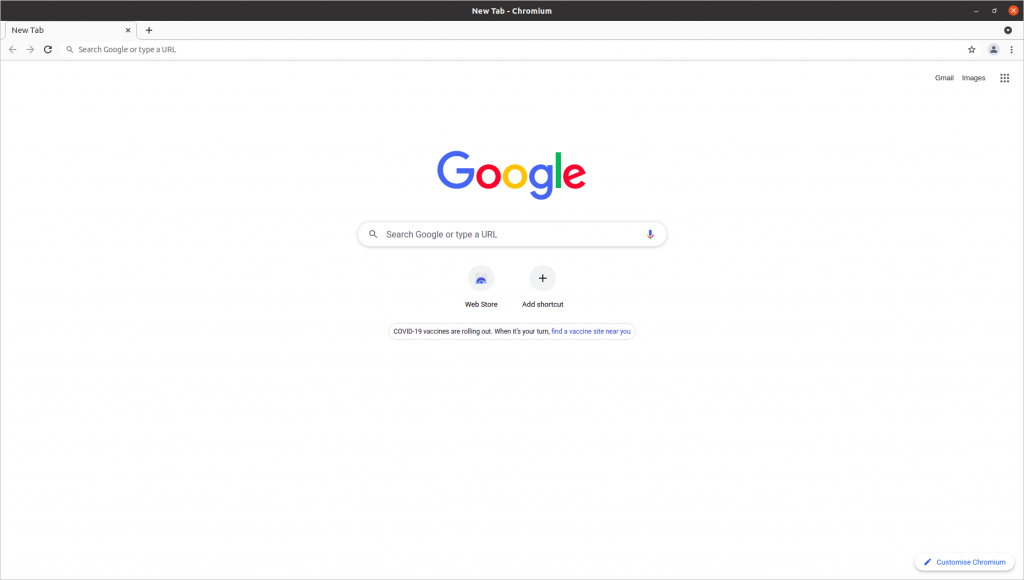
Once you open Chromium it will look like the image given below. Isn’t it the same as Google Chrome which I already mentioned?
Installing the Chromium snap package with terminal
In the above step, we mentioned how we can install the Chromium snap package with help of GUI.
Now, in this method, we will help you install Chromium on your Ubuntu system with help of a single command.
So, open your terminal and run the following command:
sudo snap install chromium
It will ask you for your root password, enter it and your installation will begin.
Once the command finishes executing, your Chromium is ready to use, just go to the Applications pane and you will find it there.
Installing the Chromium from debian repository
Chromium is also available in the apt repository, we can easily install it via a single command.
To install Chromium, firstly we need to refresh the package index for our Ubuntu system. For that run the following command:
sudo apt update
Now, run the following command to install Chromium browser:
sudo apt install chromium-browser
The above command will ask for the root password for root privileges to install the package.
Provide it with your password and wait for the command to finish execution. Once the command finishes execution, your Chromium browser is successfully installed on your Ubuntu system.
Installing Chromium flatpak package from the terminal
In this method, we will discuss how we can set up a Chromium browser through Flatpak support.
For that, we will first need to install Flatpak and the run flatpak install command to install Chromium.
If you already have flatpak install, you can directly jump to the final step and run the flatpak install command to install Chromium
Install Flatpak
To install flatpak, run the below commands:
sudo add-apt-repository ppa:alexlarsson/flatpak
sudo apt update
sudo apt install flatpak
Installing Chromium flatpak package
Now having flatpak installed, you can simply install Chromium using the below command:
flatpak install flathub org.chromium.Chromium
Bonus
- Chromium is an open-source project and you can find its code here.
- You can check more open source projects owned by Google at Google Open Source.
Conclusion
In this article, we discussed various ways by which we can set up Chromium on our Ubuntu system from using the GUI to using the only Terminal. We also got to know that Chromium is an open-source version of Chrome by Google.


