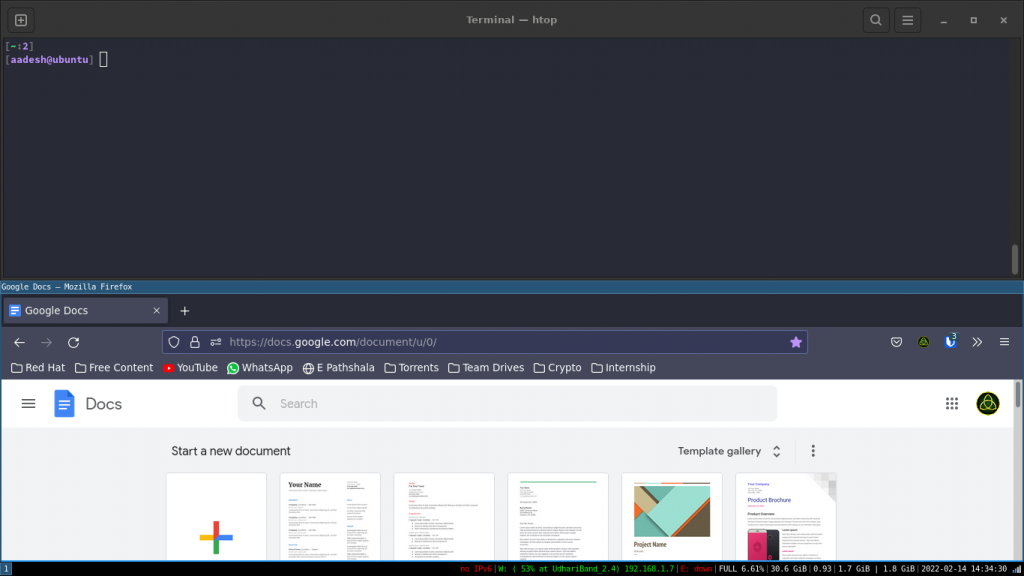
Ubuntu by default ships with a modified version of the GNOME desktop environment. However, there are several other Ubuntu flavors as well, like Ubuntu MATE, Ubuntu Cinnamon, and so on. And you are free to choose any, but the catch is, all the desktop environments primarily use mouse-driven functions and thereby reduce productivity. It also consumes more RAM and system resources. That’s where Window Managers come in. In this article, we are going to learn about a Windows manager named i3, and we will install it on our Ubuntu machine.
What is a Window Manager?
A Window Manager simply manages windows. They allow the windows to be opened, closed, re-sized, and moved. They’re also capable of presenting menus and options to you. On Linux or BSD, you have numerous choices. You can select window managers, from simple ones (with low memory and CPU consumption) to feature-packed large ones.
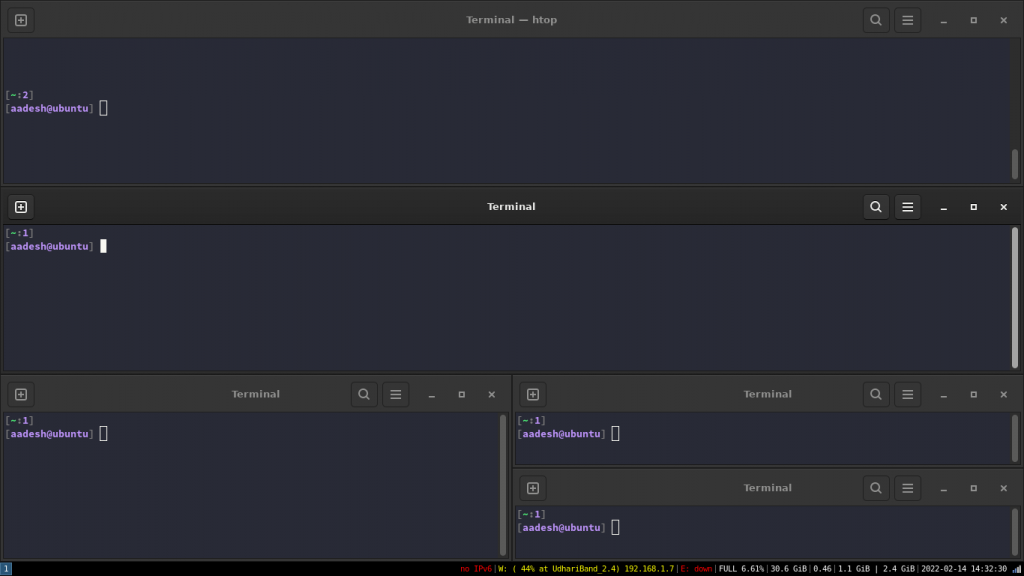
i3wm or (i3 Window Manager) is one of them. It is a tiling window manager, that is, if you open a new window or application, it automatically tiles the new window on the screen so that screen space doesn’t get wasted. It is very powerful, and you can configure it any way you want, run a specific application in a specific workspace, etc.
Install i3wm on Ubuntu
Run the following commands to install the latest version of i3:
sudo apt update && sudo apt install i3
That’s it! Enter your password and hit enter, i3 will be installed on your system.
Launch i3wm on Ubuntu
Now, log out from your Ubuntu machine, and on the gdm screen > click on the gear icon on the bottom right > select i3. You don’t have to do this over and over again. When the next time you boot, i3wm will be selected as default.
First Time Configuration
When you first log into the i3wm, you will be given an option to create a configuration file or not. Choose to create the configuration file and press Enter. This file is necessary if you wish to change the behavior and/or looks of the window manager.
It will be stored in your ~/.config/i3/config file. Next, it will ask you to select the mod key (Super Key, or Windows Key) for your system, you can select between the Alt key and the Windows key. Press enter, and then you will be greeted with the i3 window manager’s interface.
Basic Usage of i3wm
Since i3wm is operated terminal-based, all the software we are going to launch will be launched through the terminal. To open the terminal, press mod+Enter, use the mod key which we selected earlier (either the Alt key or the Windows key). And from the terminal, you can launch applications like Firefox, VLC, etc. or you can also press Ctrl + D which will open a search bar, and you can launch the applications from there as well.
If you repeatedly press mod+Enter, the new Terminal windows will appear side by side.

But if you want the new window to open vertically instead of Horizontally, just press Mod+V and then press mod+Enter to open the terminal again, and this time, it will open the Terminal vertically.

- To move the position of the tiled windows with the mouse, you can press Mod+Shift+Space and move the windows around
- Close an open window, press mod+shift+Q
- Enter full-screen mode in any application, press mod+F
- Switch workspace, you can press Mod+<workspace number> that is. To switch to workspace 2, press Mod+2. Similarly for other workspaces.
You can always change these shortcuts by modifying the config file. But, if you have made changes in the config file, do not forget to press mod+R to reload i3wm, even Logout and log back in for the changes to take place correctly.
Ricing Your i3wm Setup
You can customize the way your i3 looks by modifying the config file stored in ~/.config/i3. This is called ‘Ricing’ your system. Browse through r/unixporn Subreddit to check out exciting themes and install them by following the instructions given in the comments section.
Summary
We hope you were able to install the i3 window manager on your Ubuntu installation. Play more with the config file to change the shortcuts as per your needs, and don’t forget to rice your system.
What is i3 Window Manager and why should I use it?
i3 is a tiling window manager designed for Linux. It allows you to efficiently arrange and control windows, providing a more streamlined and productive user experience compared to traditional desktop environments.
How do I install i3 Window Manager on Ubuntu?
To install i3 on Ubuntu, you can use the package manager. Simply run the command `sudo apt-get install i3` in the terminal to download and install the necessary files.
What are some common keyboard shortcuts in i3 Window Manager?
Some popular keyboard shortcuts in i3 include using `mod key + Enter` to open a new terminal window, `mod key + d` to open the application launcher, and `mod key + arrow keys` to navigate between windows.
How can I get started with i3 Window Manager if I’m new to tiling window managers?
A good way to get started with i3 is to follow a tutorial or guide. There are many resources available online, such as YouTube tutorials and written guides, that can help you familiarize yourself with the i3 window manager.
What is the main difference between i3 and i3-gaps?
The main difference between i3 and i3-gaps is the addition of gaps between windows in i3-gaps. This allows for a more visually appealing layout and a better separation of windows on the screen.
Can I add custom keyboard shortcuts in i3 Window Manager?
Yes, you can customize and add your own keyboard shortcuts in i3. By modifying the configuration file, you can assign specific commands to key combinations based on your preferences.
Is i3 Window Manager suitable for beginners or users with little Linux experience?
i3 can be a bit challenging for users who are completely new to Linux or window managers. However, with some practice and patience, even beginners can find i3 to be a useful and efficient tool for managing windows on their system.


