In this article, we will discuss how we can install Sublime Text on Ubuntu. So, Let’s get started
Sublime Text is a cross-platform text editor available for Windows, Mac OS X, Linux, and other operating systems. It is a very powerful text editor and has a stunning user interface. It has gained immense popularity very quickly.
It is one of the most used code editors amongst developers. It is really easy to use and has some amazing features that make the work of developers really easy and smooth.
Install Sublime Text on Linux with the Software Center
In this step, we will go through steps to install Sublime Text on our Ubuntu Machine, through Ubuntu Software Center which provides a snap package for Sublime Text, you can also install same with help of terminal as mentioned in other methods in this article.
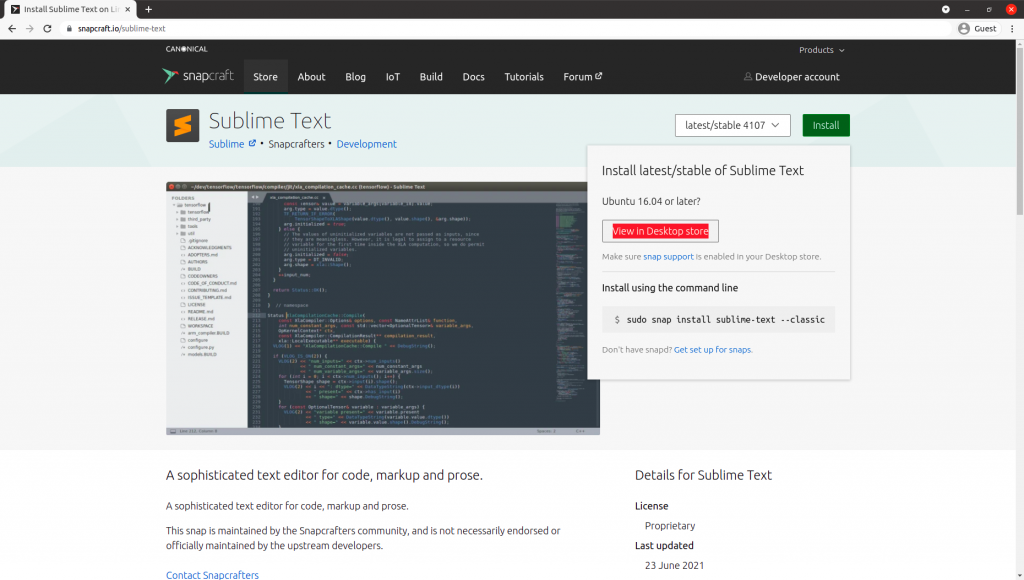
First, head over the Snapcraft page for Sublime Text by clicking here.
Click on Install > View in Desktop Store.
A pop-up will appear, click “open xdg-open” there and it will redirect you to the installation page of Sublime Text in Ubuntu Software Center.
As an alternate, you can also open Software Center and search Sublime Text there.
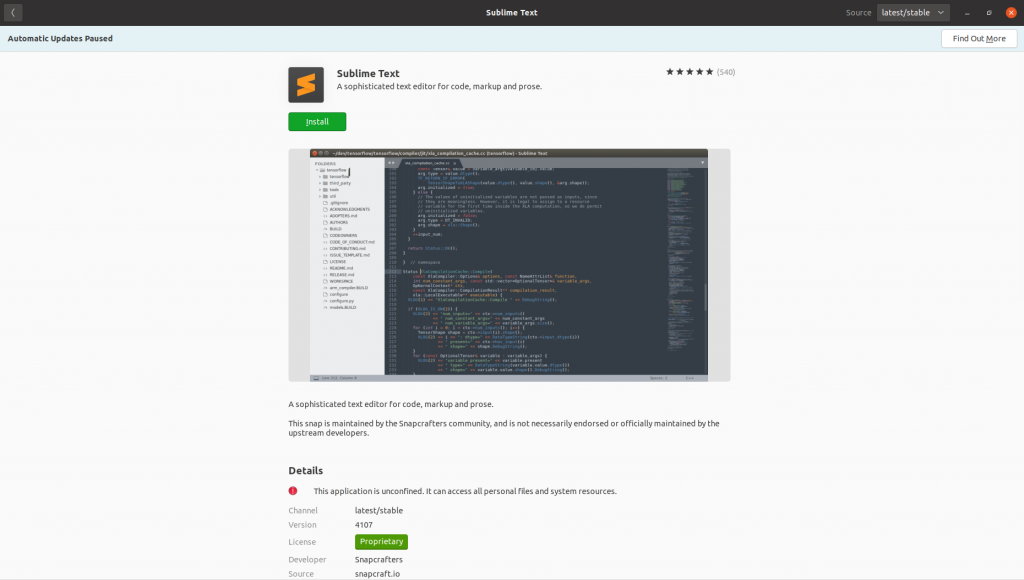
Now, click on Install to begin your Sublime Text installation.
After hitting Install, it will ask for your root password to gain superuser privileges to install the Sublime Text snap package.
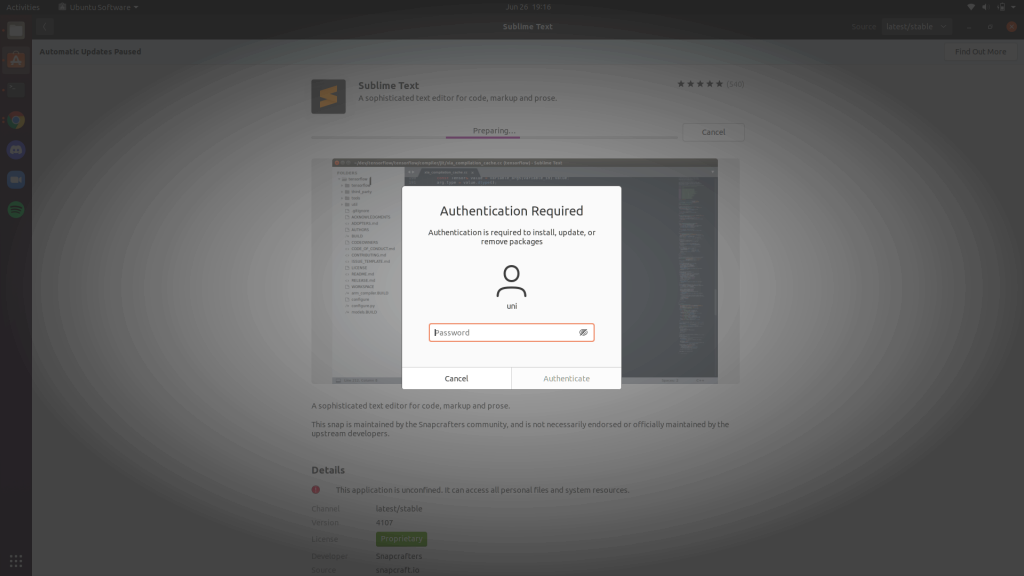
Once you enter the password and hit Authenticate, your installation will begin.
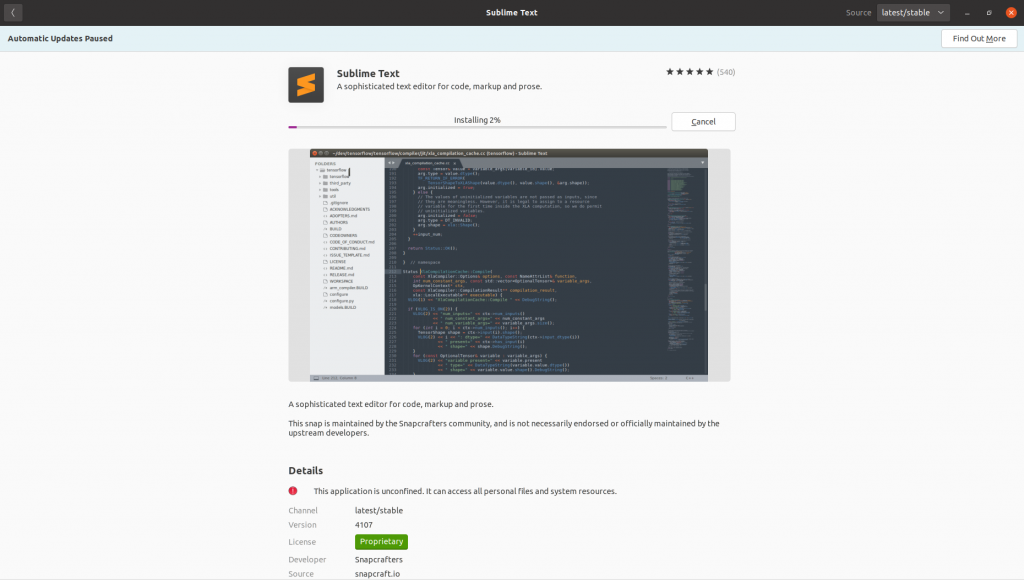
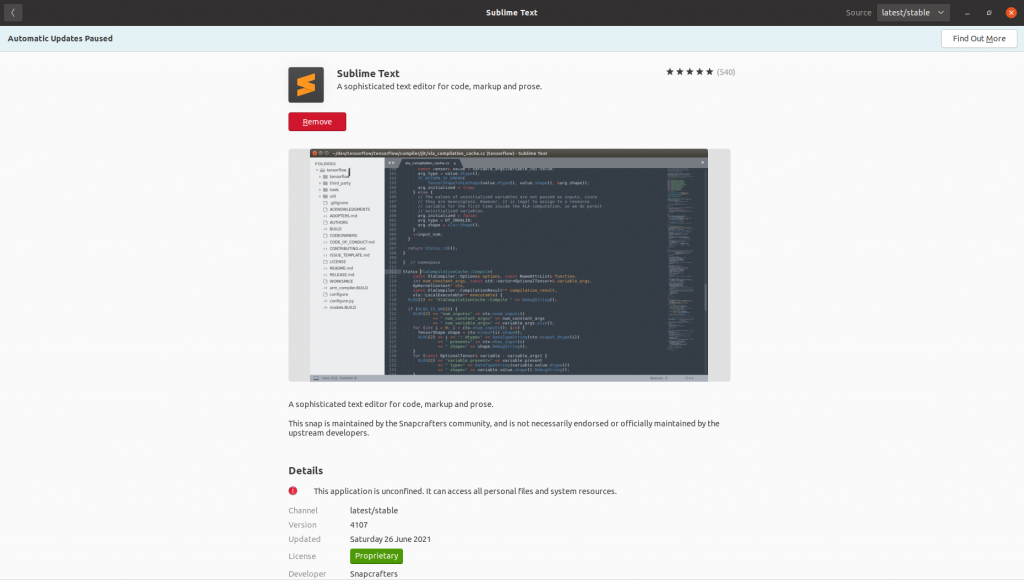
Once the installation finishes, you might see a Launch and Remove button or just Remove. It means your installation is done.
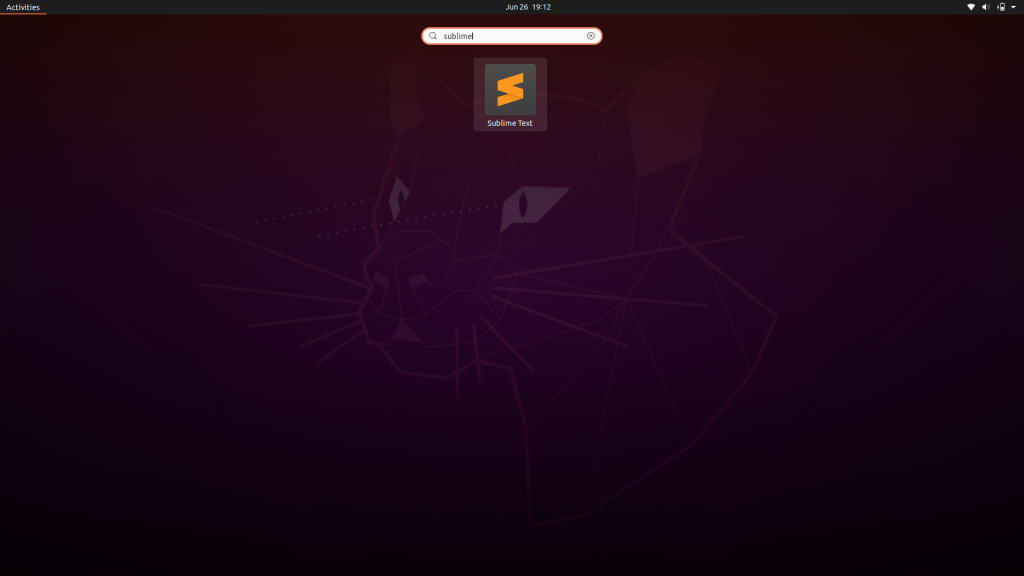
Now, open the Applications pane and search for Sublime. You will find the Sublime Text launcher in your Applications. Hit Enter or double click to open it.
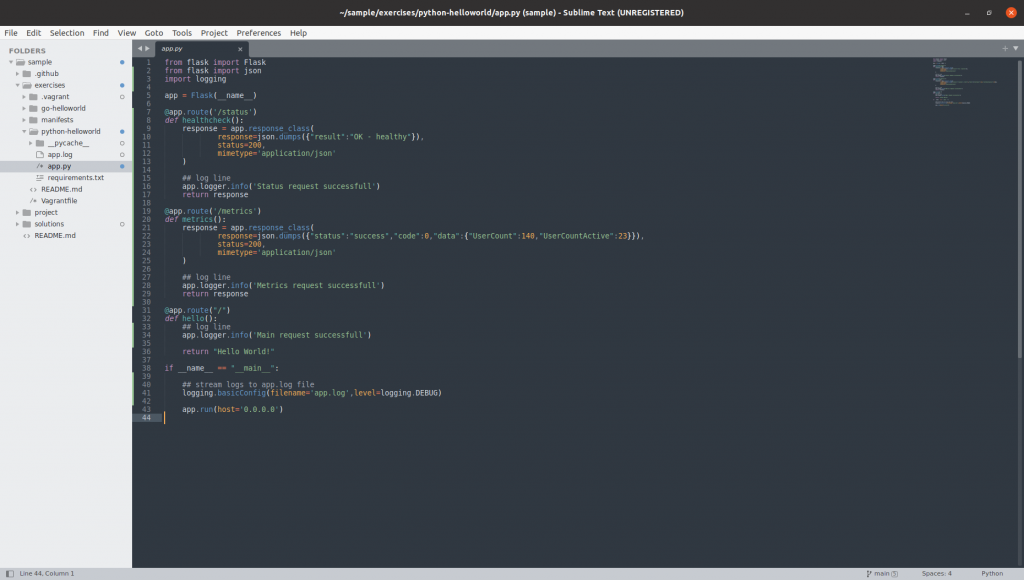
Once opened, you can go to File > Open Folder to open the directory you want to open in your Sublime Text editor.
Below is a preview of Sublime Text editor with a dark theme.
Installing the Sublime Text snap package using terminal
In the previous method, we discussed installing the Sublime Text snap package via GUI. Now, we will be doing the same using the terminal in a single command.
Open your terminal using the Applications pane or hit Ctrl+Alt+T and run the below command:
sudo snap install sublime-text --classic
It will ask for the root password. Hit enter once you’re done. Your Sublime Text snap package will install soon as the command finishes running.
Installing the Sublime Text Debian package
Let’s get into some of the other methods to install sublime text on ubuntu.
1. Using Official Debian package
In this step, we will install the Sublime Text Debian package downloaded from its official website.
Firstly, to download the Sublime Text Debian package head here.
After visiting the page, click on “64 bit.deb” or 32 bit one, as per your system architecture.
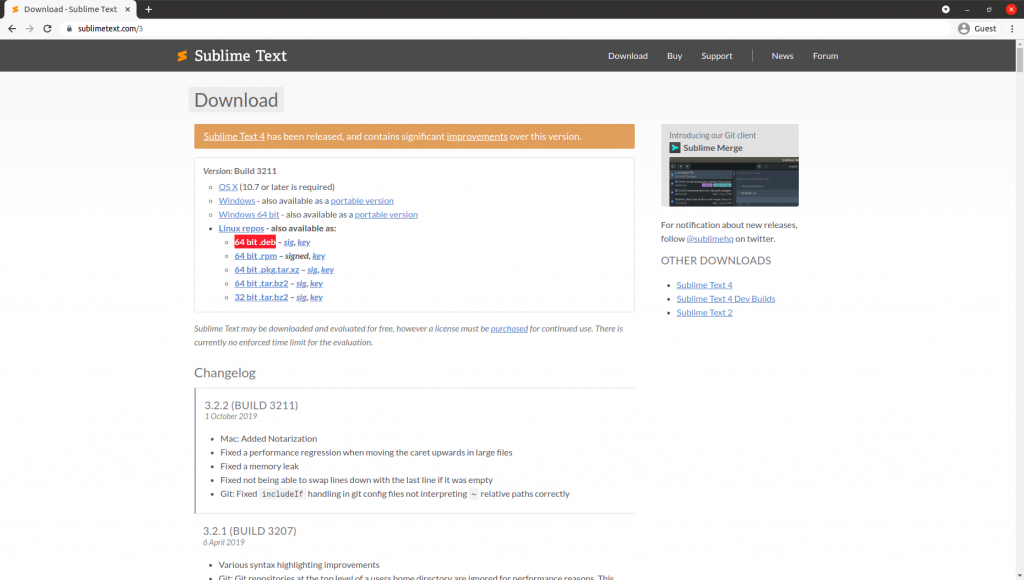
Now that you have downloaded the Debian package of Sublime Text, fire up your terminal using Ctrl+Alt+T or open from Applications and cd into the Downloads folder where the package is downloaded.
cd Downloads/
Now, install the package using the dpkg command. Make sure to replace <package-name> with the filename of the downloaded package.
sudo dpkg -i <package-name>
The above command will ask for root privileges, enter your password and wait for the command to finish.
Sublime Text is now installed and ready to use.
2. Using apt repository
Now, let us see how we can install Sublime Text directly from the apt repository.
For that, we will need to download and add the public key for Sublime Text and set up the repository URL in the sources.list file.
Open your terminal and use the below commands to add the Sublime Text public key to your system:
wget -qO - https://download.sublimetext.com/sublimehq-pub.gpg | sudo apt-key add -
We will also need an additional package, run the below command to install it:
sudo apt install apt-transport-https
Now, it’s time to add the repository URL Sublime Text.
For adding a repository you can choose between STABLE or DEV builds and add the respective repository to your system.
STABLE:
echo "deb https://download.sublimetext.com/ apt/stable/" | sudo tee /etc/apt/sources.list.d/sublime-text.list
DEV:
echo "deb https://download.sublimetext.com/ apt/dev/" | sudo tee /etc/apt/sources.list.d/sublime-text.list
Now that you have added the repository URL of your choice, it is time to quickly run a package index refresh to finish setting up Sublime Text on our system.
Run the following commands in your terminal:
sudo apt update
sudo apt install sublime-text
Once the commands finish running, your Sublime Text editor is ready to use. Just go to your Applications pane, or run sublime-text in terminal.
Directly running the Sublime Text from .tar.bz2 file
You can also use Sublime Text without installing it to your system, through a portable .tar.bz2 package from its official website.
After opening the website, look for .tar.bz2 file under Linux, and the archive package will begin downloading.
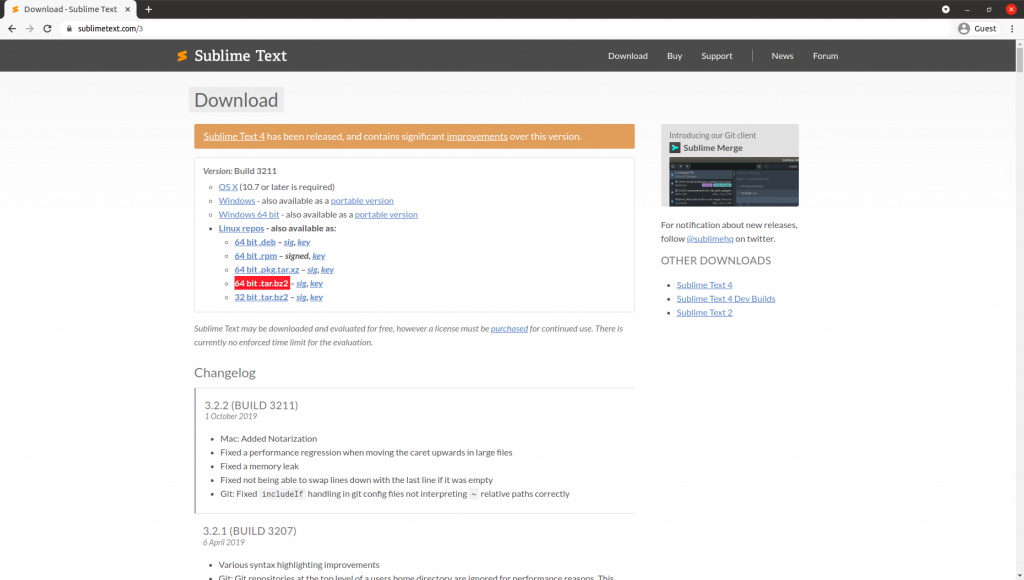
After you have downloaded the archive, extract it using GUI by right-clicking and choosing Extract and it will look something like the below image.
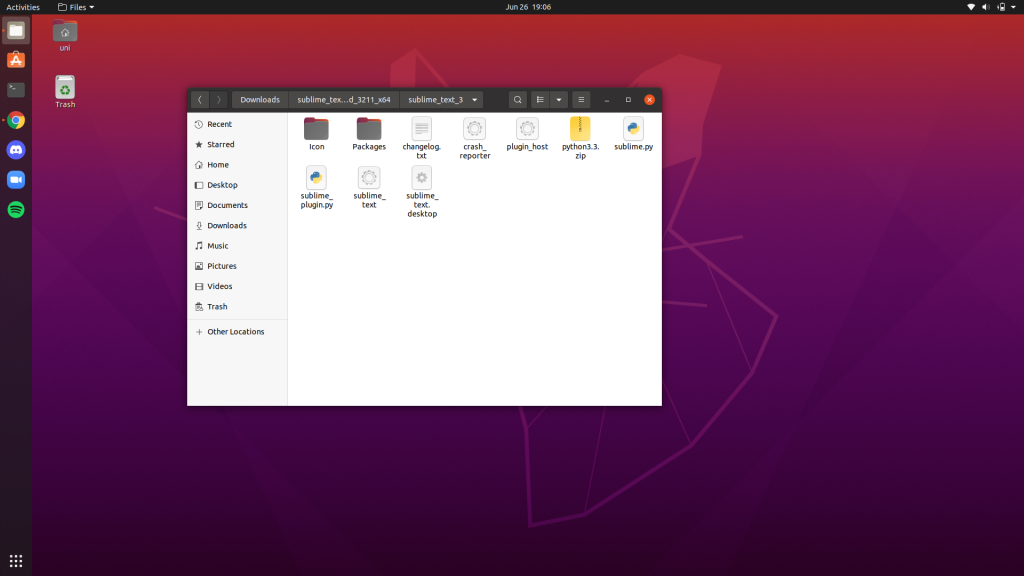
Now, double click on the sublime_text file, and your Sublime Text editor will start.
In case it doesn’t open, right-click anywhere in File Explorer and choose Open in Terminal or you can simply browse into this location using cd command in any terminal and run the following command:
./sublime-text
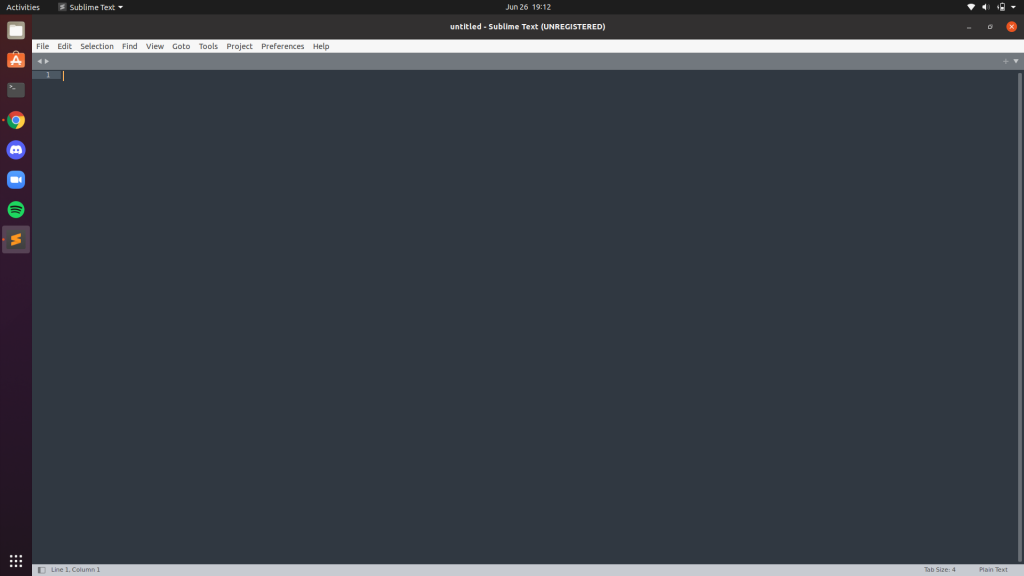
Now that your Sublime Text editor is running, just click File > Open Folder, to start working on your project.
Conclusion
In this article, we discussed how we can install Sublime Text editor on our system via GUI and with help of a terminal as well. We also discussed a method in which we discussed running Sublime Text without installation on our system.
