In this article, we will be discussing how to install and use GNOME Tweak tools on Ubuntu. GNOME Tweak tools are used to change or customize the overall look and behavior of your desktop environment. By installing it, we get a lot of options to customize it the way we want.
Installing GNOME Tweak tools on Ubuntu 20.04 LTS
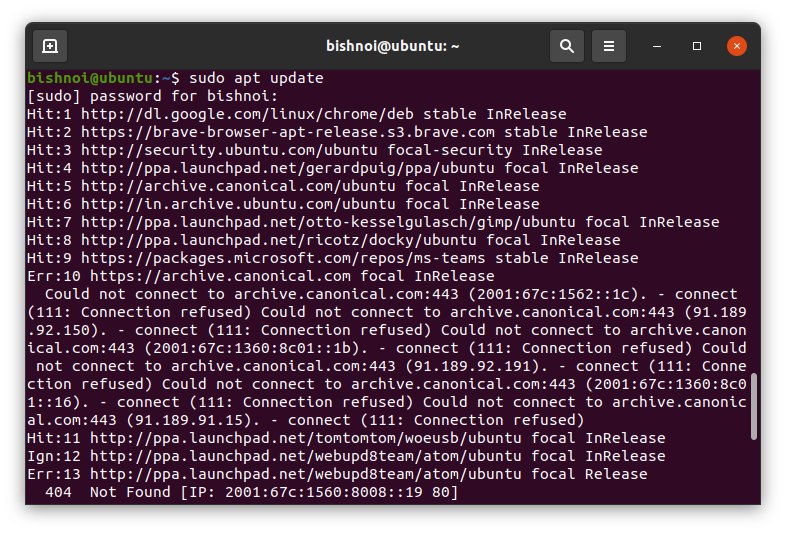
1. Open terminal by pressing Ctrl+Alt+T. Run the following apt command to update the package repositories.
sudo apt update
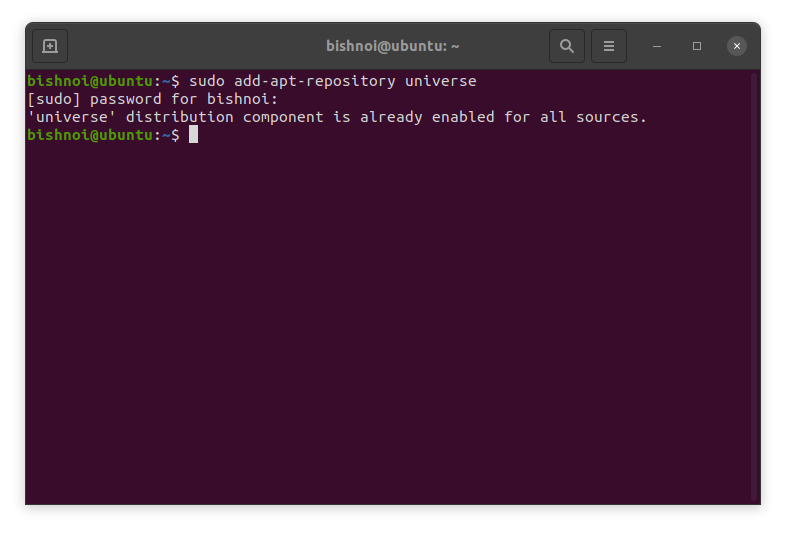
2. Now, check whether the universe repository is enabled or not. If it is not enabled, it will add the repository or enable it by running the following command.
sudo add-apt-repository universe
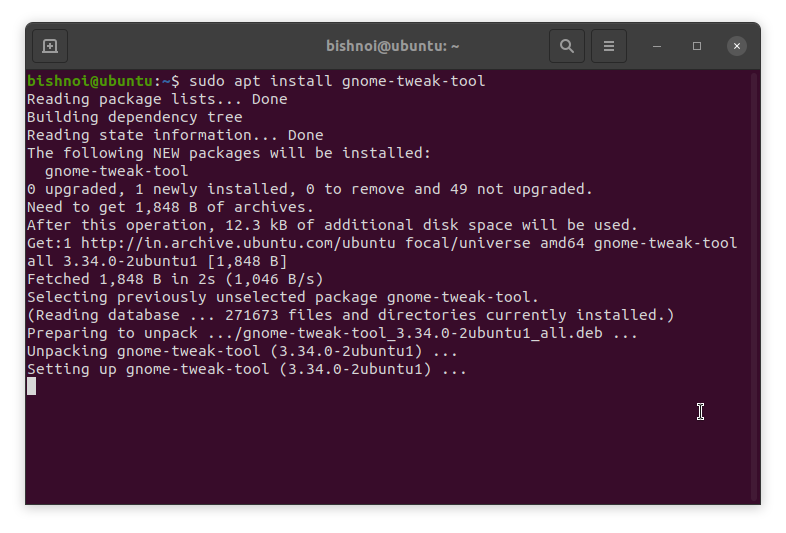
3. Install the GNOME Tweak tools by running the following command:
sudo apt install gnome-tweak-tool
4. Now, install the GNOME Tweaks shell extension by running this command:
sudo apt search gnome-shell-extension
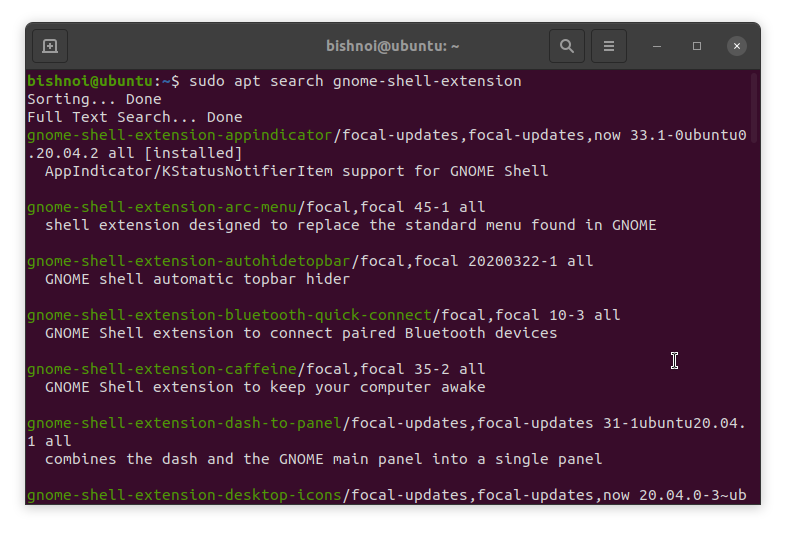
5. Now, to install a single extension, run the following command:
sudo apt install gnome-shell-extension-EXTENSION_NAME
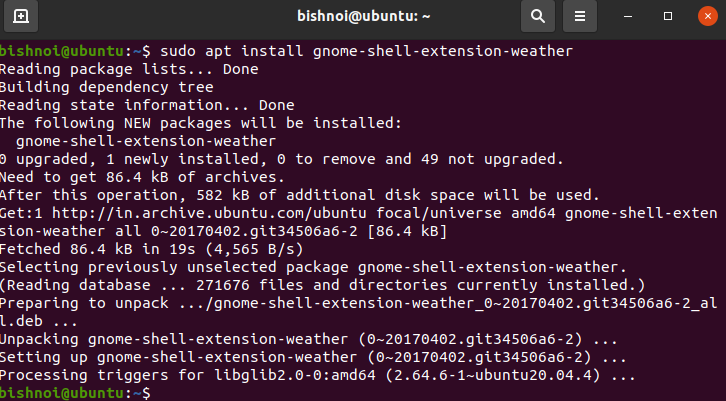
Replace the EXTENSION_NAME by name of the extension you want to install. To install all extensions at once, run the following command:
sudo apt install $(apt search gnome-shell-extension | grep ^gnome | cut -d / -f1)
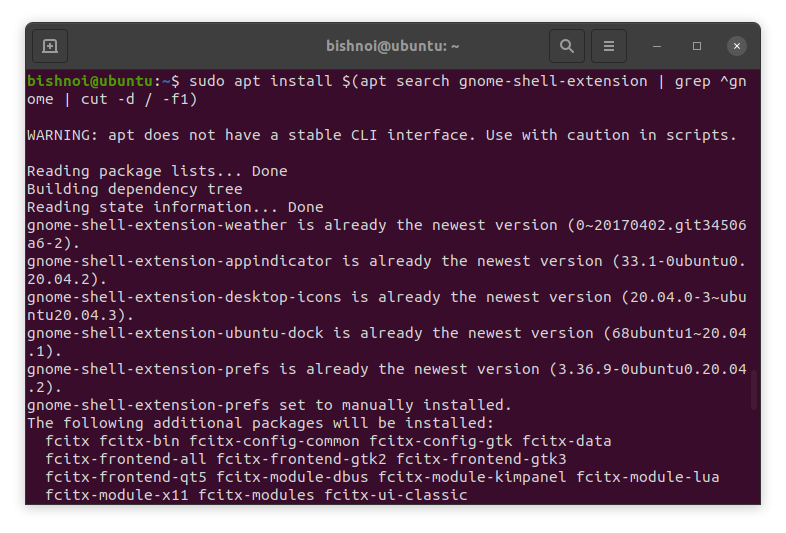
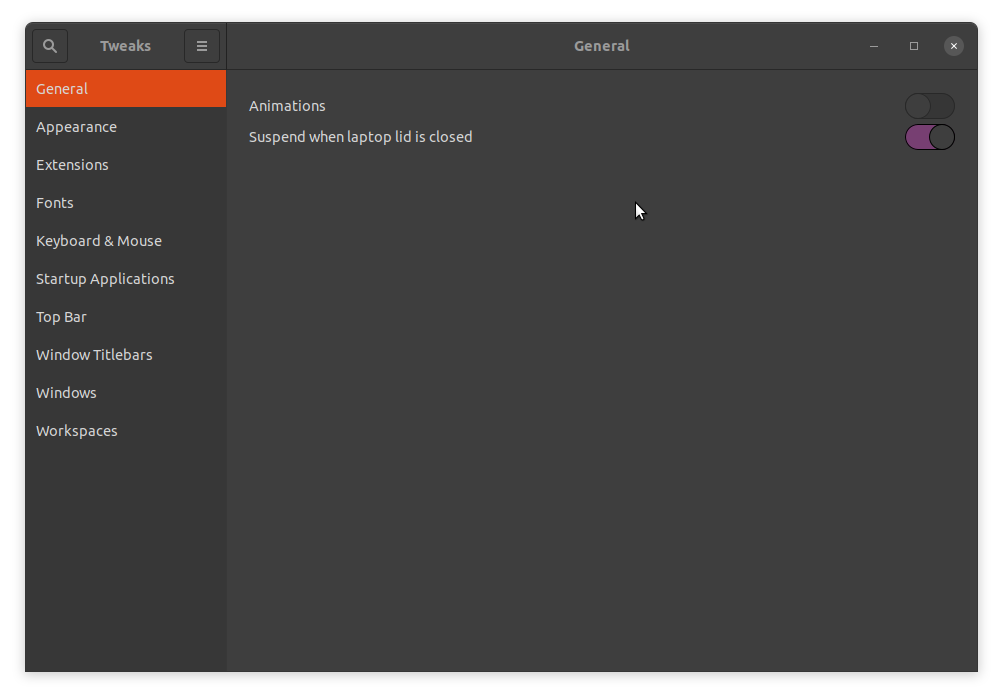
6. Once the installation completes, open the Tweak Tools either in the activities bar or by running the following command:
gnome-tweaks
Customizing Gnome With Tweak Tools On Ubuntu
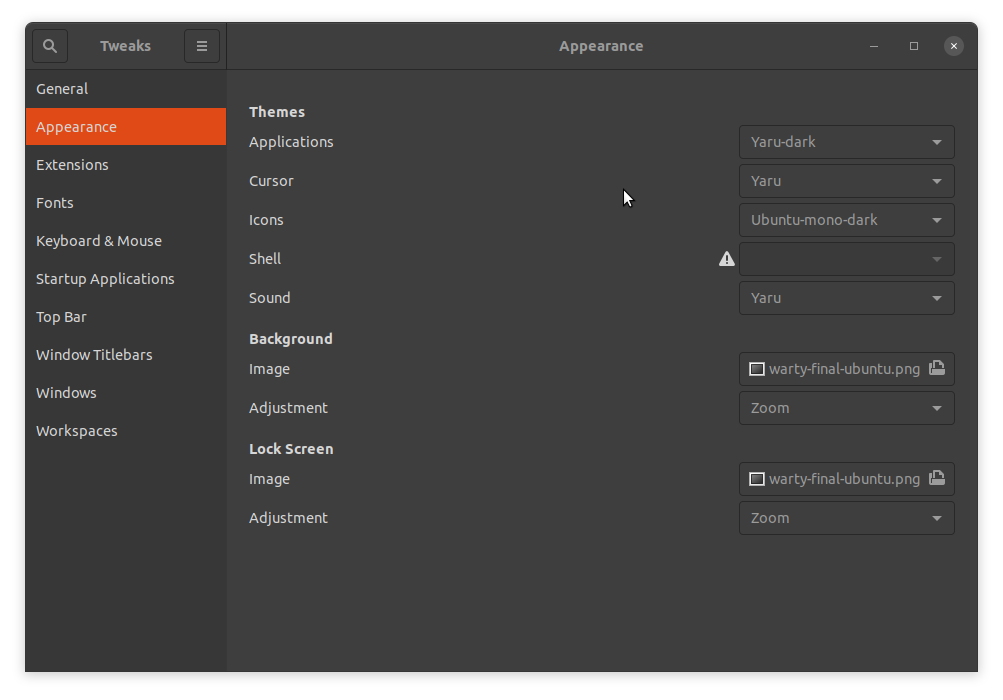
Tweak tools are used to customize a lot of things. You can change the look and feel of GNOME. You have various options to choose from like, keyboard, mouse, fonts, windows, workspaces. Enabling extensions gives us some extra options.
Conclusion
We have successfully installed GNOME Tweak tools along with the extensions. Now, You can get a better look and can customize the desktop as you want.
Play around with the tool to get a hang of the features and functionality offered by Tweak tools. And the documentation and community help offered by this tool will always ensure that you have help at hand when needed.

