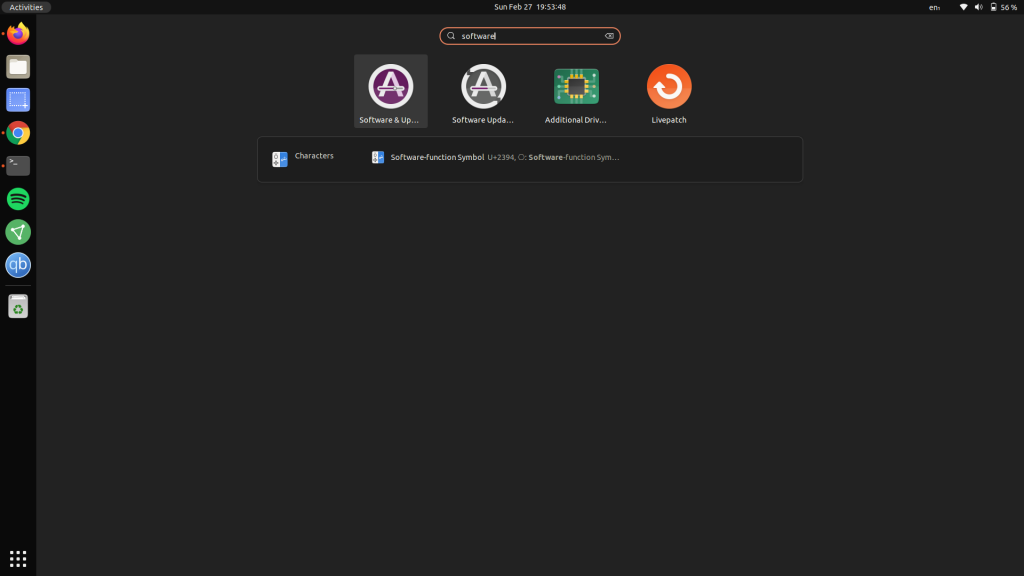
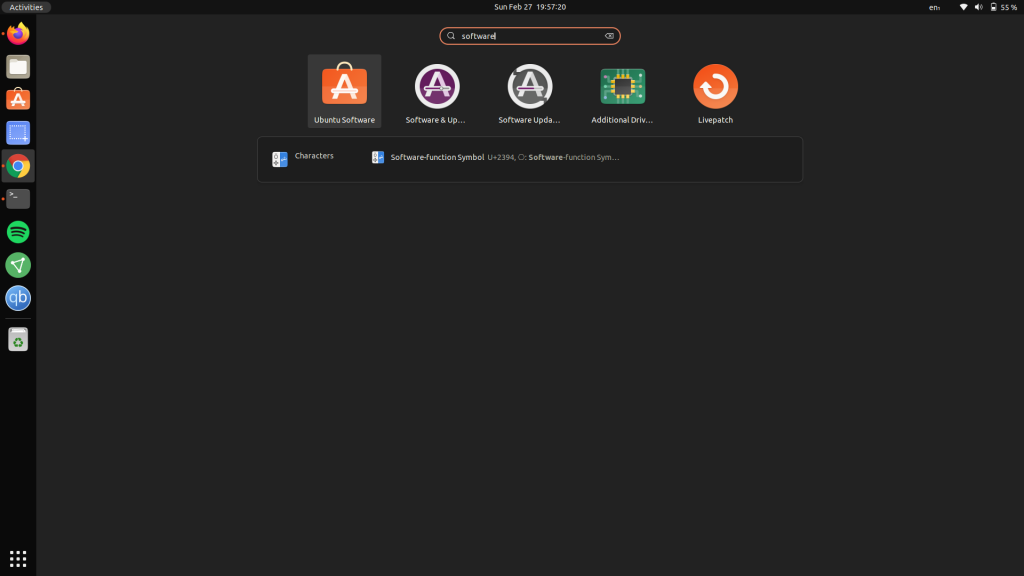
Ubuntu is one of the most widely used desktop operating system based on Linux. Apart from its ease of use, the additional features it ships on top of the GNOME desktop environment gives it the edge over other Linux distributions and thus, it is the go-to choice for users who are switching from other OSes such as Windows or macOS.
Ubuntu Software Center, which can be used to install and remove software application on Ubuntu using the graphical interface, usually comes pre-installed with the OS. Earlier, Canonical used to ship the default GNOME software to install applications, but they have developed an additional store which prioritizes Snap version of all the applications. However, this application may not work well, or show a blank screen or any other error while installing or updating applications.
In that case, You can uninstall and reinstall the Software center using the command line. Uninstalling Software Center will work fine. But, installing it through the same process as we install other software, may not work. We will discuss in detail how to install the Ubuntu software center on Ubuntu 21.04 LTS or higher.
Steps to Re-Install Ubuntu Software Center on Ubuntu 20.04 and Above
In older versions of Ubuntu, The following command works fine to install the software center, just open a Terminal window and paste the following line:
sudo apt-get install software-center
Type your desktop password if you are asked for it.
For the recent versions of Ubuntu, Ubuntu software has been renamed to snap store in the default installation. So, for Ubuntu 20.04 and above, follow the next section of this article to install the Ubuntu software center.
1. Uninstalling Software Center
To uninstall Ubuntu Software Center from your OS, Open a terminal by pressing Ctrl+Alt+T on your Keyboard and execute the following command:
sudo snap remove snap-store


The Ubuntu software application has been uninstalled successfully.
2. Re-Installing Software Center
Now, Update the apt and PPA repositories by executing the following command:
sudo apt update && sudo apt upgrade
This command will take some time to upgrade the repositories (depending upon your Internet speed). Press Y to confirm when prompted, and press Enter to update all the pending applications. Finally, Install Ubuntu Software By running the following command:

sudo snap install snap-store

Wait till the snap version of software center is downloaded and installed. The Ubuntu Software application will be installed successfully on your OS.

Conclusion
We have successfully installed software center on Ubuntu Linux using this guide. You can now configure the software sources in the settings, such as enabling the multiverse repository, through which you can install a lot of software packages easily. When you double-click on any deb file which you have downloaded from anywhere else than the software store, such as from your web browser, the OS will automatically recognize the filetype and open it in the Software Center.
Although the canonical team maintained that they will use GNOME software as a replacement for their software center, they have again launched a new version of the application which prioritizes the installation of snap software in Ubuntu Operating System, which the Ubuntu community really does not like.
You can also simply use the apt command from the Terminal if you don’t like to use the GUI in order to install applications on your system. Also, You can try out other distributions such as Linux Mint or Pop_OS which do not ship or enable the snap store by default, they ship with different Desktop Environments (Mint ships with Cinnamon and Pop_OS ships with a modified version of GNOME) so you may have to re-learn a few things, but they essentially function in the same manner under the hood.
