In this tutorial, we’ll learn how to change or set the time zone in Ubuntu.
How to change the time zone in Ubuntu 20.04 using GUI?
In Ubuntu Desktop the time zone can be easily set using GUI.
Follow the steps given below to change or set the time zone in Ubuntu.
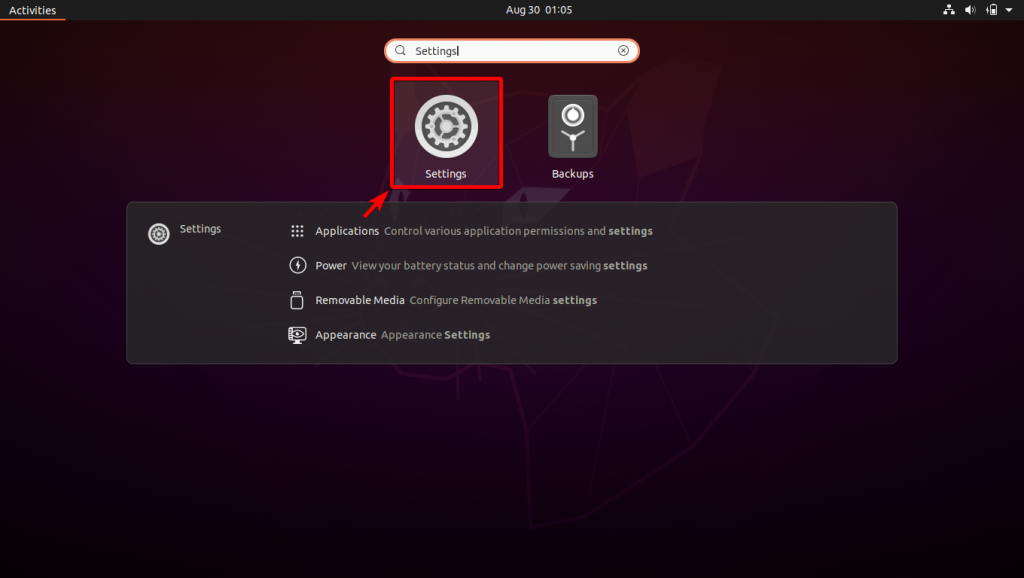
1. Open Activities overview by clicking Activities on the top-left of your screen, and enter Settings from your keyboard.

2. Click on Settings.
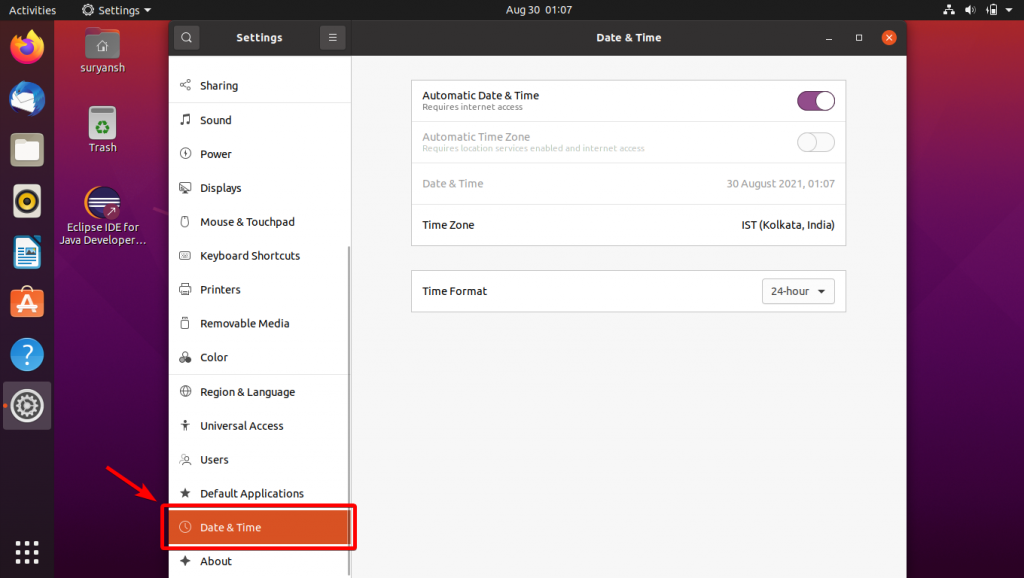
3. Click Date & Time in the sidebar to open the date and time settings.
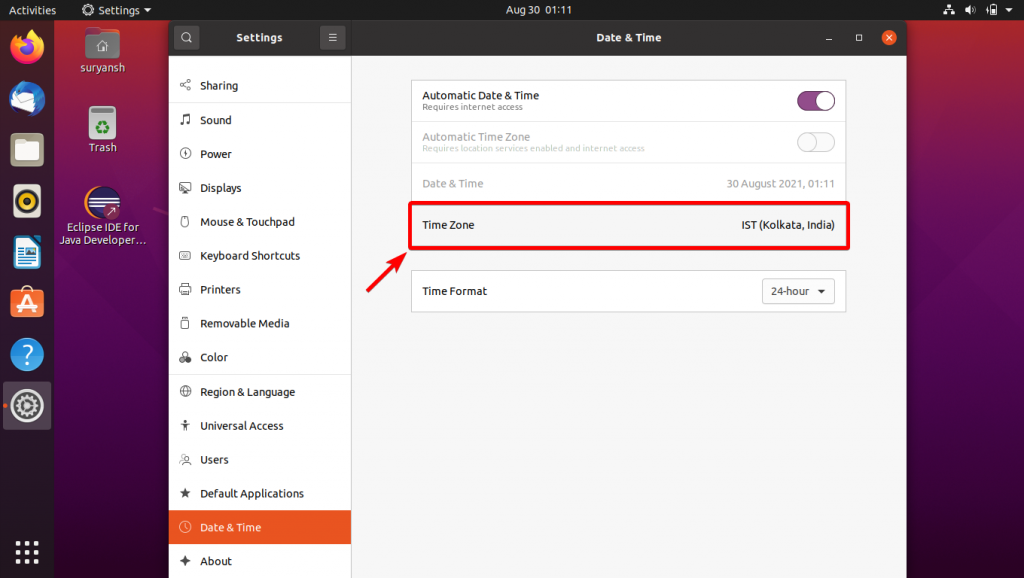
4. Click Time Zone in the date and time settings panel.
5. Choose a time zone by clicking the area in the map or search by entering the closest city in the search box, and then close the window.
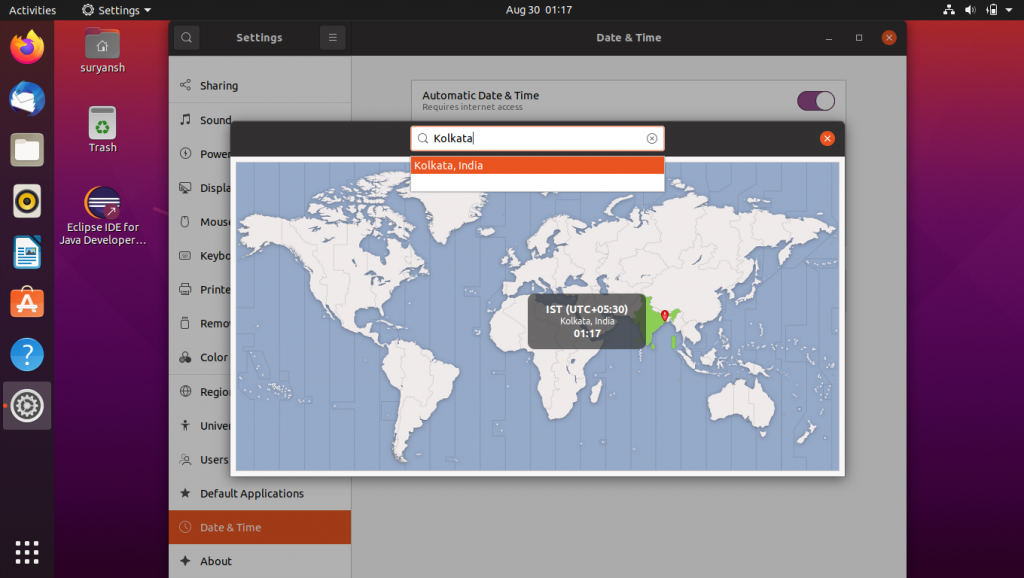
You will now have the time zone set or changed to the selected area of the city.
How to change the time zone in Ubuntu 20.04 using the Terminal?
Follow the steps given below to change or set the time zone in Ubuntu using the Terminal.
1. Open a terminal session (on desktop press CTRL+ALT+T or search for Terminal in Activities overview)
2. To find out the current time zone, enter the following command:
timedatectl
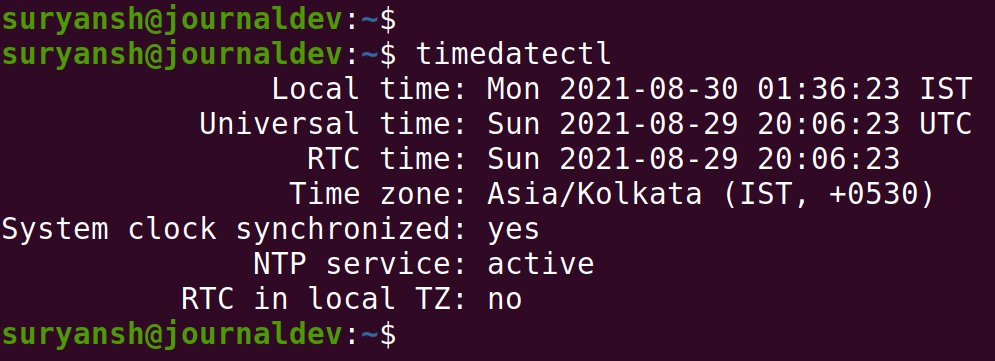
timedatectl output3. To view the list of available time zones, enter the following timedatectl command:
timedatectl list-timezones
Use arrow keys to scroll down or above.
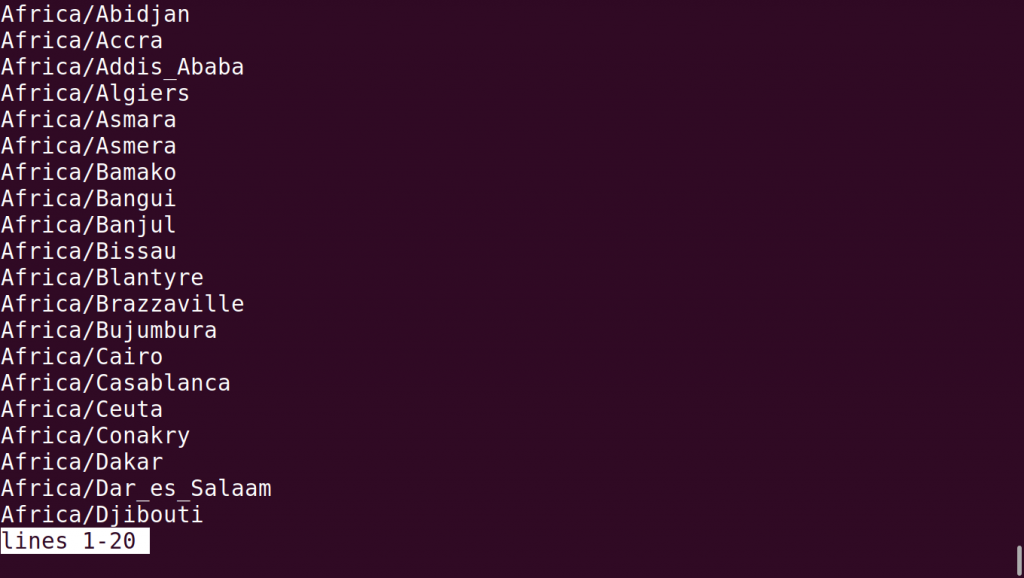
timedatectl list-timezones output4. To set the suitable time zone, enter the following timedatectl command with sudo:
sudo timedatectl set-timezone Region/City
For example,

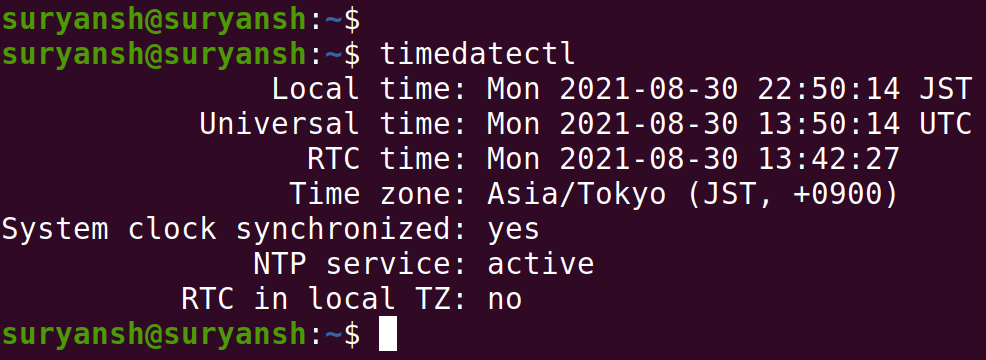
5. You can verify the changes by executing the timedatectl command.
timedatectl
Conclusion
In the above tutorial we have discussed the steps to change or set the time zone in Ubuntu 20.04 using GUI and with the Terminal.
Thank you for reading! 😀
