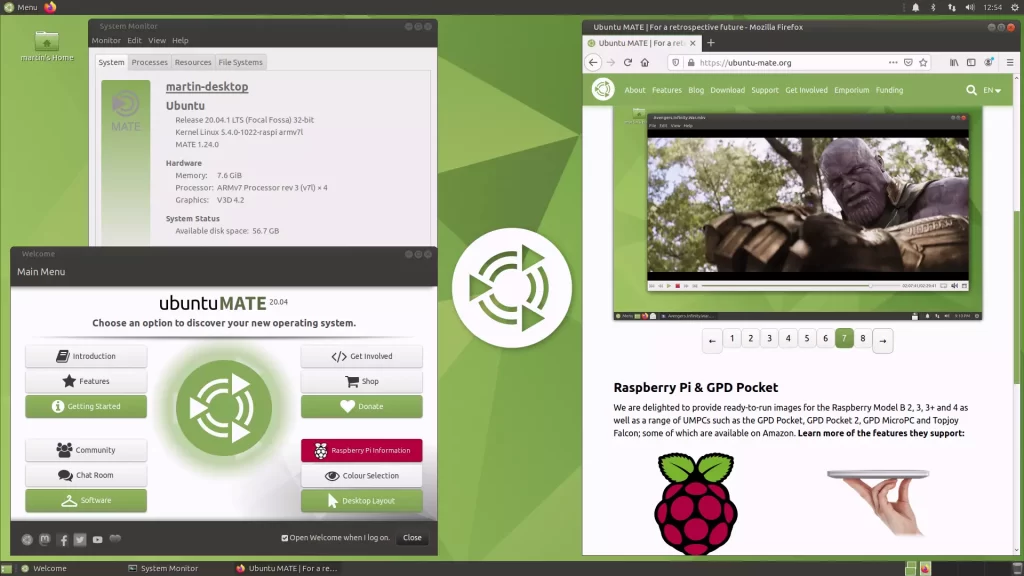
Ubuntu MATE is based on Ubuntu but with a MATE desktop. It is named after a South American drink called MATE which is made from a tree called “yerba mate”. It can be run with 1GB ram or more with both 32bit or armhf, 64bit or arm64 CPU structure. By default MATE desktop has both top and bottom panels with a standard ubuntu menu on the top right, it also has a standard start menu type of configuration on the top left. It has also preinstalled some of the famous office essentials like the Libre office.
Supplies
We will need the following supplies:
- Raspberry pi 4 2GB / 4GB
- Decent 32 GB card
- Power supply
- HDMI Cable
- Cooling
- Another PC to flash the image file
We will first download and install the Ubuntu Server image onto the SD Card, then overclock the Pi by finding the config file and editing it. Finally, we will install the MATE desktop onto the Ubuntu installation to get the Ubuntu-MATE experience on the Raspberry Pi 4.
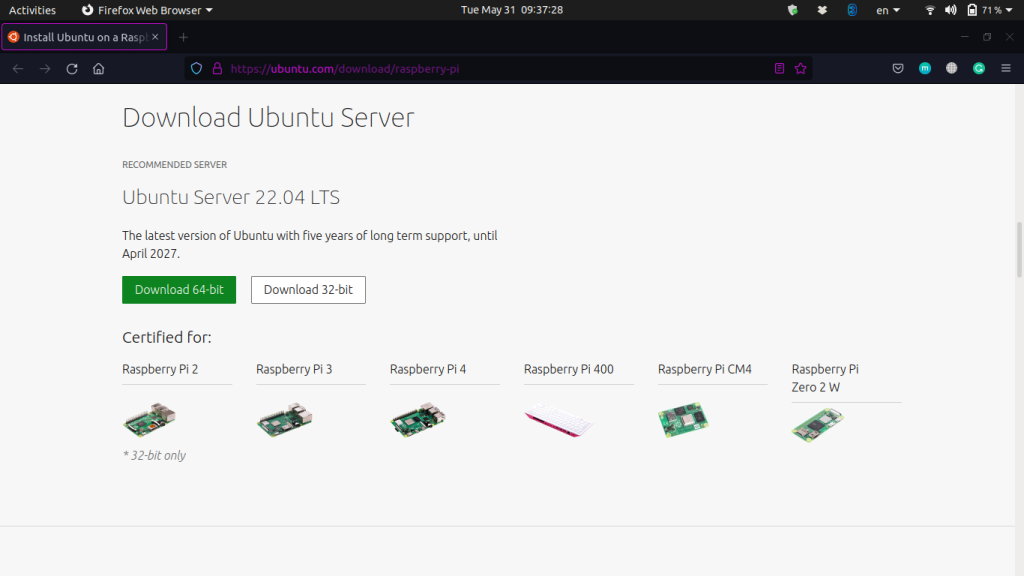
First, we will have to download some software and files. We will need the Ubuntu server image file, to get this visit this site and download the Ubuntu server 2/3/4 64bit version.
You will also need the etcher software, visit this link to download Balena Etcher.
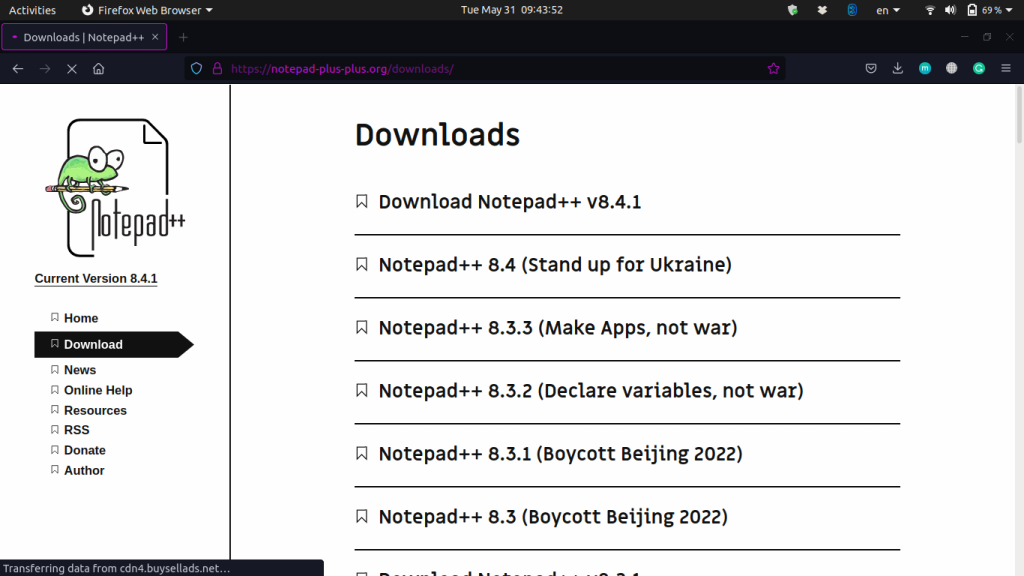
For Windows users, you will need to download Notepad++ to edit the config file later. Linux users need not download Notepad++ as any text editor will work fine. But be aware that Notepad will not work, only Notepad++ will work for Windows users.
Write the image file onto the SD card
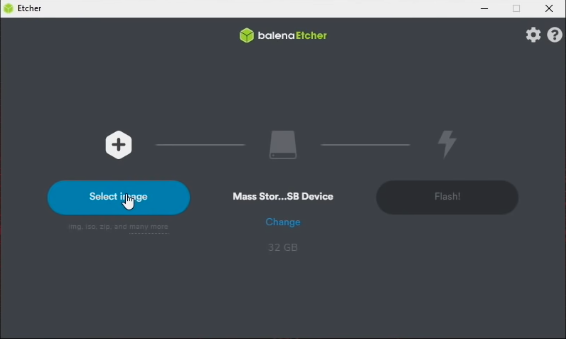
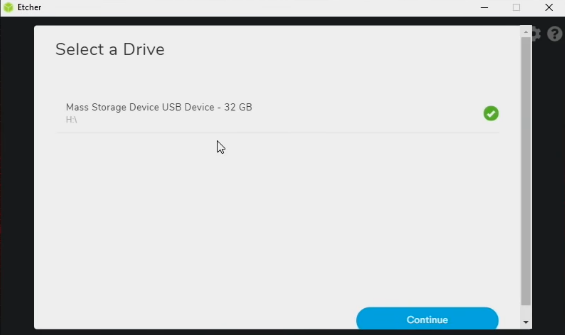
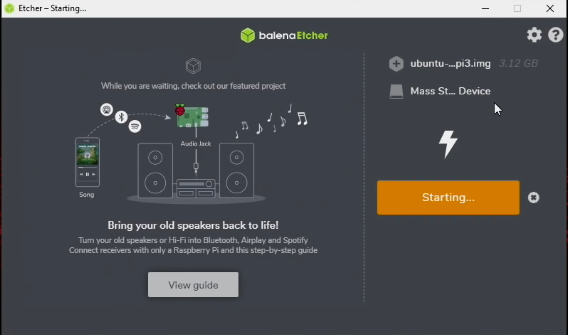
First, we will write the Ubuntu Server image file onto the SD Card. To do this launch the Balena Etcher app, select the Ubuntu server IMG file, select your card (please double-check this), and then click on Flash!
Overclocking the Raspberry Pi
We will need to overclock the Raspberry Pi in order to squeeze enough processing power to run Ubuntu MATE. For this, plug in the flashed sd card into a card reader and open it on your PC, open the folder named ‘system-boot’. Now edit the config file using the Notepad++ application. Add the two lines at the very bottom of the file:
- “over_voltage=6”
- “arm_freq=2000”
Save the file and exit out. Now replug the sd card into the Raspberry pi, cable everything up, and power up the Raspberry Pi.
Installing the MATE Desktop
On initial boot, you will be required to log in using the username ubuntu, and password also ubuntu. It is recommended to change this password later. Keep in mind that this is the ubuntu-server installation, so you will only have a terminal user interface, meaning at this point there is no desktop installed into the system.
Now to install the MATE desktop environment in the following command in the terminal:
sudo apt install ubuntu-mate-desktop
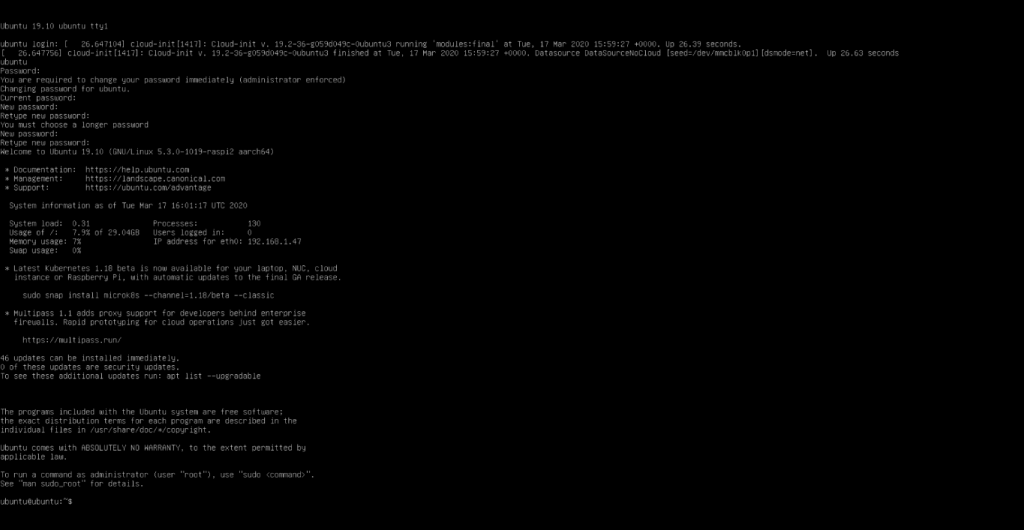
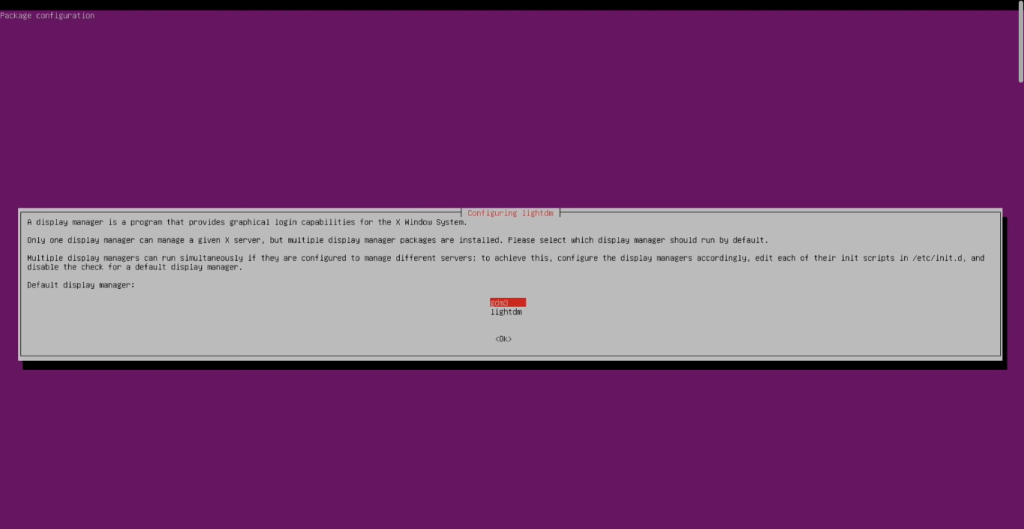
It takes over 15-20mins to download and install the MATE desktop, so take a coffee break. If prompted, from the display manager option choose the first option “gdm3”.
Now it is recommended to perform a reboot:
sudo reboot
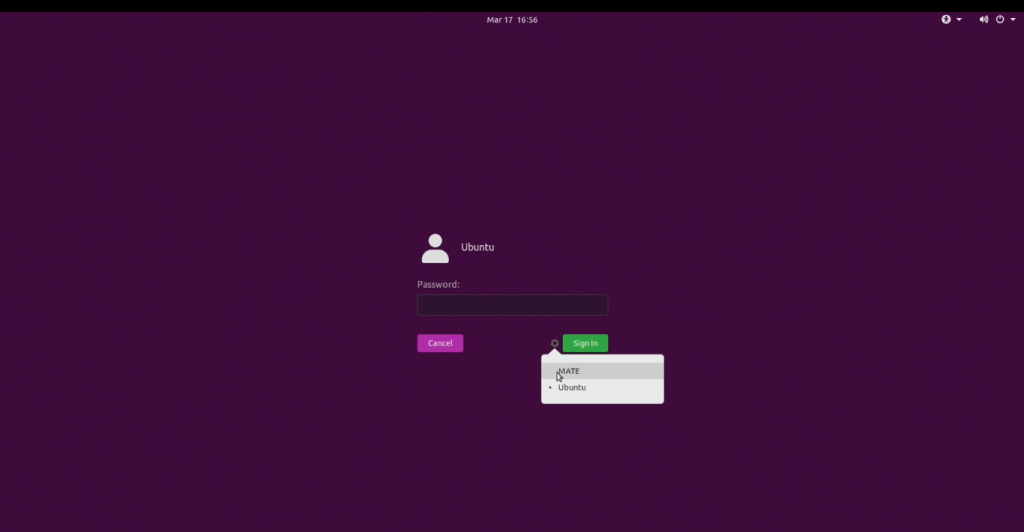
Upon boot up click on the gear icon and select MATE desktop.
Summary
Ubuntu is the easiest to install, run, update, and find software for, you name it. Ubuntu MATE has a few other handy tools as well – you can change the desktop look with a click, the updater tool is great (even between LTS versions) the software boutique is also easy to install. and there’s also Synaptic there for other stuff. Enjoy Ubuntu MATE on your Raspberry pi 4! Thanks for reading.
